8.2.3 Program Integration
Once you've completed the Combat Training Arena level, you will watch a cutscene with Jet and Byte. After a moment, Jet decides to investigate a strange noise.
|
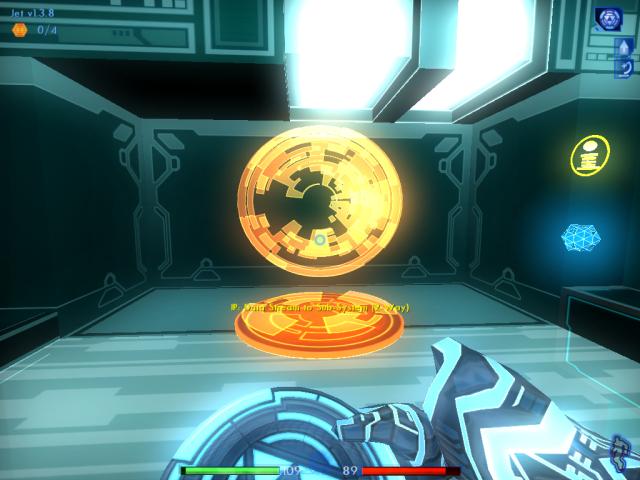
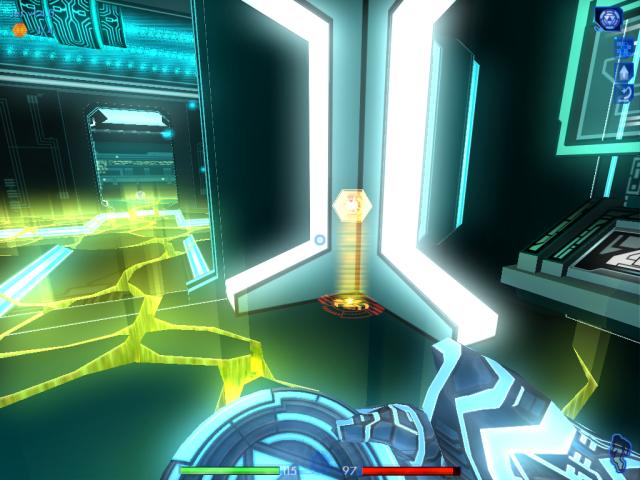
When you look around on the ground, you'll see the Code Optimization Ware (C.O.W.).
|
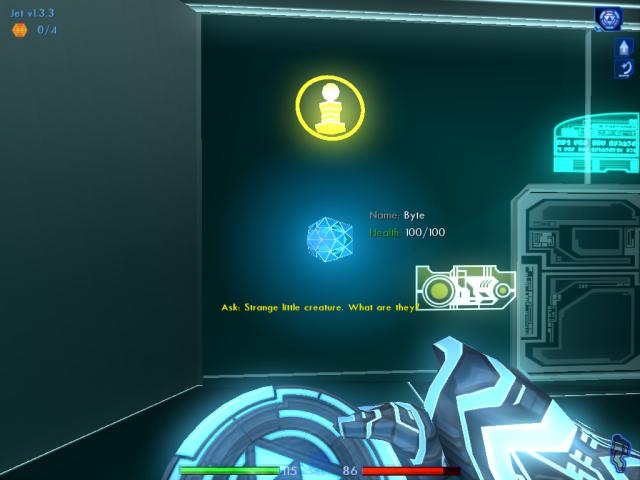
Ask Byte about the Optimizer. He will tell you what it does, and you will receive two build points for discovering what the source of the noise was.
1.3.5
|
|
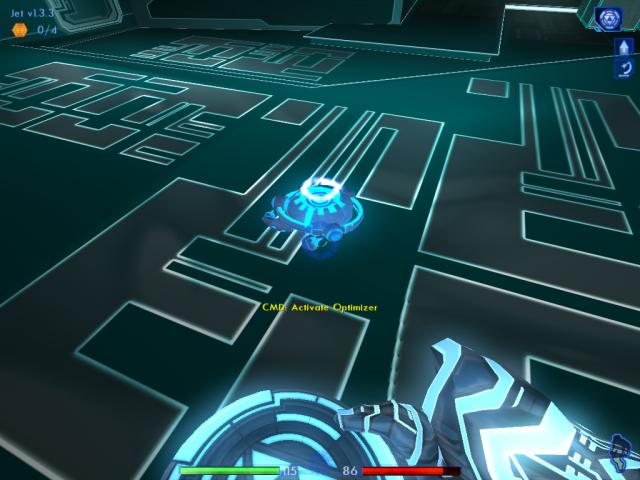
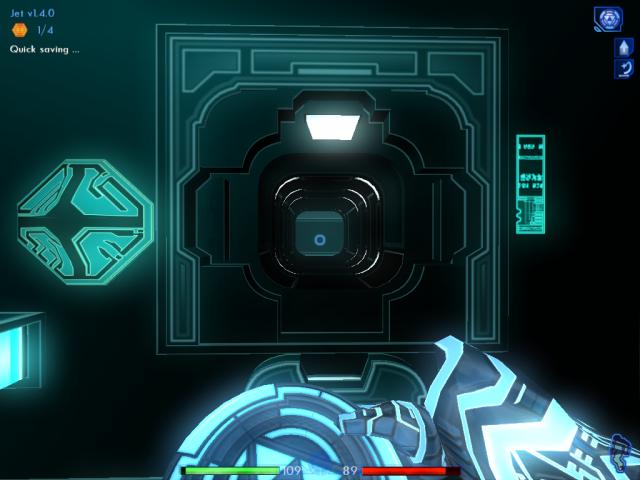
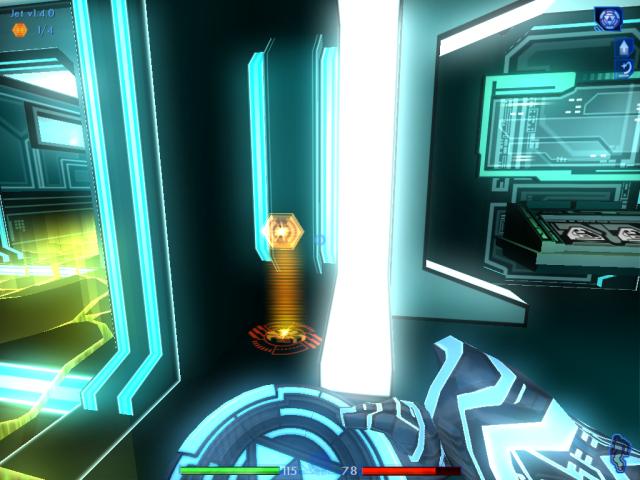
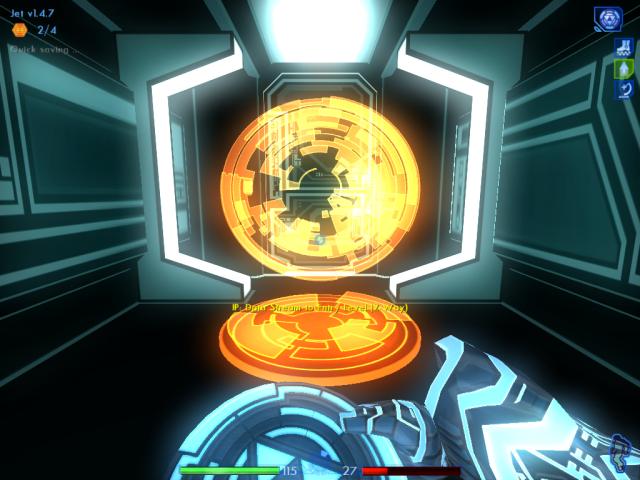
Go back to the Optimizer, and while it's highlighted with your reticle, activate it. It may be tricky to activate the Optimizer, because it keeps moving around and doesn't hold still for long.
|
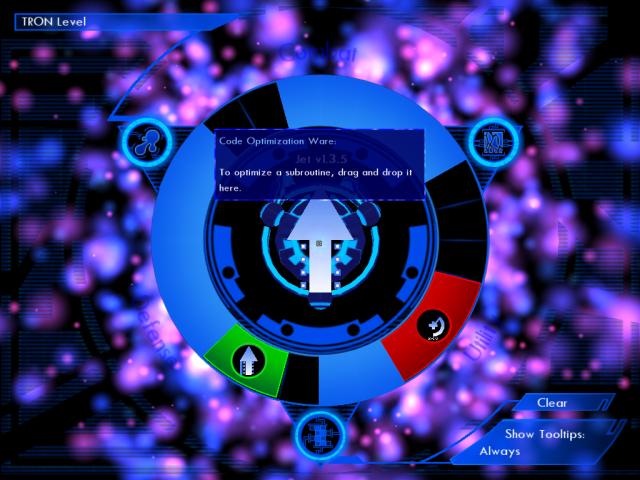
Enter Jet's System Memory screen. Drag and drop the Y-Amp subroutine into the middle of the ring, where the Optimizer is shown.
It's important that you optimize the Y-Amp to Gold status as soon as possible, so we chose this instead of the Profiler subroutine. You will need the extra jumping height to collect other subroutines and permissions, later.
|

When the Optimizer finishes, your Y-Amp will be upgraded one level, to Beta status. After you exit the System Memory screen, you will receive three build points for learning how to optimize a subroutine.
1.3.8
|
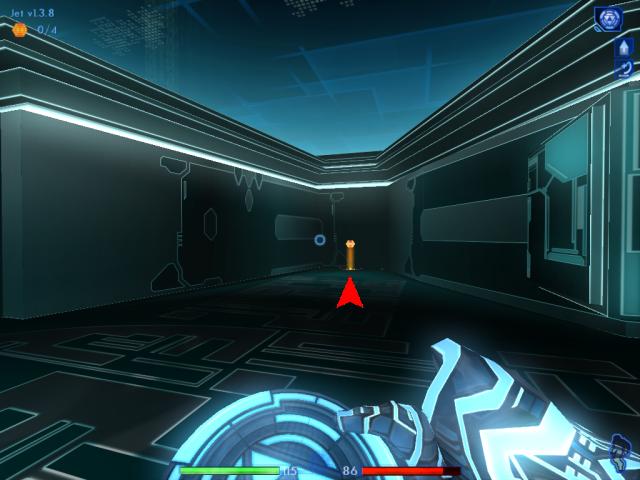
Byte will now tell you that you don't have the permission yet, to open the door to the Power Stream Control Sector.
Turn right. Sometimes, there's a build note at the end of this cul-de-sac.
1/4 1.4.0 1.4.0
|
|
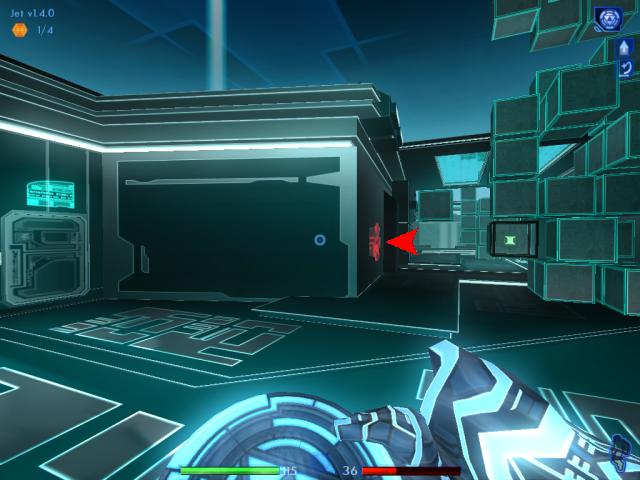
Turn back left. Head toward the Section Rezzer on the wall.
|
|
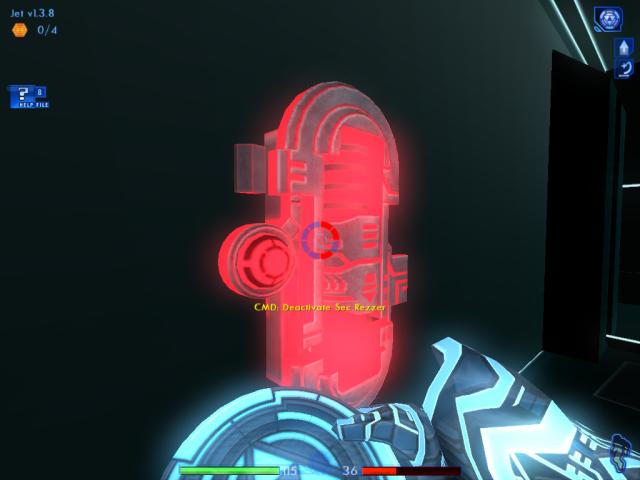
You will receive a help file when you approach the Sec Rezzer, that you can read. Unfortunately, you don't have the permissions yet to disable it.
|
|
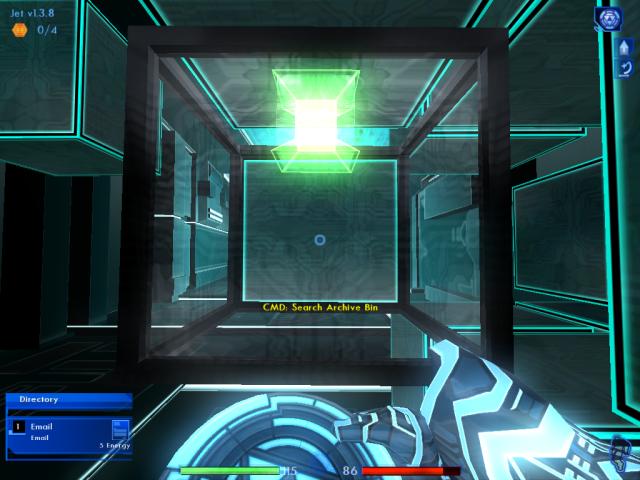
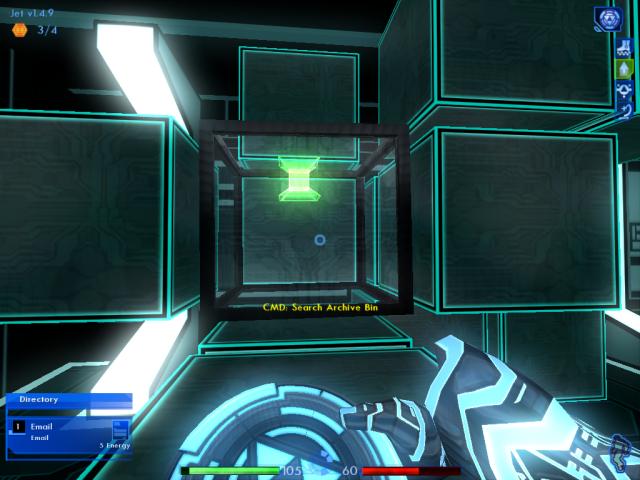
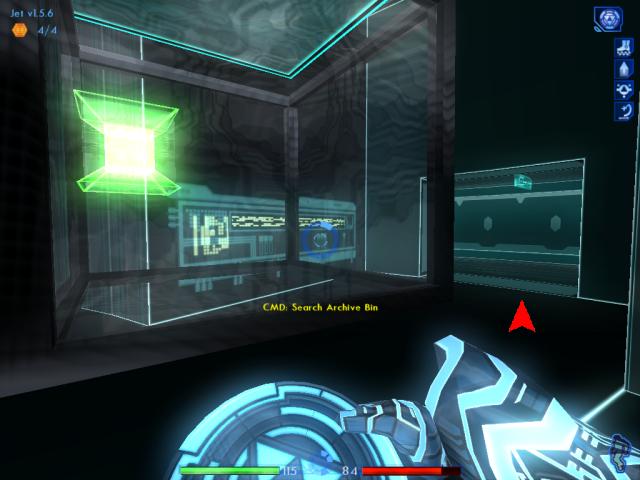
Turn around, and you will find an archive bin with an e-mail you can download.
|

|
Turn left, and head past the second stack of blocks. Turn right, and approach the next archive bin you find. Download the second e-mail.
|
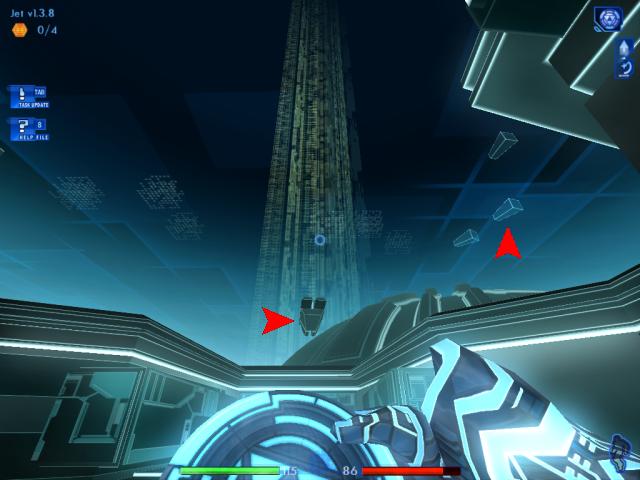
Turn left. Once you walk past the sealed door on your right, with the blocks in front of it, look up in the sky just for fun.
You'll see a mama "bird" and her flock of "babies".  If you turn back and follow, you'll be able to get a better view. If you turn back and follow, you'll be able to get a better view.
|
|
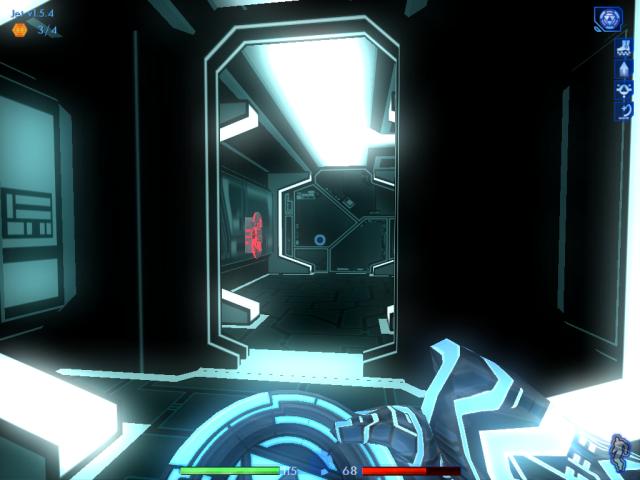
Once you pass the sealed door and blocks, you'll come to a ramp with an ICP down at the bottom. Sometimes the ICP will be off to the left, hidden. Other times, he will be out in the open as seen in the screenshot. Take him out with your disc.
|
|
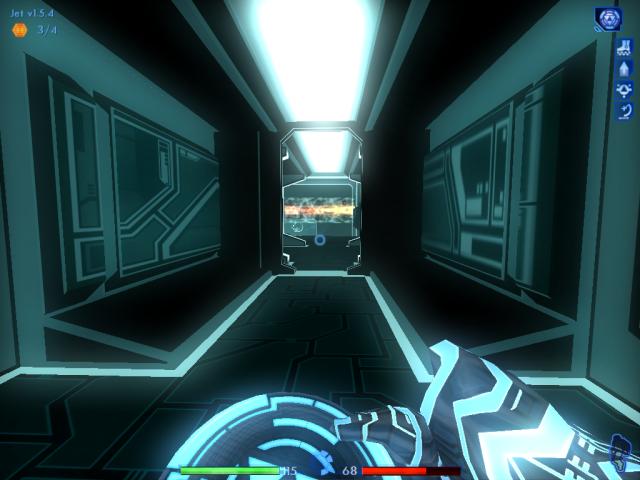
After defeating the ICP and heading down the ramp, Byte will open a passage for you to enter, on your right. However, don't go through yet. Instead, head into the Data Stream.
|
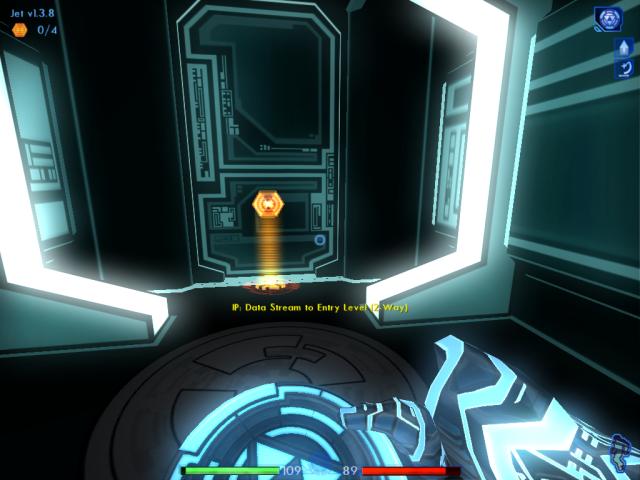
Once you're through, quickly turn around. Sometimes, there is a build note hidden behind the portal for this end of the stream. When the stream portal re-appears, it will block your view of the note and it can be easy to miss. You also can't get at the note when the portal returns.
If you're quick enough, you can grab the note and move back again, before the portal returns. Then you can re-enter the stream and join Byte once more. You can't proceed any further anyway, because a force field blocks the passage here.
|
|
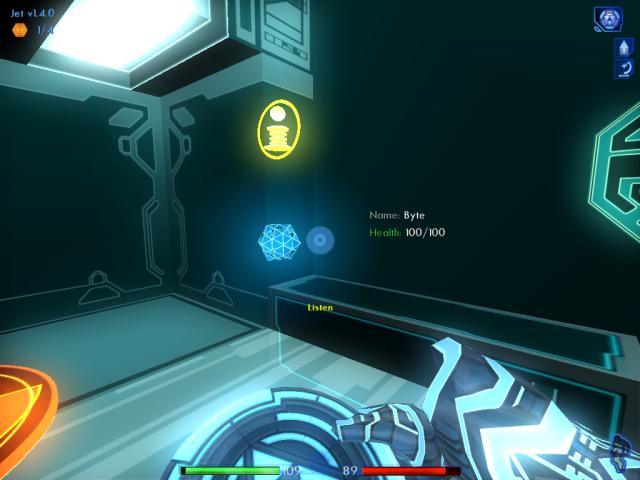
Listen to Byte. He'll tell you that you have to use the passage in order to find a way to access the Control Sector.
|
|
Quick save your game (F5 key), then jump the gap into the passage. Head to the end, but be careful not to drop down yet.
|
|
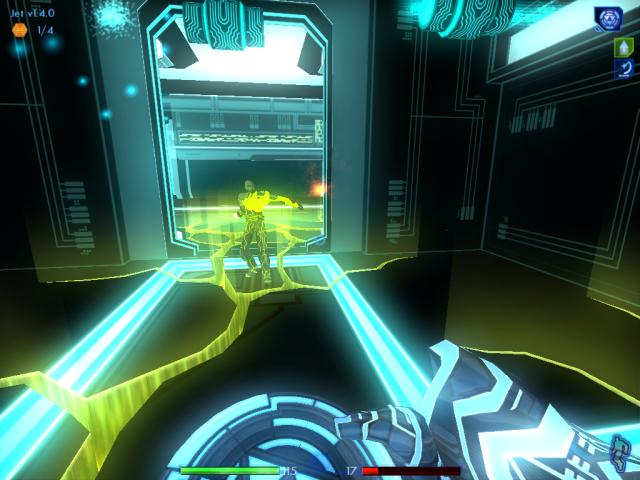
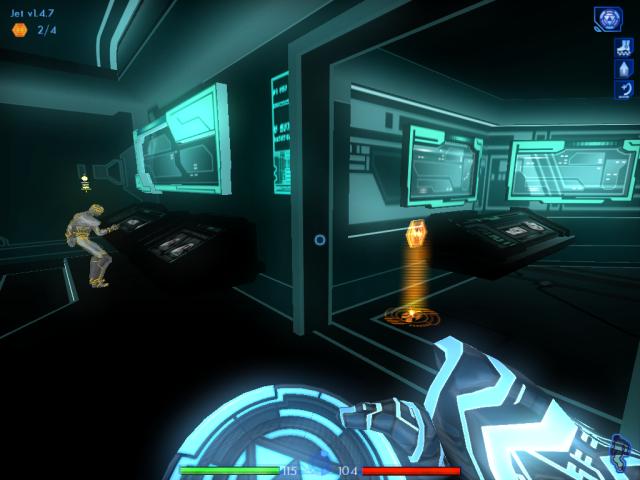
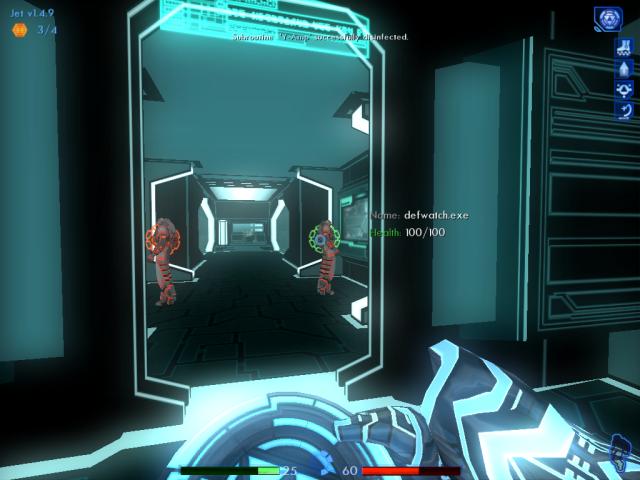
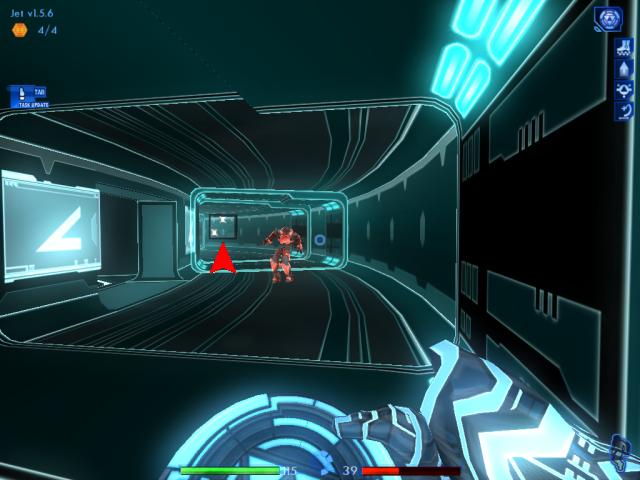
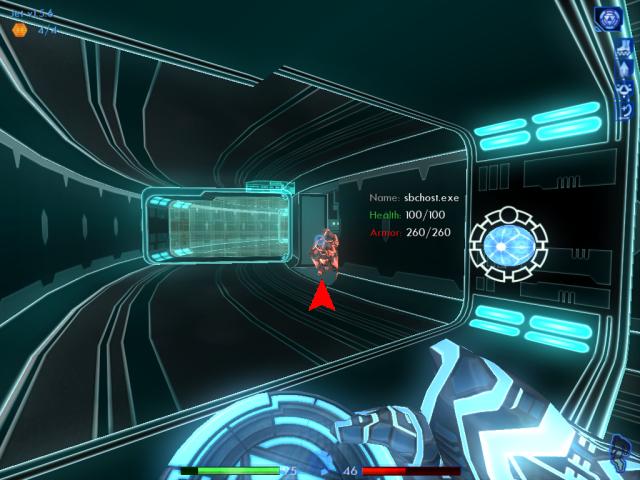
When you reach the end, you'll see a Z-Lot will be wandering around below. Pick him off with your disc, then drop down.
|
|
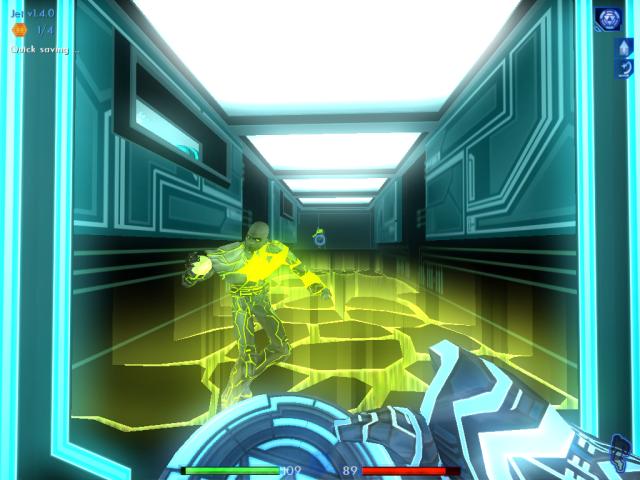
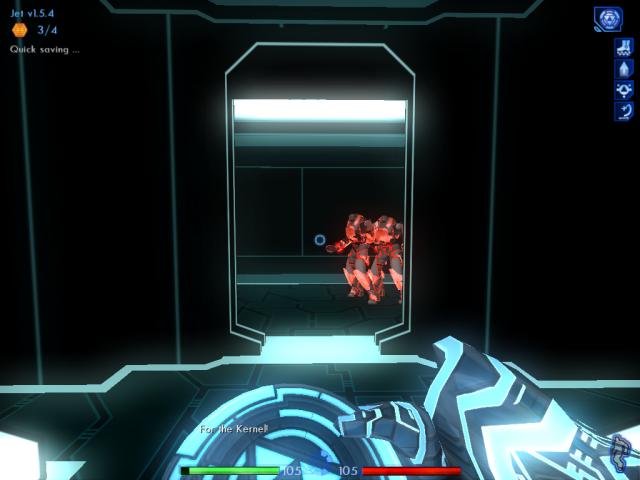
As soon as you hit the floor, turn around. A Z-Lot will be coming at you from behind. While you take him out, be careful not to get hit by a ball. In these close quarters, the ball is deadly. Sometimes the Z-Lot will even end up taking himself out.
|
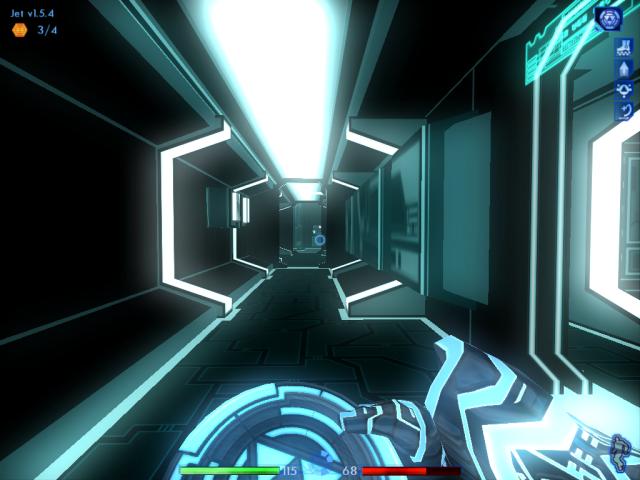
Turn right, and another Z-Lot will be coming at you from the corridor. You should be able to de-rezz him pretty easily.
Move into the corridor, in order to get close enough to eliminate the other Z-Lot at the end. Back out again, and turn left.
|
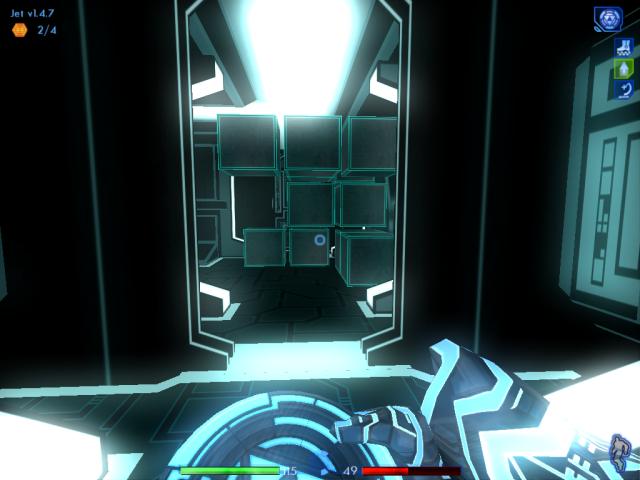
Head through the door, and turn around. Sometimes you will find a build note here.
2/4 1.4.2
|
Cross the hall, and enter the other room. Turn left. Sometimes you will find a build note here.
3/4 1.4.4
|

|
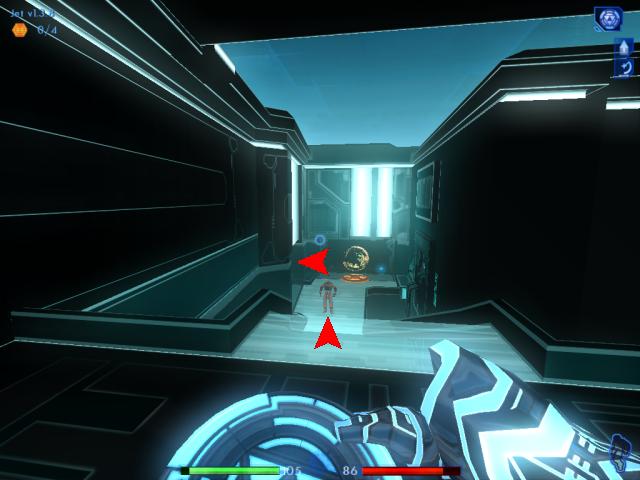
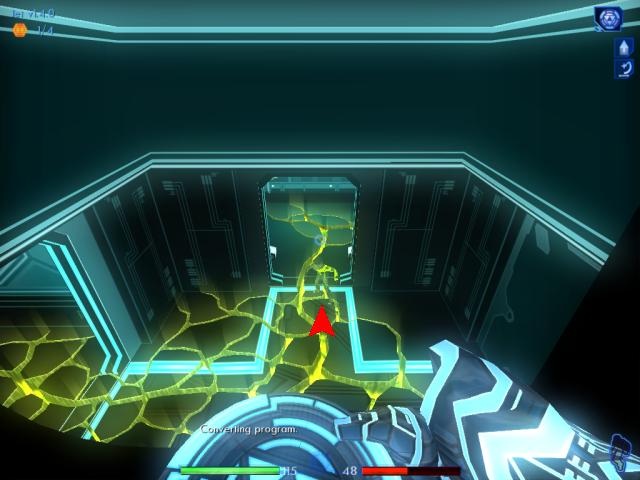
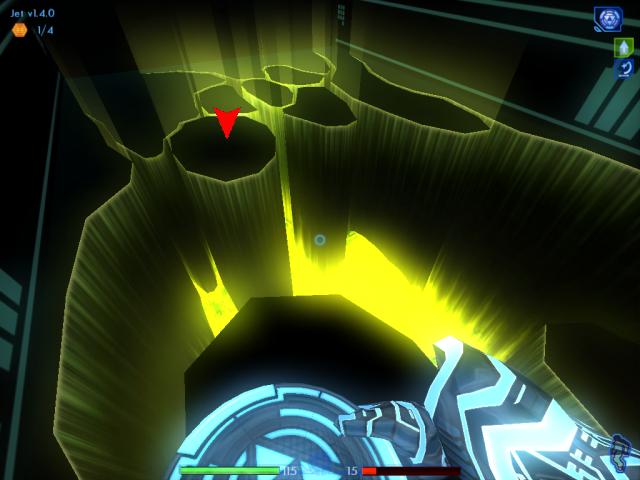
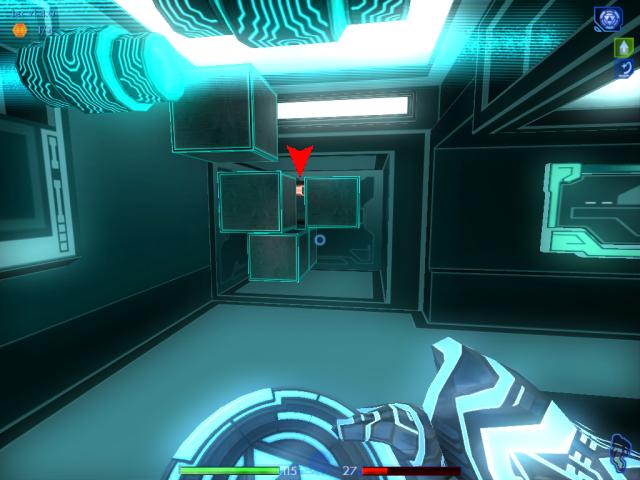
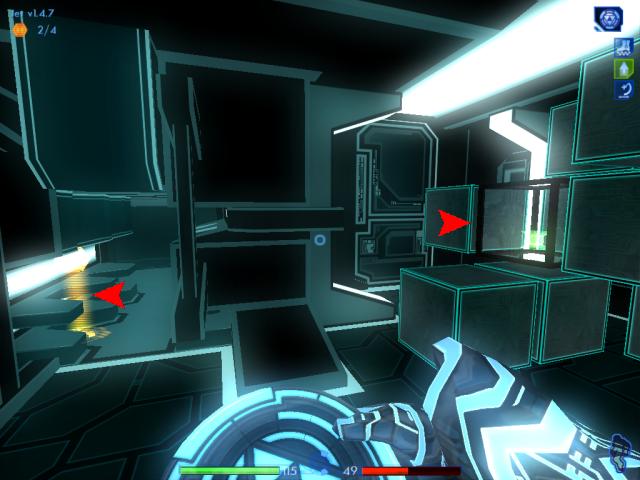
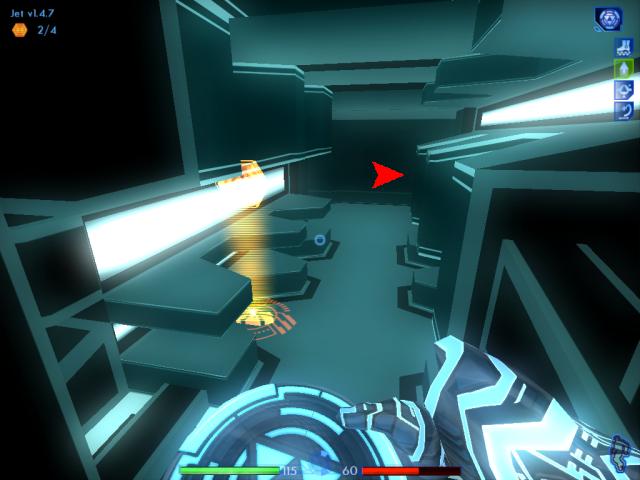
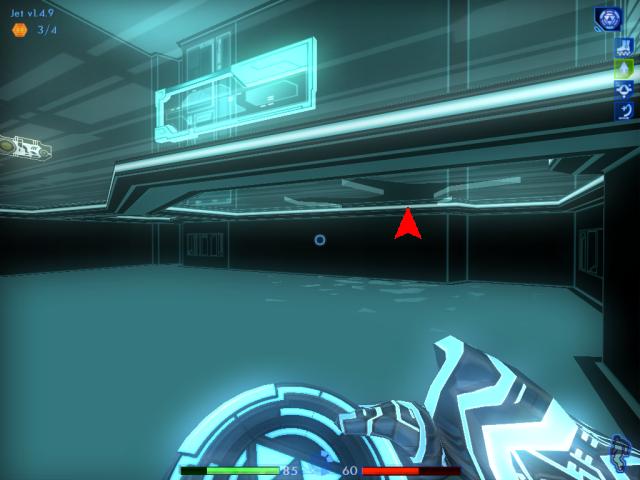
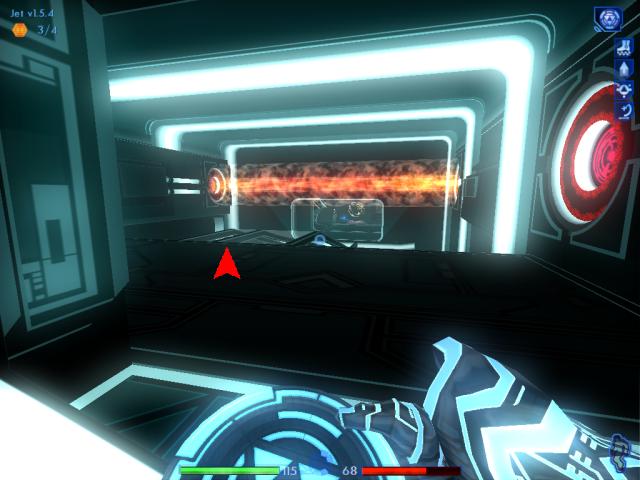
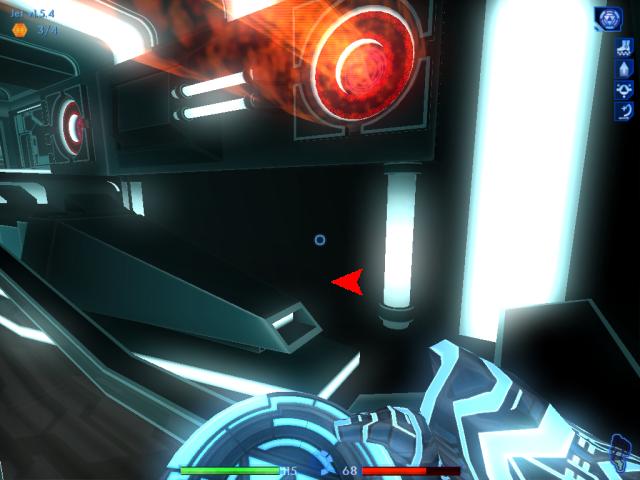
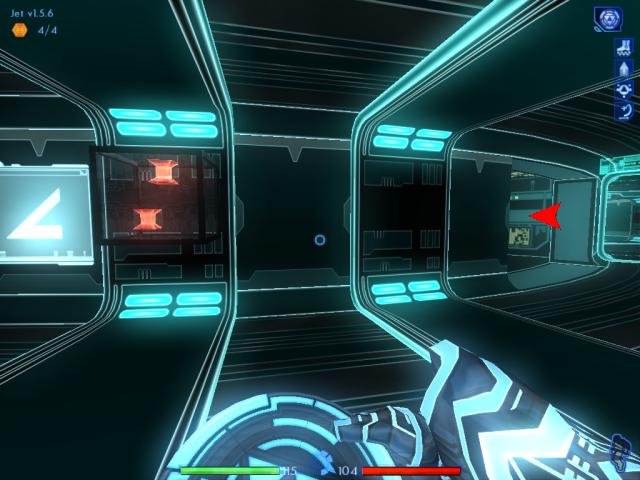
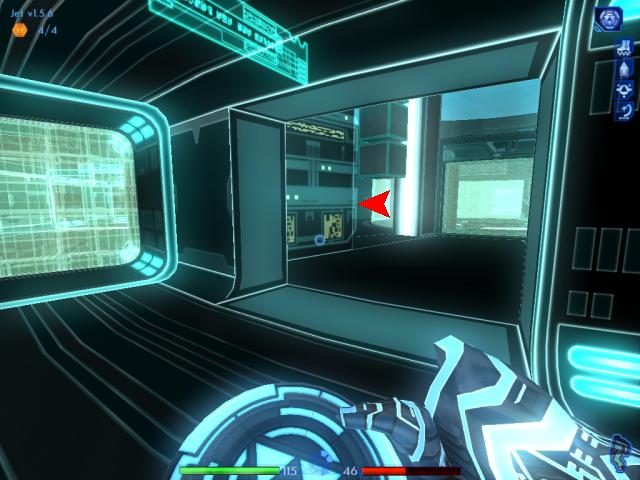
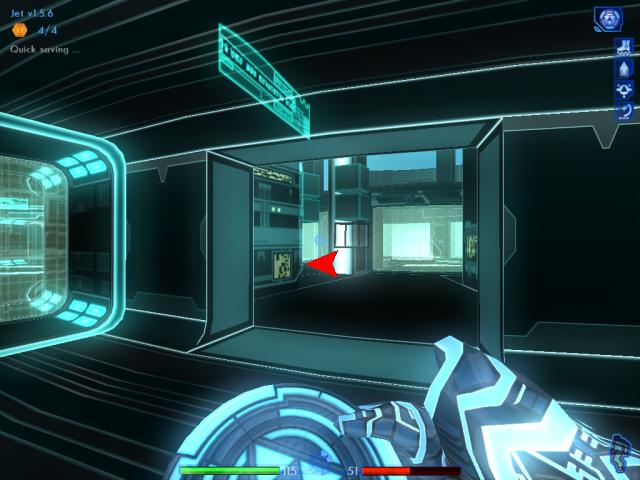
Return to the corridor. The floor is breaking apart, again thanks to virus corruption. Move to the left where the arrow points, then jump across to where the other arrow indicates. You may want to quick save your game first.
|
|
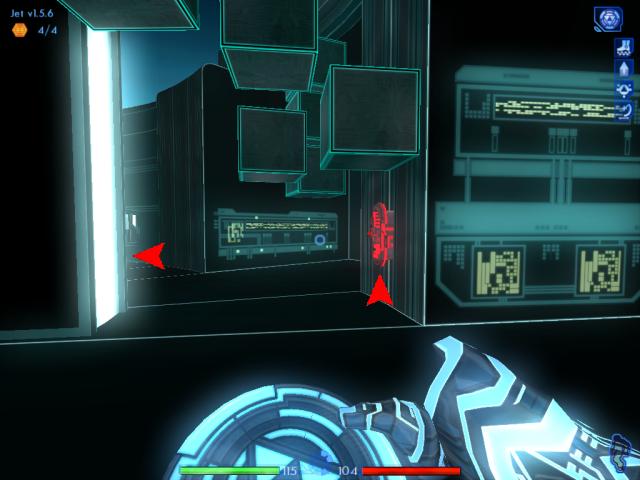
Now jump again, to where the final arrow shows. Move ahead, and turn left.
|
|
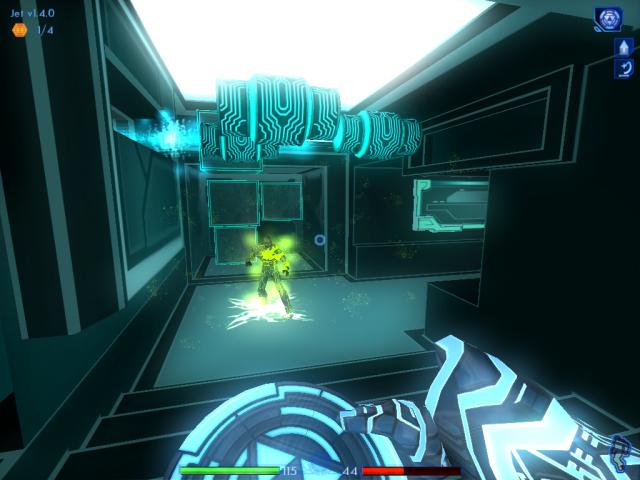
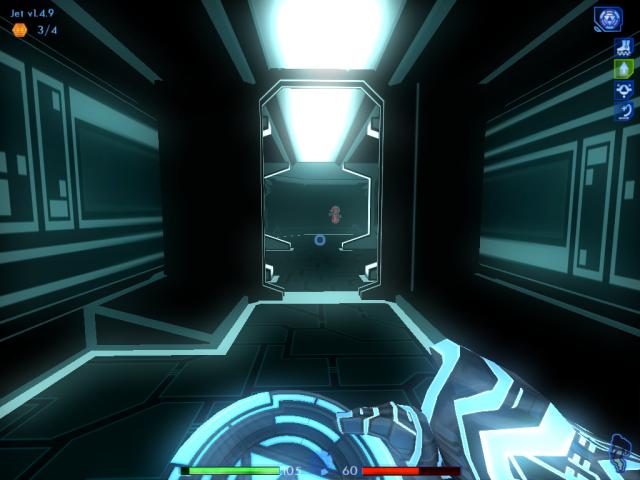
A Z-Lot will rise up from the floor . . . freaky, no? Take that sucker out.
|
|
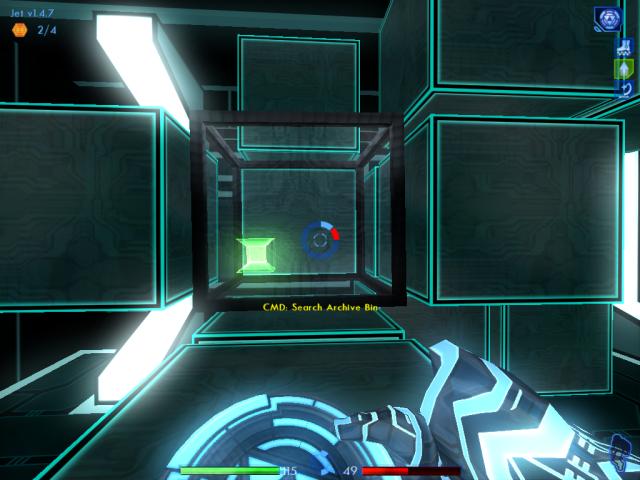
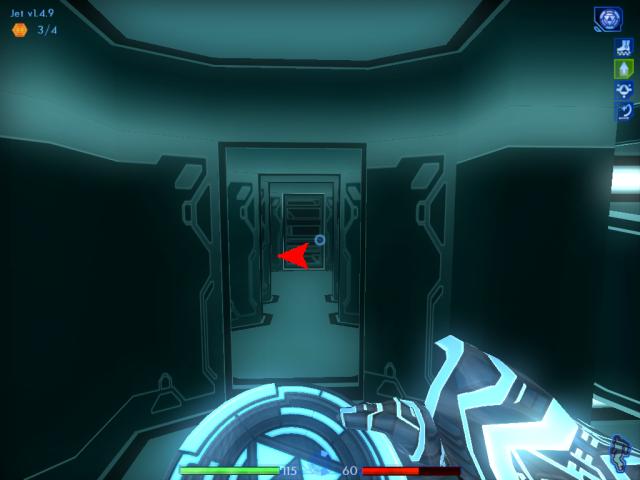
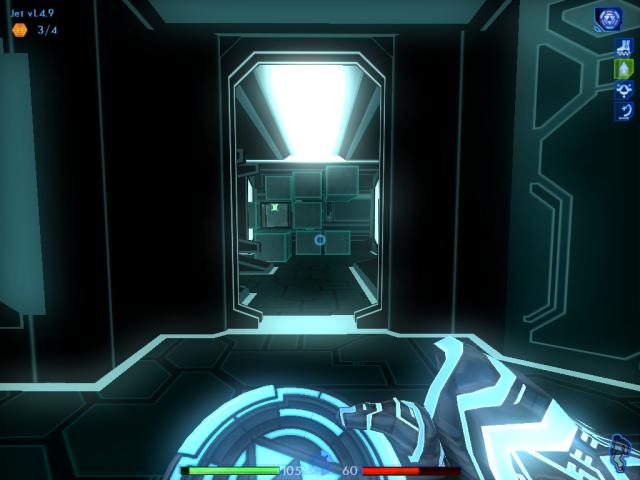
Notice the archive bin behind the blocks? Crouch under the suspended block on the right, and turn left.
|
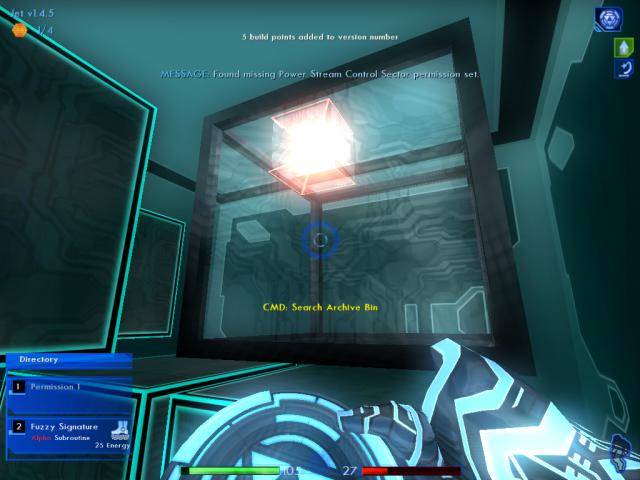
Download the permission and Fuzzy Signature subroutine. Install the subroutine into Jet's memory. You will receive five build points for downloading the permission you needed to get into the Control Sector.
1.4.9
|
|
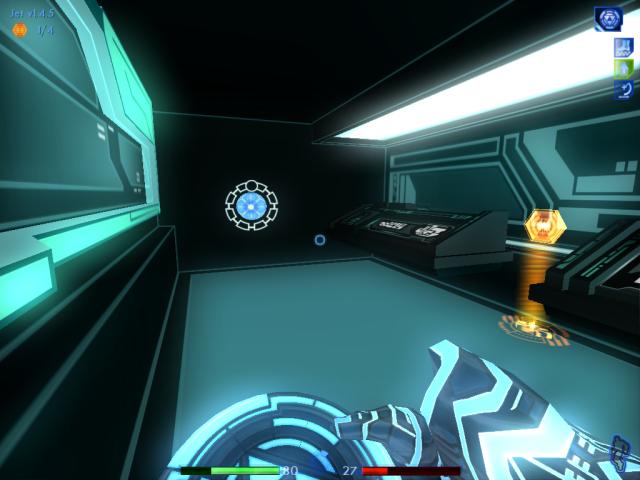
After emerging from behind the blocks, turn left. You'll find an energy patch, and sometimes a build note. Use the patch to recharge.
|
|
Turn around and head back to the blocks, then turn left. Off in the distance you'll see a data stream port behind a force field. It's the same one you used earlier.
|

|
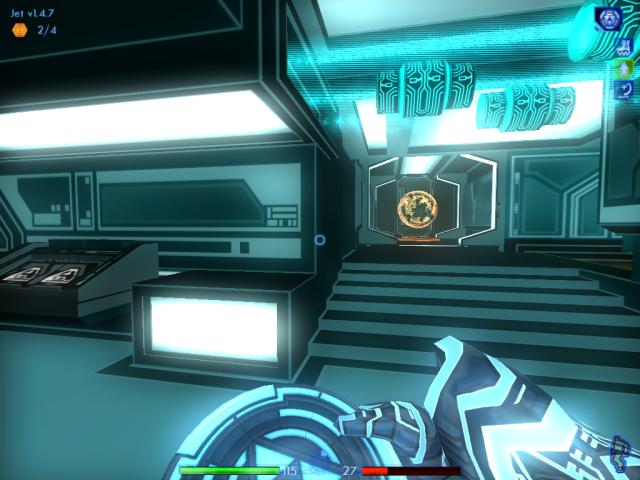
When you approach the field, you'll notice a panel on the wall to the right. Activate it.
|
|
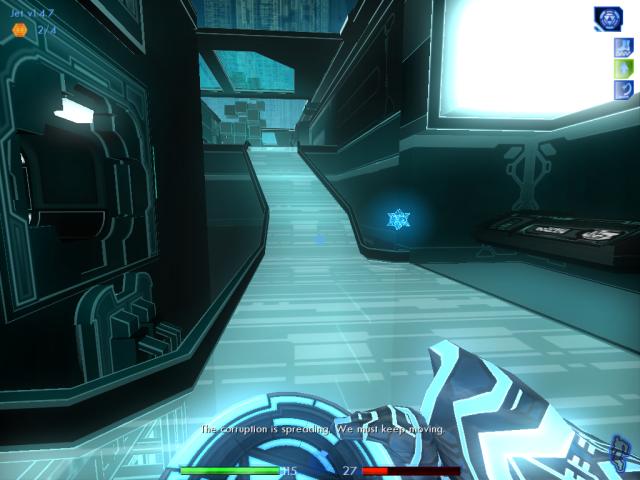
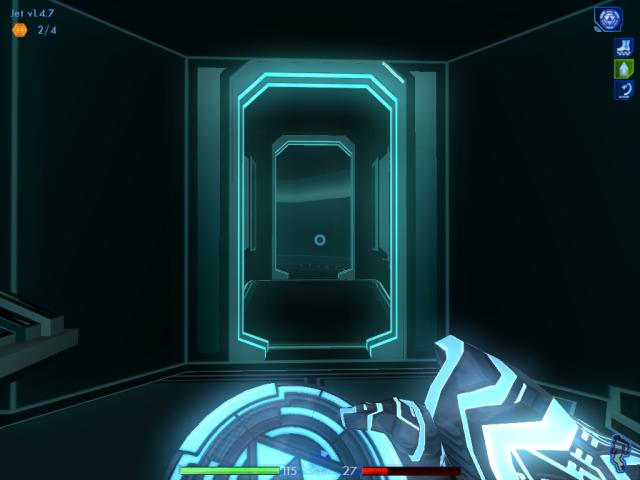
Byte is waiting for you, and asks you to keep moving. Head back to the Control Sector door, that you couldn't enter, earlier.
|
|
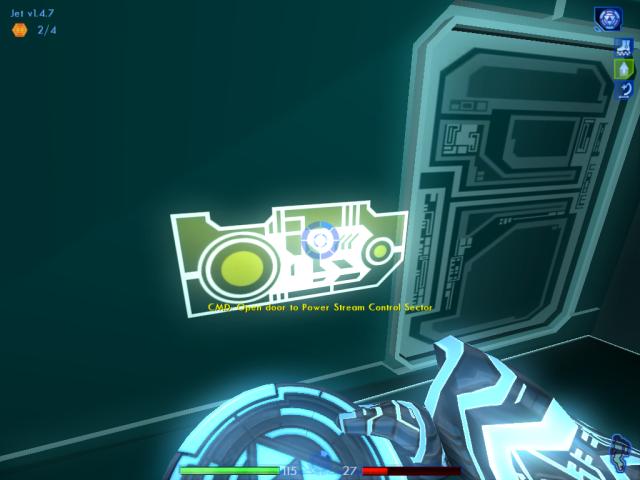
You now have the permission to open this door. Activate the panel.
|
|
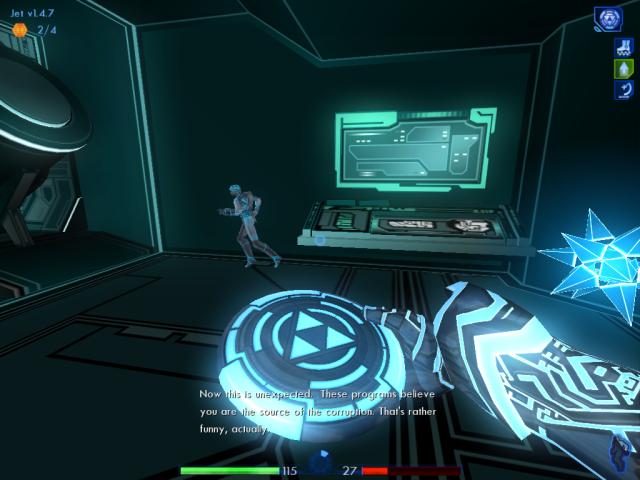
When you enter the room, the program Cornelius will be afraid of you. Byte explains that other programs think you're the source of the virus causing all the corruption.
|
|
Turn right, and head through this short passage. When you've gone through, turn left.
|
|
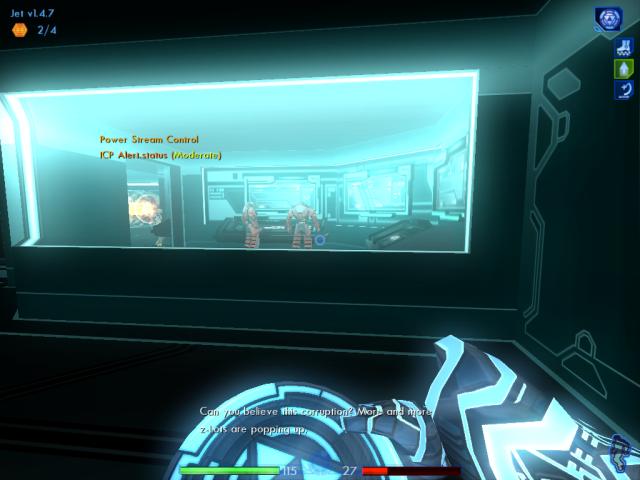
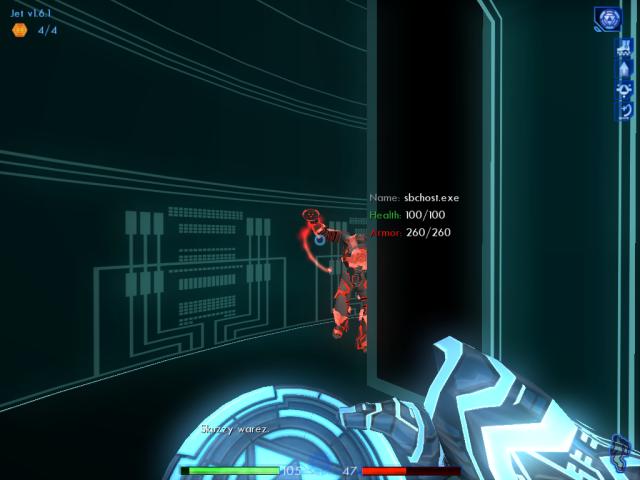
Through the window, you'll be able to see two ICPs talking. Wait until they finish their conversation, then head left for the door. If they don't see you, attack them with your disc. Then back up a bit so they can't hit you unless they come into this room.
|
|
Finish off these two ICPs. Try aiming for the head, which could take out an ICP in one shot. Be sure to sidestep or block when they use their discs on you.
|
|
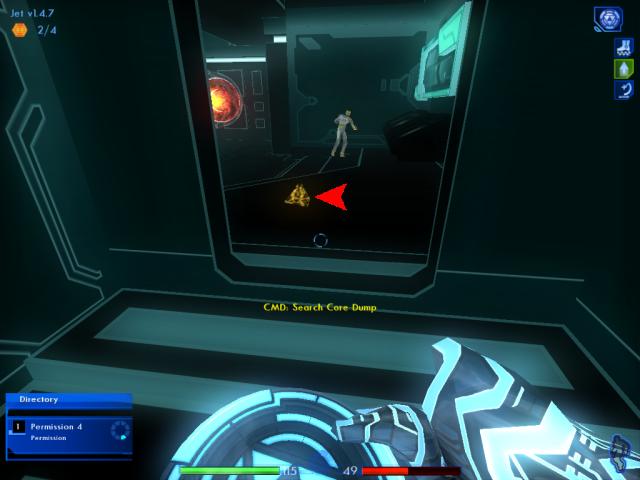
One of the ICPs will drop a permission in his core dump. Be sure to download it before it fades away!
|
|
Walk through the doorway, and turn right. Sometimes a build note will appear inside the room the ICPs were in.
|
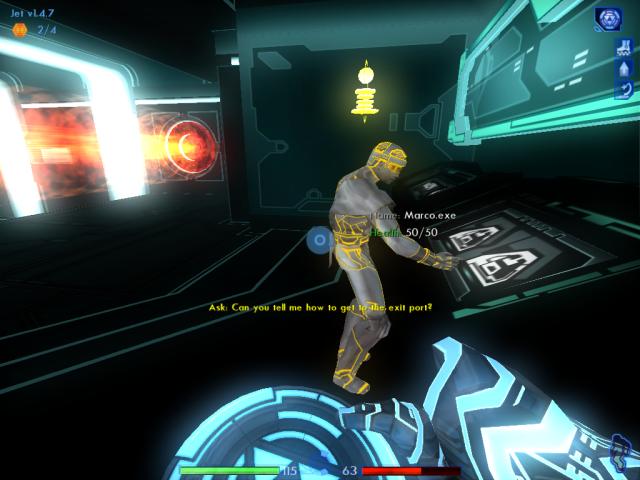
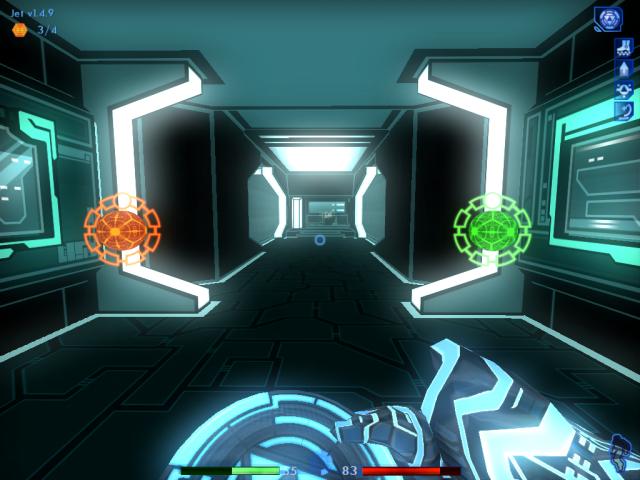
Talk to the program Marco. You'll ask him about the Power Stream. He tells you that you'll need to manually cycle it to a different coupling. If you look through the power stream, you will see Byte waiting for you next to a portal.
Whatever you do, don't get too close to the stream! Quick save your game now, just in case. If you get too near, you will instantly de-rezz.
|
|
If you walk past Marco, you'll see a passage to your right. Head into it.
|
|
At the end of the passage, you'll see a Sec Rezzer. Head toward it, and turn left.
|
|
Move forward toward the blocks, and then turn left again. Walk until you're just past the blocks.
|
|
Turn right. You'll see a build note and an e-mail.
|
|
If you try to download the e-mail, you'll find you don't have the permission required, yet. So ignore the e-mail — and the build note — for the moment, and turn around.
|
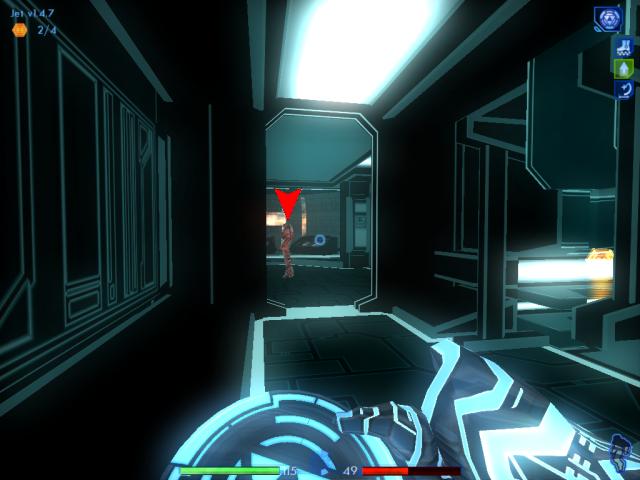
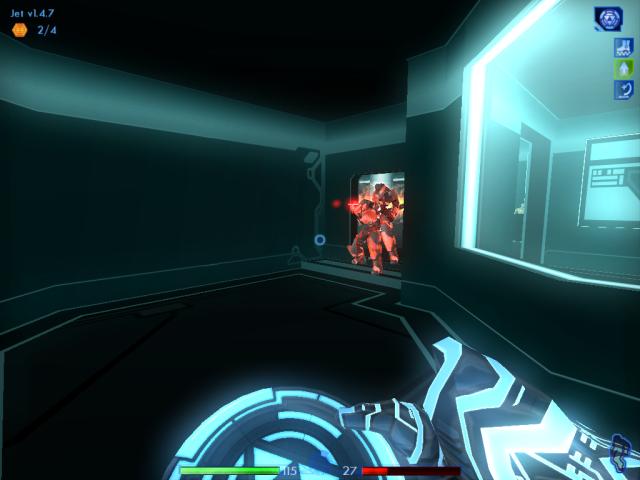
Often you'll find an ICP standing in the next room. Even if you don't see him, like shown in this screenshot, he'll be close by down the next hall. Walk into the room, and attack him with your disc.
Sometimes you'll attract the attention of two more ICPs down the hall, so you'll have to take them out too.
|
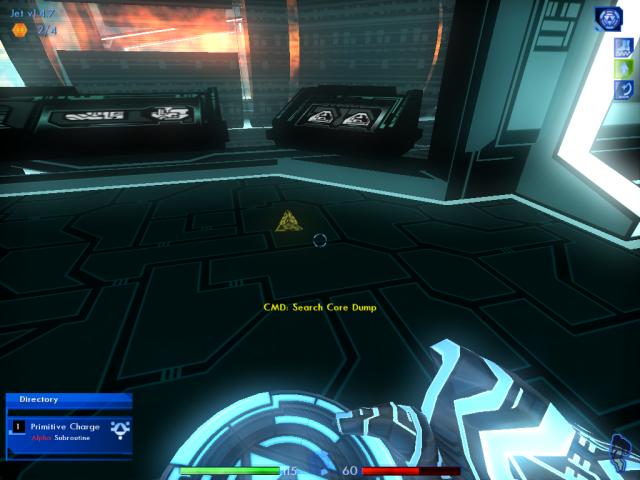
Once you've de-rezzed the ICP, he'll drop a Primitive Charge subroutine in his core dump. You should install the new subroutine immediately, to give your weapon power a boost.
Don't head down the new corridor on your right, just yet. Instead, turn around again and head for the build note.
|
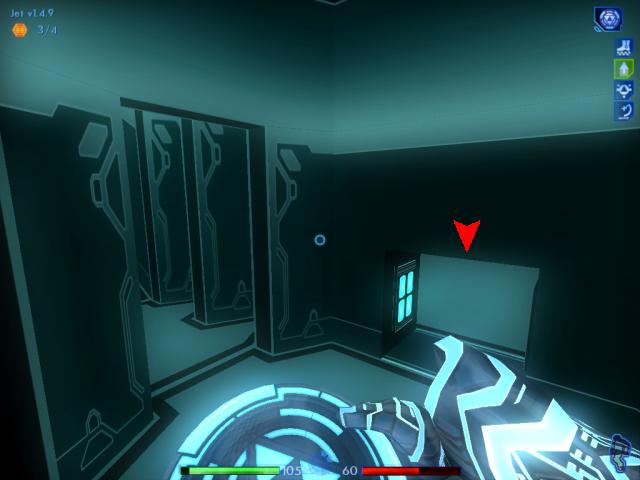
After picking up the build note, head down to the end of this low-ceiling passage and turn right. (A build note seems to always appear in this spot, every time you play this level.)
4/4 1.5.1
|
|
Head down the next passage, and turn left.
|

You'll reach a room with a collapsed bridge overlooking a deep chasm. Now would be a good time to quick save your game.
Step onto the edge of the remaining bridge, and turn right.
|
|
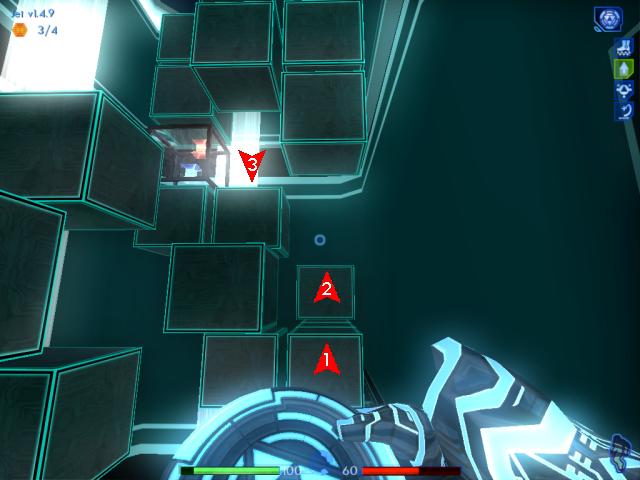
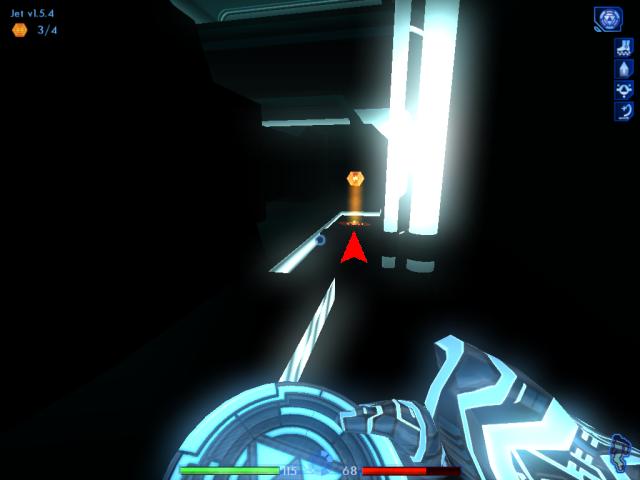
Jump over the gap, and then jump up the blocks in the order shown by the arrows.
|

|
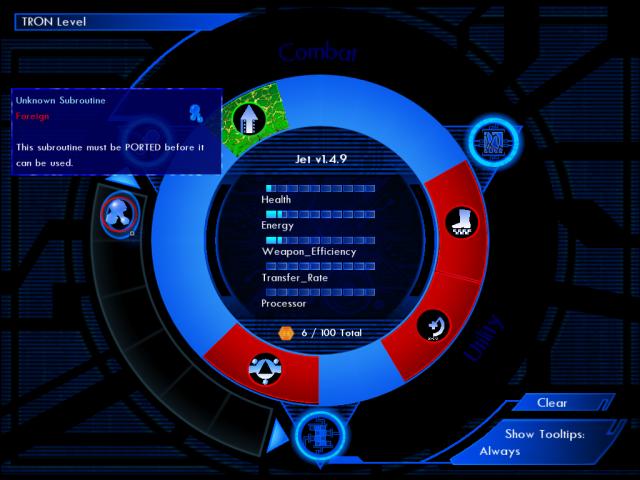
Download the unknown subroutine from the archive bin, and the permission only if you missed it from the ICP's core dump earlier.
|
|
Enter Jet's system memory. Find the foreign subroutine.
|
|
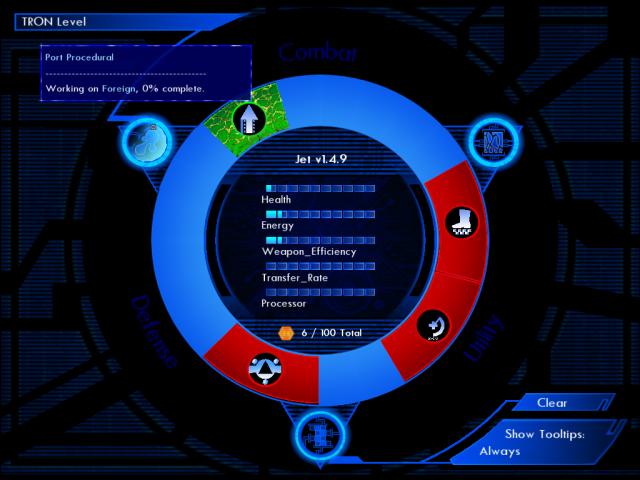
Drag and drop the subroutine onto the Port procedural.
|
|
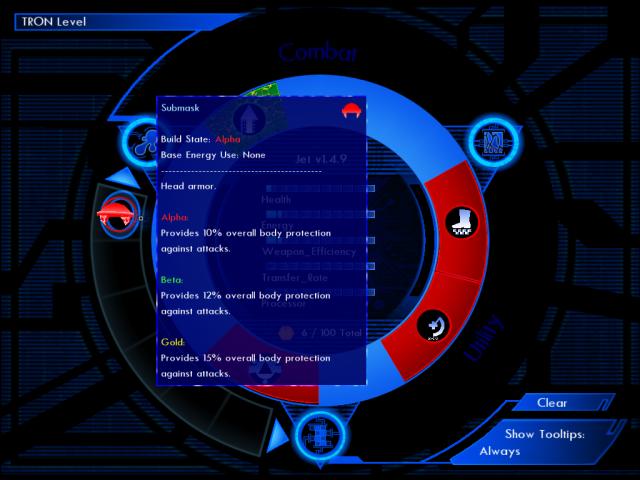
Once the subroutine has finished porting, you'll see that it's a Submask armor subroutine. Don't bother installing it, especially since you don't have room for it right now, anyway.
|
|
Head back to the part of the bridge you came from. Quick save your game again. Turn to face the other side of the remaining bridge, then run and jump onto it.
|
|
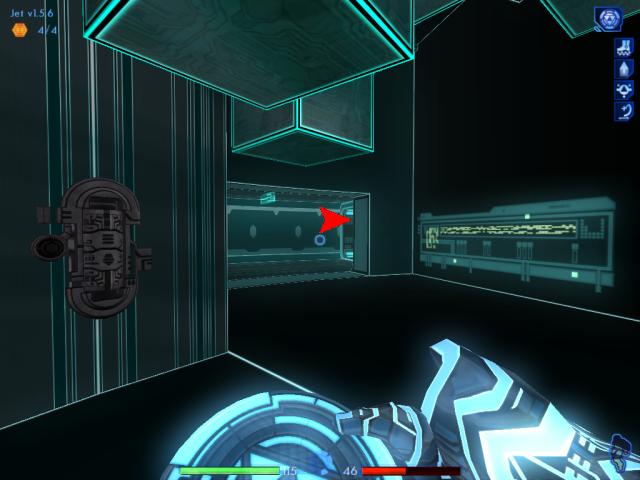
Crouch down, and move through the small square opening.
|
|
Look for the shattered "glass" on the ground, and above it you'll find a hole you can pass through.
|
After jumping up onto the "glass" floor, turn around. You'll see an archive bin.
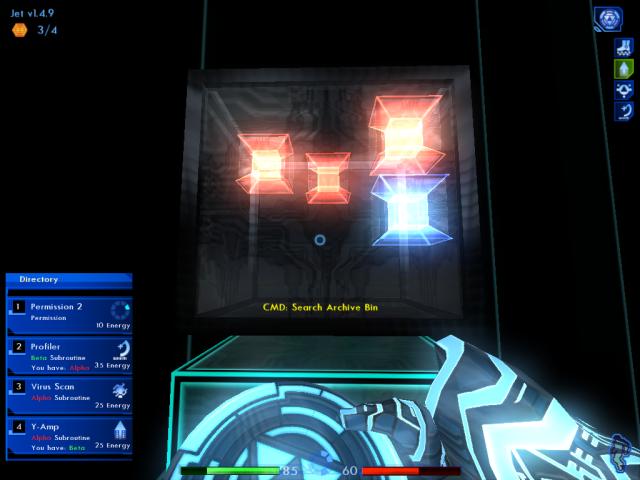
Download everything from the bin except the Y-Amp subroutine, because you already have a better version. Don't bother installing the Virus Scan subroutine yet, you won't need it for a while.
|
|
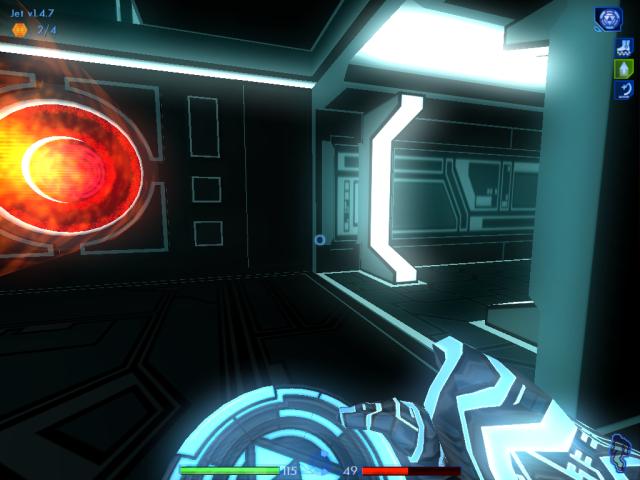
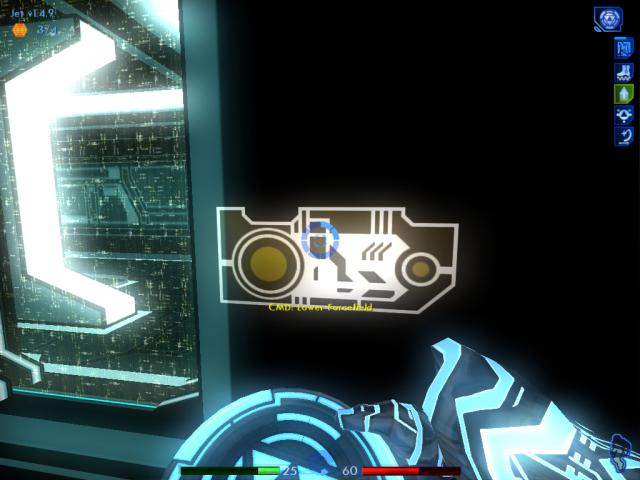
Turn right, and head for the door. It's blocked by a force field. Use the panel beside the door to lower it.
|
|
After the force field is down, move straight ahead to the end of the corridor, and turn left.
|
Take out the two ICPs you find here. Make sure neither of them manage to get to the Sec Rezzer beside you, so they can't call reinforcements!
You may have attracted the attention of these ICPs earlier, and were forced to take them out then. So it's possible when you reach this room, there are no ICPs guarding it.
|
|
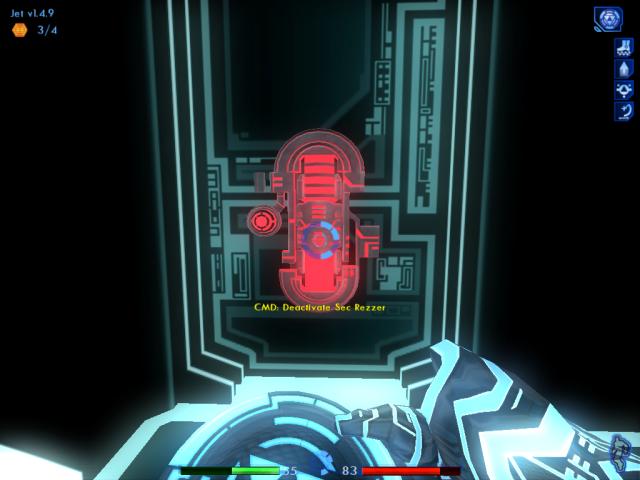
Do yourself a favor, and deactivate the Sec Rezzer to your right. You'll be glad you did, shortly.
|
|
Turn back to the left, and after going in, use the patch routines to restore your health and energy.
|
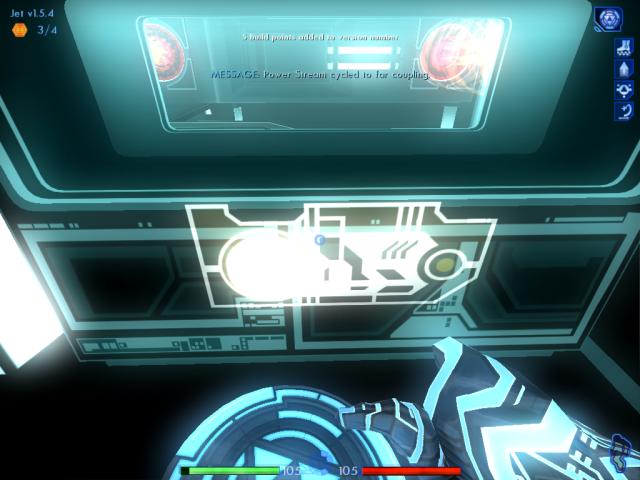
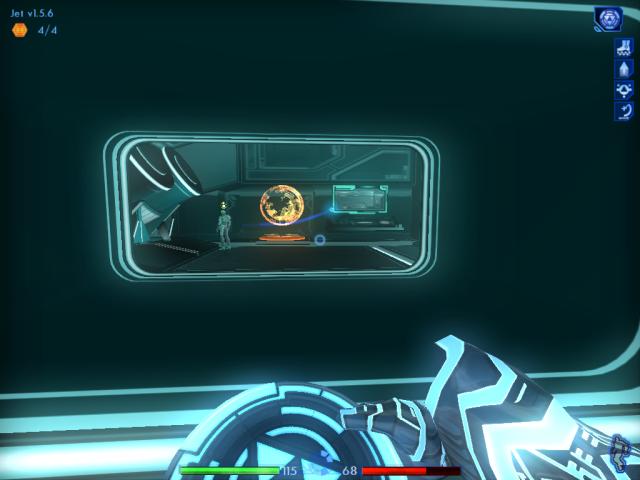
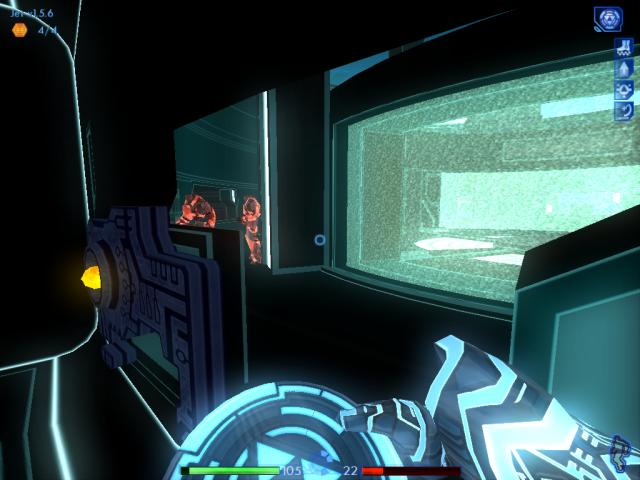
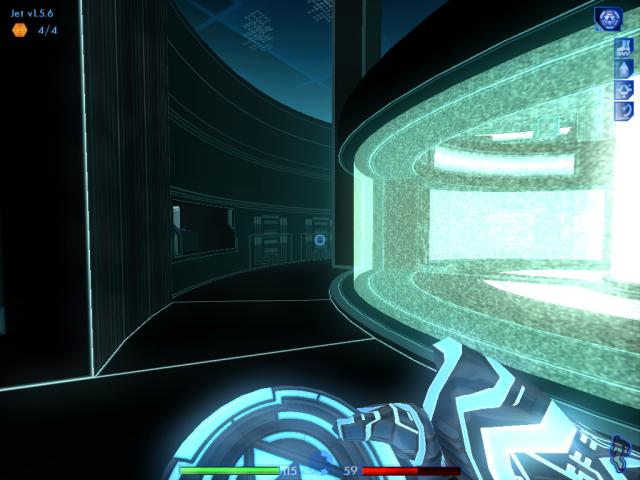
Head to the end of the room. You've found the panel to cycle the power stream! Activate it, and watch through the windows as the stream moves, from one side to the other. You will gain five build points.
Turn around, and head back to the entrance.
1.5.6
|
Don't leave the room just yet. Wait a while. Eventually you'll see two ICPs coming for you. By staying in the room, you narrow their field of attack with their discs, until they come in.
This is also why you turned off the Sec Rezzer. These guys can't call for reinforcements now.
|
|
After exiting the room, head back the way you came.
|

|
Head to the end of this corridor, and turn left.
|
|
You're back at the e-mail, that you weren't able to download earlier. But now you have the permission you need, so download it.
|
|
Move forward past the blocks, and then turn right. Go through this short corridor, and turn right again.
|
|
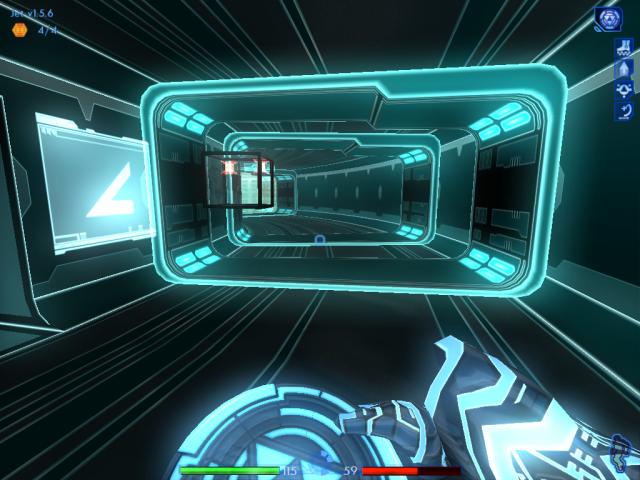
You can see the area with the power stream from here. Make your way into that area again.
|
|
As you can see, the stream is no longer blocking your way. Head down the ramp.
|
|
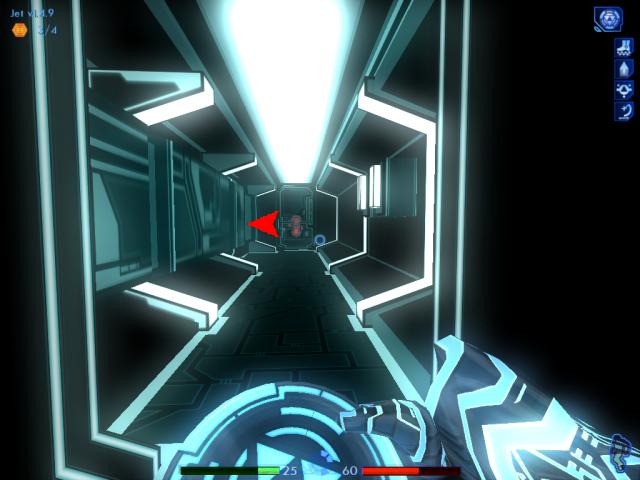
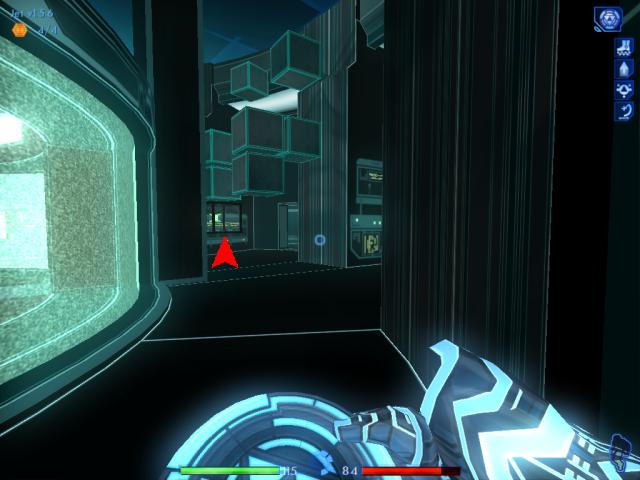
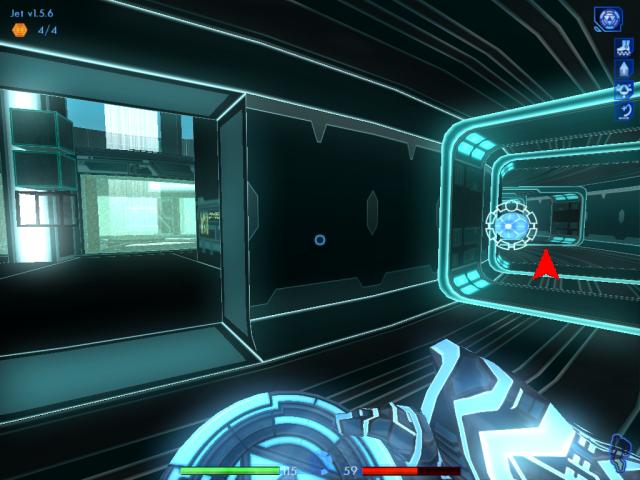
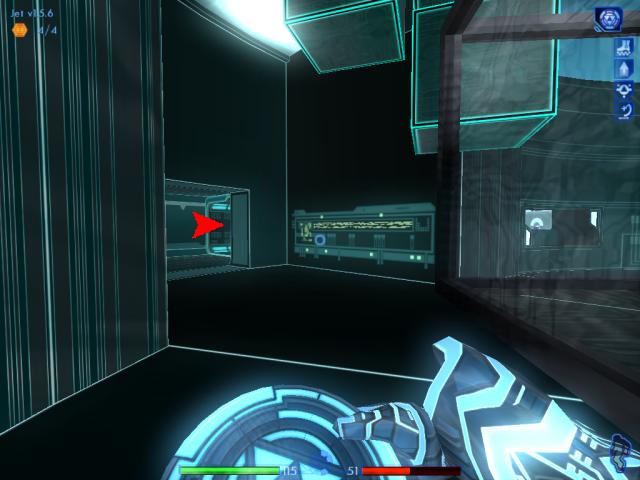
When you reach the bottom, turn left. Head where the arrow indicates, and turn left again.
|
At the end of this area, you will sometimes find the last build note.
Turn around and head back to the bottom of the ramp.
|
|
Ahead waits Byte and the data stream portal.
|
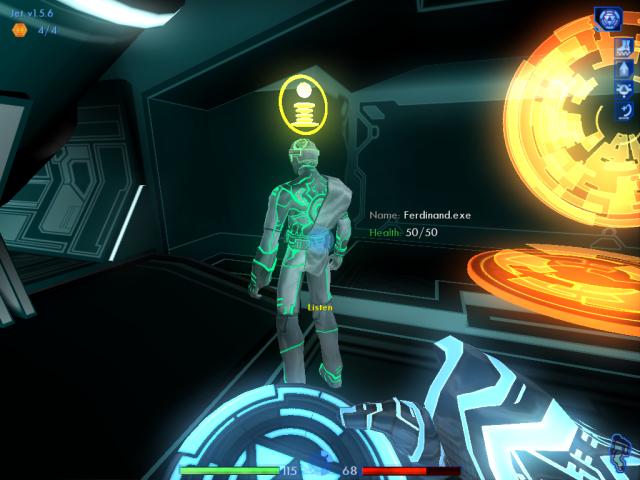
Listen to what the program Ferdinand has to say. He tells you to leave as soon as possible, because the Exit Port is about to be used, preventing you from entering.
Quick save your game before entering the portal. Though there isn't any need to come back, take note that once you've gone through, you can't return here because the portal is 1-Way only.
|
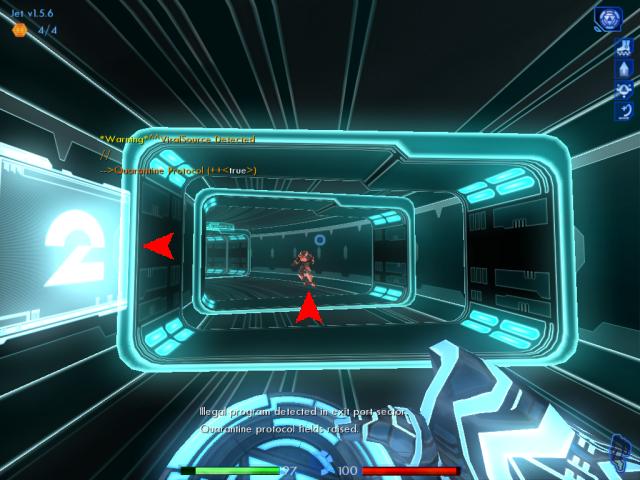
When you enter this area, you will set off an alert, and force fields will go up around the exit port. So making haste to the port, is now a moot point. The fields need to be taken down, first.
In this area, the directions which you can travel, and order you can complete objectives in, are completely arbitrary. Though I will be presenting the way I chose to finish this area, you can do things differently if you like.
Turn right, and start heading around the area through this outer passage, in a counter-clockwise fashion. The idea is to completely remove all resistance from the ICPs you'll encounter, before you begin the task of finding a way out of this level.
|
|
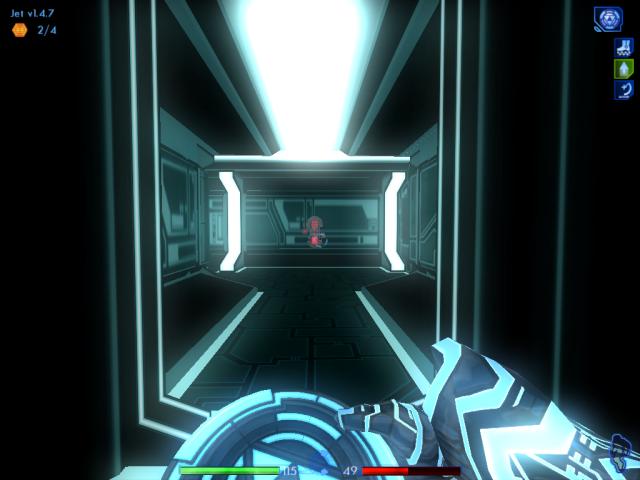
Keep moving until you can see the number "2" on the wall beside you. You should soon encounter your first ICP. Take him out.
|
|
Move on, and you'll quickly come across two patch routines, right before "3". Use them to restore your health and energy.
|
|
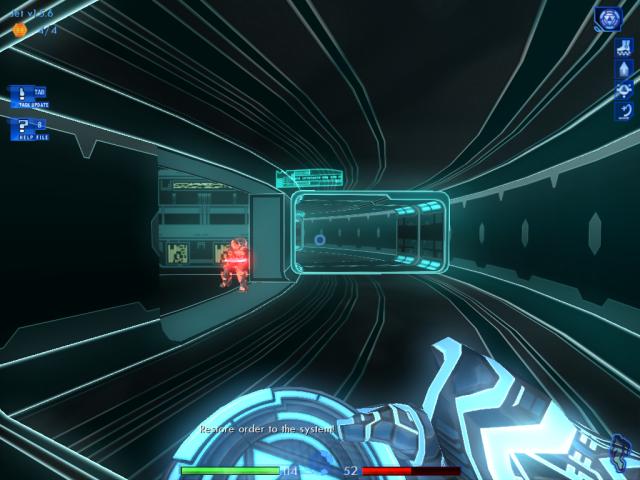
Once past the two patch routines, you'll meet the second ICP you need to eliminate, coming from the opening on the left.
|
|
Continue moving forward. Near the number "4", where you'll also find an archive bin, you should encounter your last ICP for the moment. De-rezz him, and you'll be able to roam the level freely for a while.
|
|
Inside the archive bin are two subroutines you already have, so ignore it. Instead, go through the opening indicated by the arrow.
|
Turn right, and you'll find a Sec Rezzer. Disable it, because it will save you from trouble later.
Move ahead and to the left, now.
|
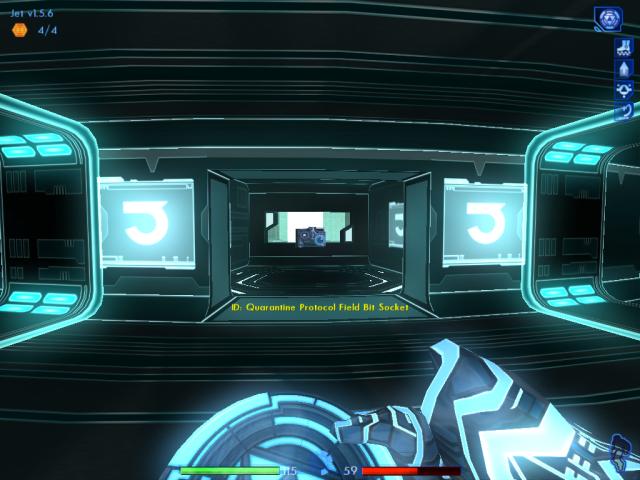
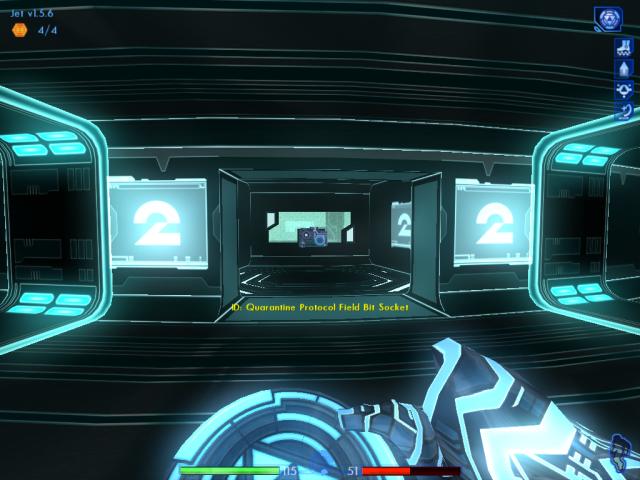
While travelling down the passage, you'll soon find an archive bin at eye level.
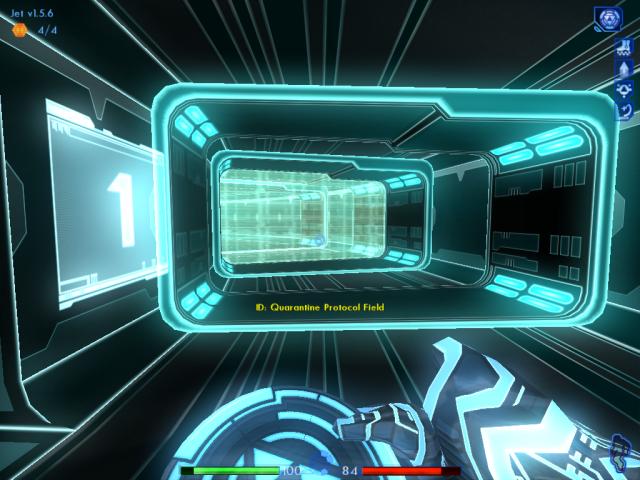
Notice to the left, you can see the Quarantine Protocol Field blocking the exit port. You'll be doing something about that, shortly.
|
|
Download the e-mail inside the bin. Then head out the opening to the right.
|
|
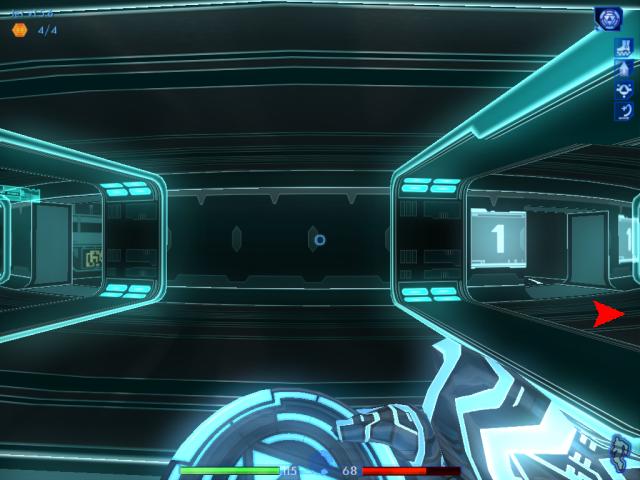
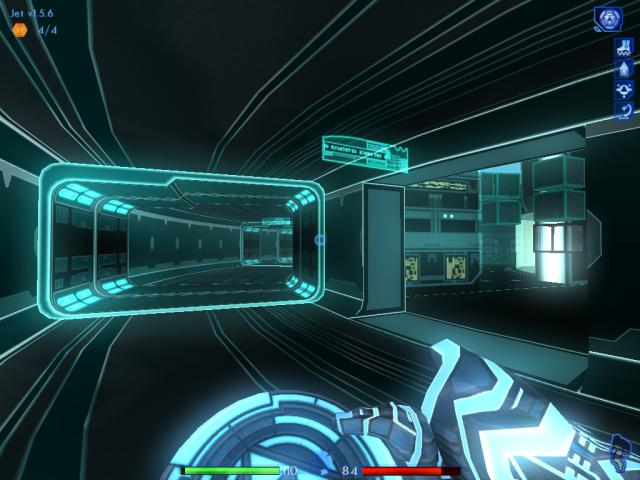
Turn right, and head down the corridor until you see the number "1" on the wall.
|
|
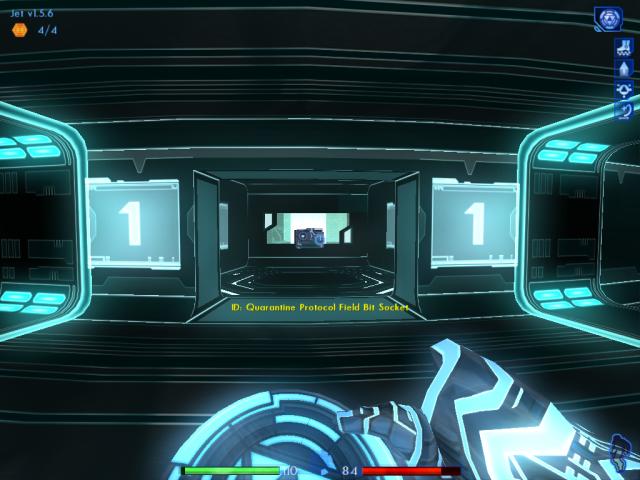
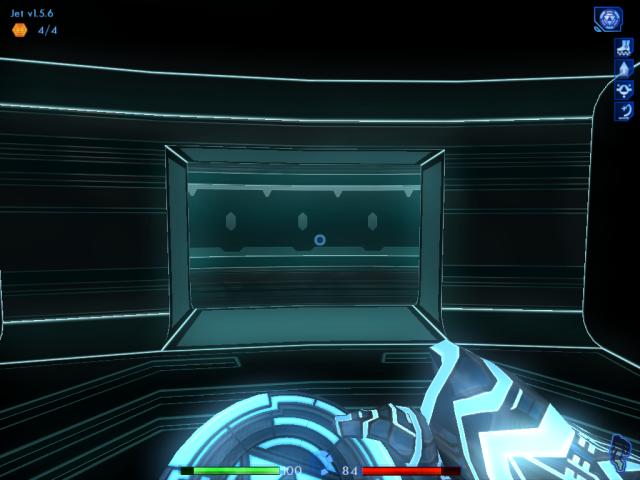
Inside this room is the first of the four Bit Sockets that control the force fields around the exit port.
|

|
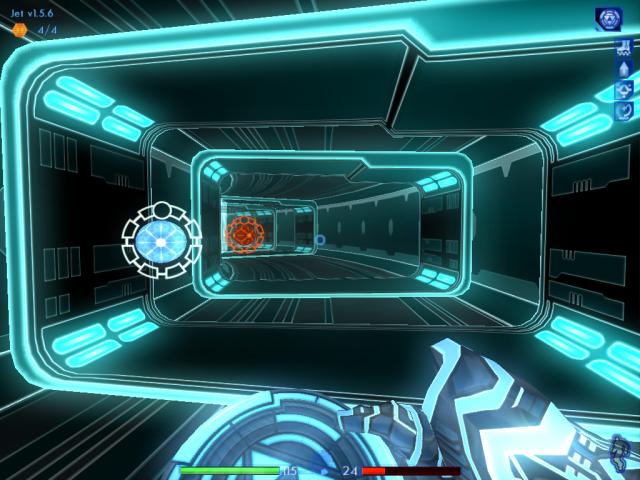
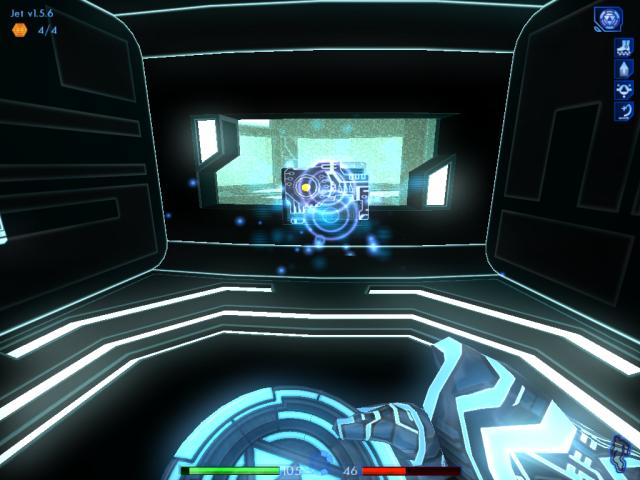
Walk up to the socket. You'll see that when you activate it, you transfer energy to the bit occupying the socket. Keep holding the activate key until the energy bar reads full.
|
|
Once you've completed transferring energy, the bit will overload and burn out. Don't worry about the energy discharges, they can't harm you.
|
|
Turn around, and head back out into the passage.
|
|
If you turn left, notice that a new force field has appeared. Your attempts to break into the exit port are causing additional protocol fields to kick in. Not to worry, though.
|
|
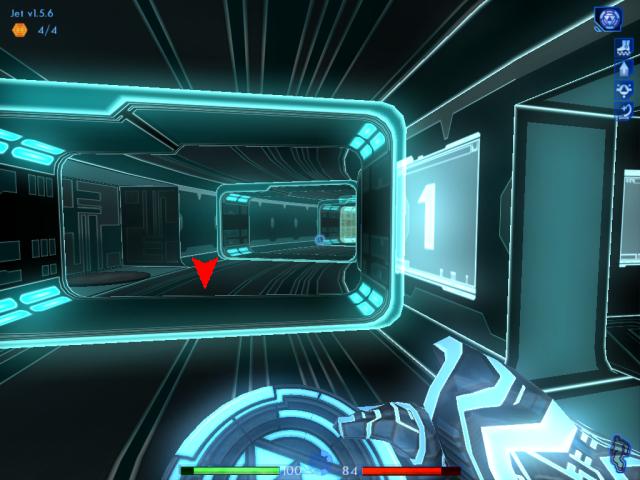
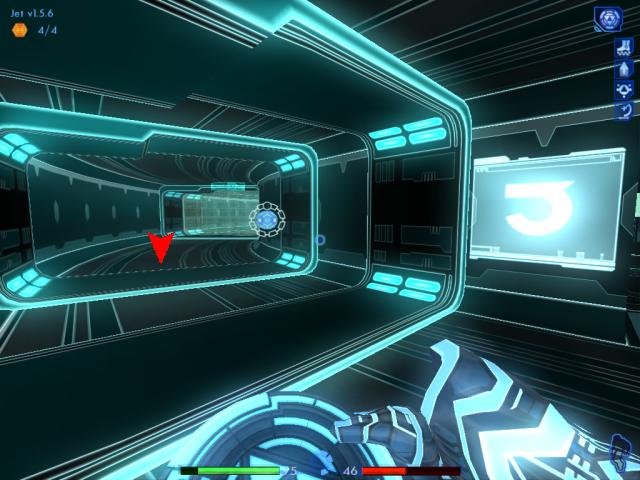
Turn around, and head down about halfway between where you were and the next field, roughly where the arrow shows. Stop here and wait a moment.
|
When you overload a bit, there seems to be about a 50/50 chance that two ICPs will be spawned, and attack you. So every time you overload a bit, we're going to assume the worst, and prepare for their approach. You can usually tell if they've been spawned, because the music changes and you can hear their voices shouting. If this doesn't happen, then you won't have to worry about ICPs until the next overload.
So, two ICPs should come running from the opening on the right. Take them both out.
|
|
Move to the opening. Head through, and then turn left.
|
|
Go through the next opening. Turn right, and keep walking past the archive bin, until you see the number "4".
|

|
Enter this next room with the bit socket. Overload the bit again.
|
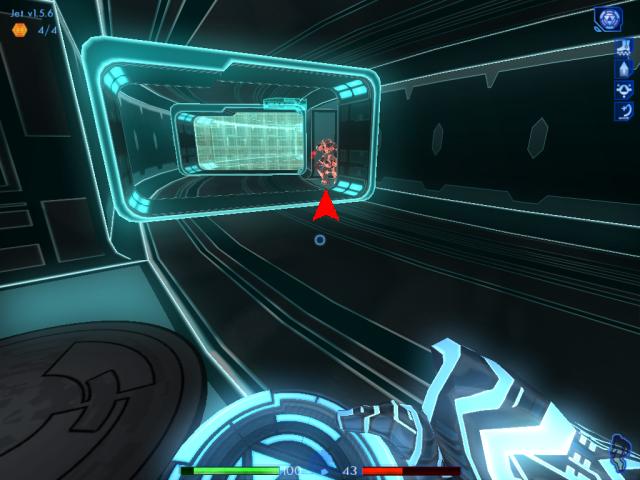
Once you've finished overloading the bit, wait a moment and look to the left through the window.
Two ICPs will likely show up. Stay here, to make it harder for them to attack you. It's also a little more difficult for you to hit them, but you should manage to defeat the ICPs pretty easily.
|
|
After going back out into the passage, turn left. Move forward until you reach the opening on the left.
|
|
Head into the opening, and turn left. Travel down this passage until you reach the archive bin.
|

|
Once you reach it, turn left. Head through the opening, and turn left again.
|
|
Move past the patch routine(s), until you see the number "3".
|
|
Go inside, and overload the next bit.
|
|
Come back out, and turn right. Head to near where the arrow indicates, halfway between your current position and the force field.
|
|
Once again, there's a chance two ICPs will attack. Take care of them, as usual.
|
|
Head through the opening, and turn left.
|
|
Head through the next opening, and turn right. Keep moving until you see the "2" on the wall.
|
|
Same story as before, go inside and overload the bit.
|
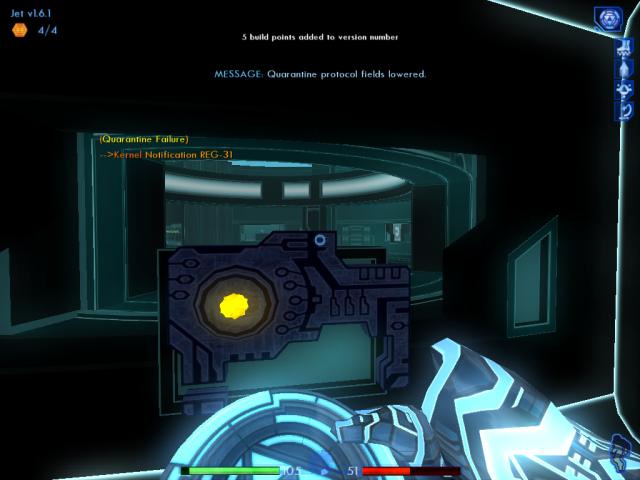
Finally! Mission accomplished. The exit port fields are down. You receive five build points for completing this section's objective.
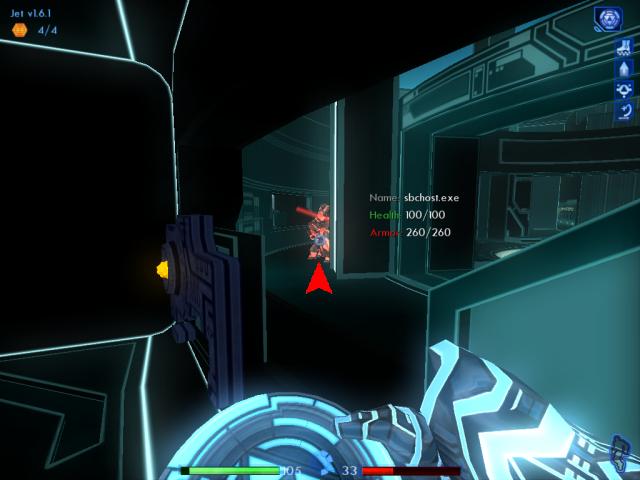
Don't leave yet, wait to see if another two ICPs show up.
1.6.1
|
|
If they do, eliminate them.
|
|
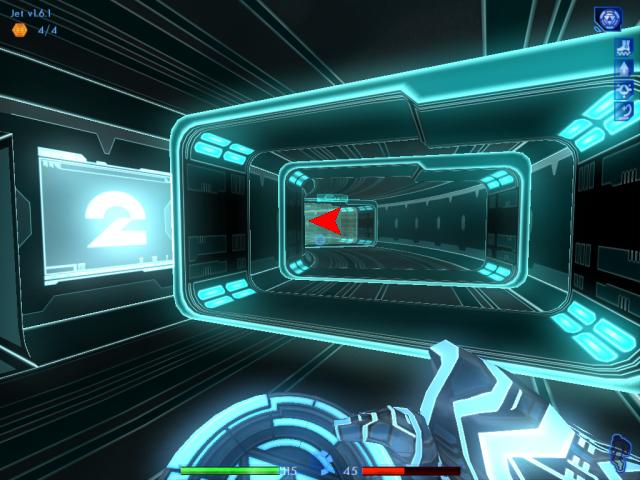
Turn around, and head back out. Turn left. Walk back down the corridor, and through the previous opening on the left.
|

|
Ahead lies the exit port. Move to where the arrow indicates. Stop there, before entering the port.
|
|
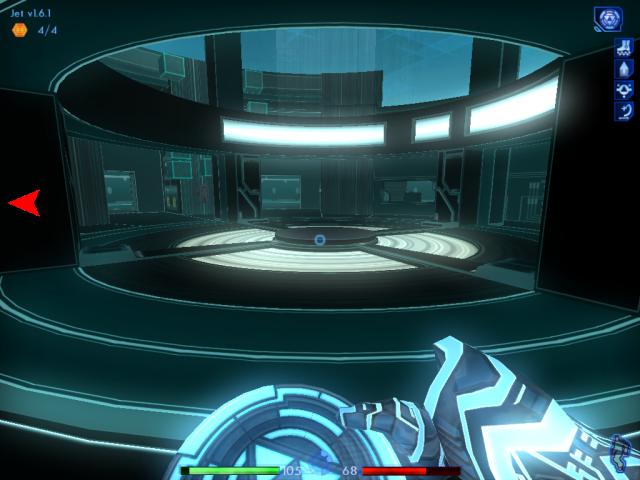
Head to the left. Listen if you can hear yet more ICPs approaching.
|
|
If they show up, take out the last remaining ICPs.
|
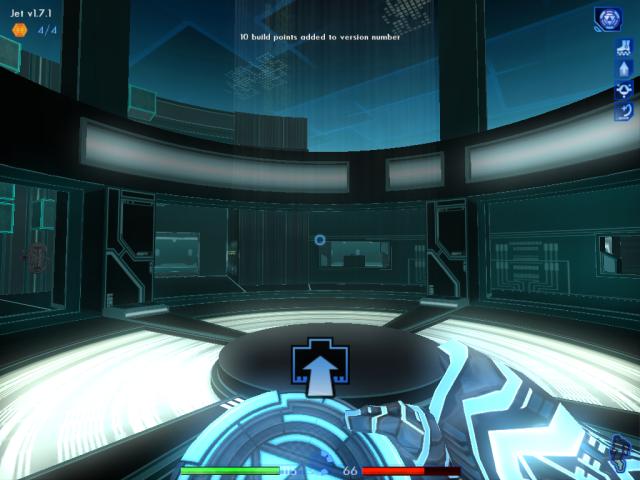
Turn back, and finally step into the exit port. You receive ten build points for finishing the level.
1.7.1
|
Final build version for this level: 1.7.1