8.2.7 Primary Digitizing
The transport has taken Jet and Mercury to the Primary Digitizing area of the Encom server, where Ma3a is stationed. Mercury asks that they split up and try to find Byte first, then Ma3a. Ma3a needs to be freed, before this part of the Encom system completely succumbs to corruption.
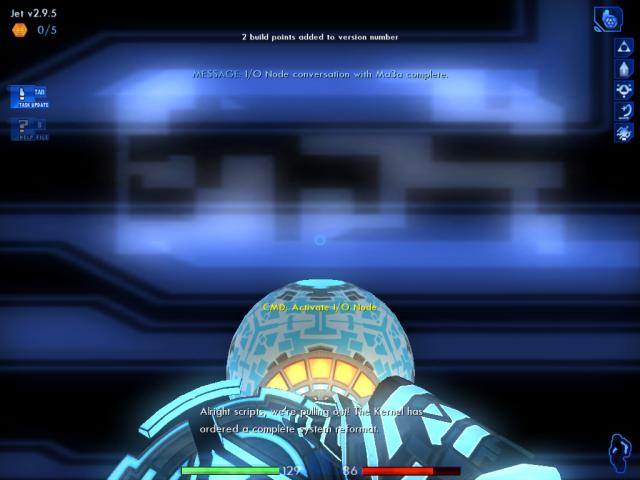
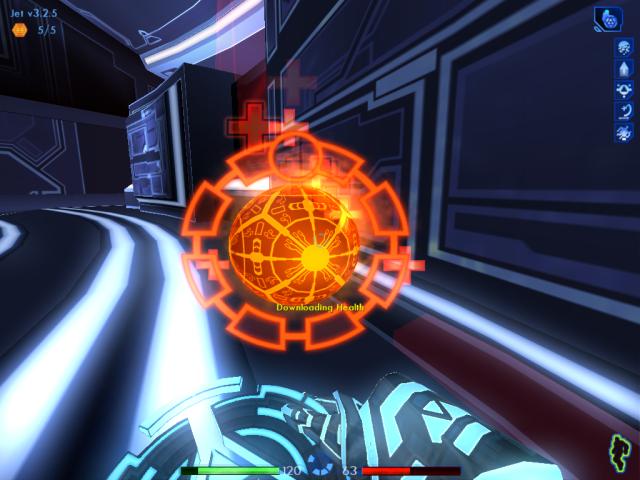
After finishing a conversation with Mercury, and then Ma3a, you are awarded two build points. Ma3a also gives you a Ball Primitive to use as a new weapon.
In the distance, you hear ICPs mentioning that the system will soon undergo a complete reformat. Whatever that means exactly . . . it doesn't sound good, does it? 
2.9.5
|

|
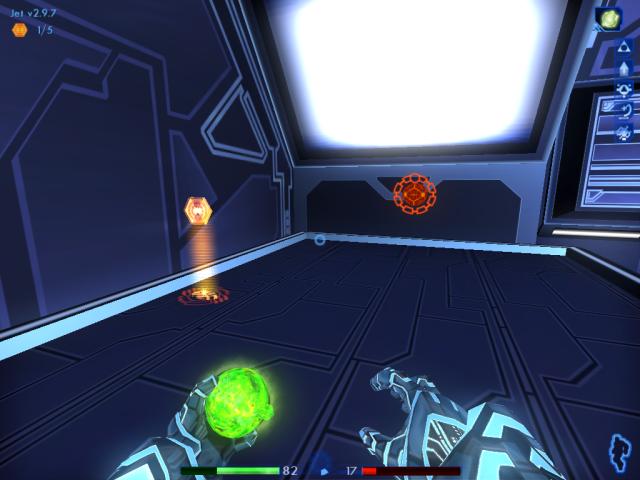
Turn around. Behind you is an energy pool, with an archive bin suspended above it. If you wade in the pool, it will continuously recharge you. Move to the bin now, and download the e-mail inside.
|
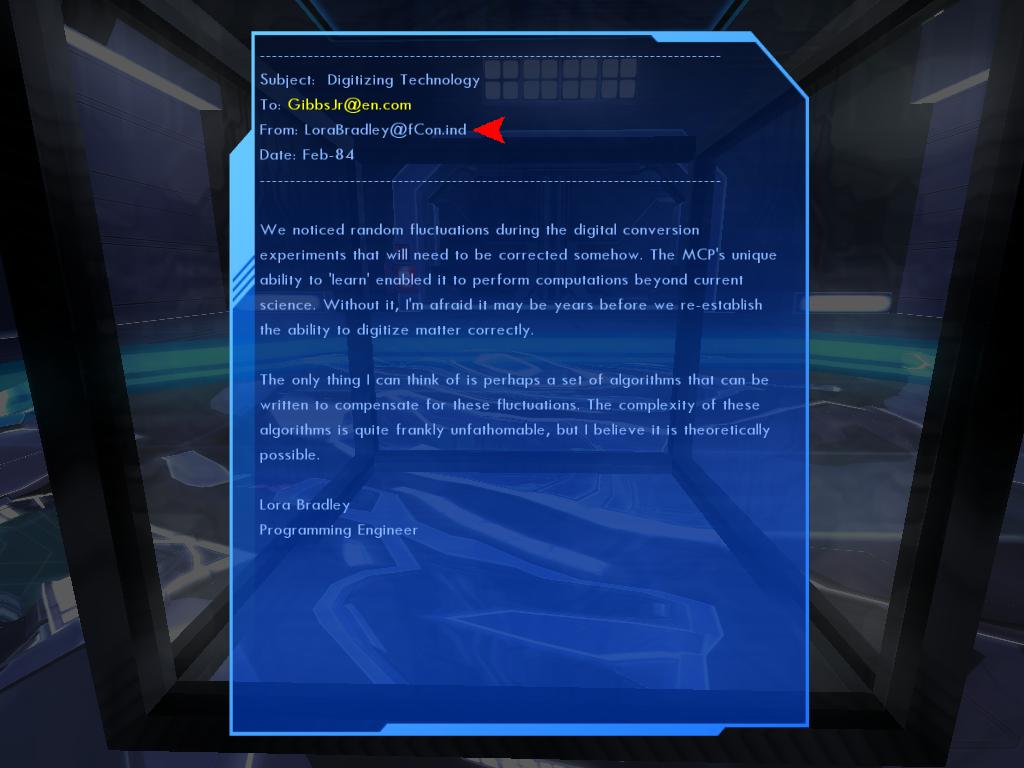
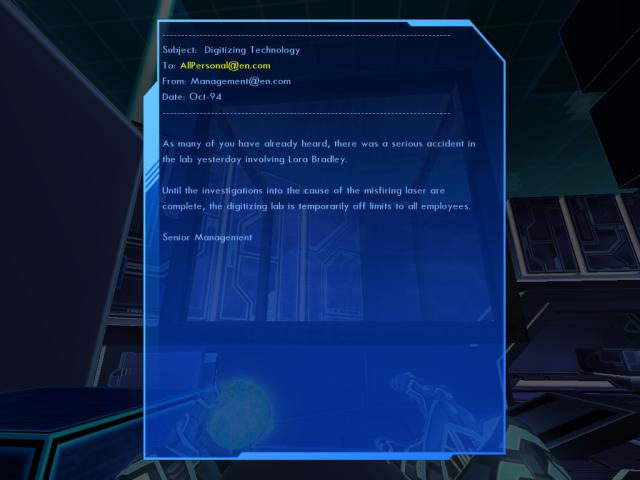
The message is from Lora, back in '84. Notice though, that the address is LoraBradley@fCon.ind
. . . hmm, when did Lora go to work for fCon? 
|

Go past the left side of the bin, until you reach a control panel on the wall. When you get there, you'll overhear a conversation between two ICPs just outside the doors. Listening in is good for another laugh. 
After they've finished talking, quick save your game (F5 key), wait about 30 seconds . . . and then open the doors.
|

|
If you waited long enough, one ICP should either be standing nearby, or off to the right. Take him down with your disc.
|

|
Grab his core dump, including the permission he dropped.
|

|
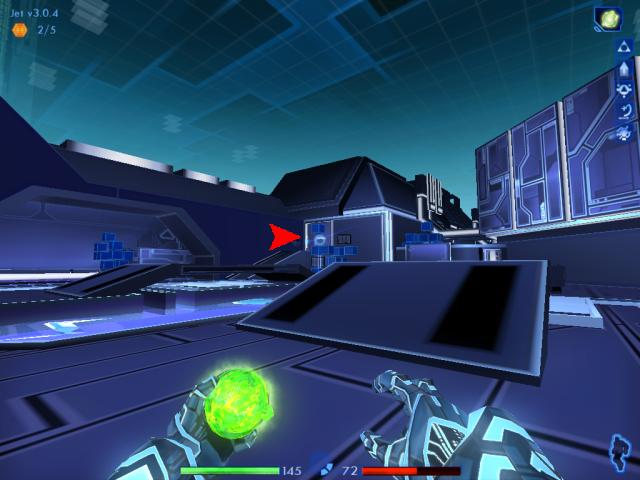
Turn left. Another ICP will either be up close, or off in the distance taking cover behind some blocks. As you combat this ICP, be careful not to hit the female civilian program standing nearby, as indicated by the arrow.
|

|
Take a few steps back now, and look up. After eliminating the ICPs, one or two Z-Lots will attack. One of them could be on the support beams overhead.
|

|
If there's no Z-Lot above you, turn around. A couple of them will show up on the other support beams, further down.
|
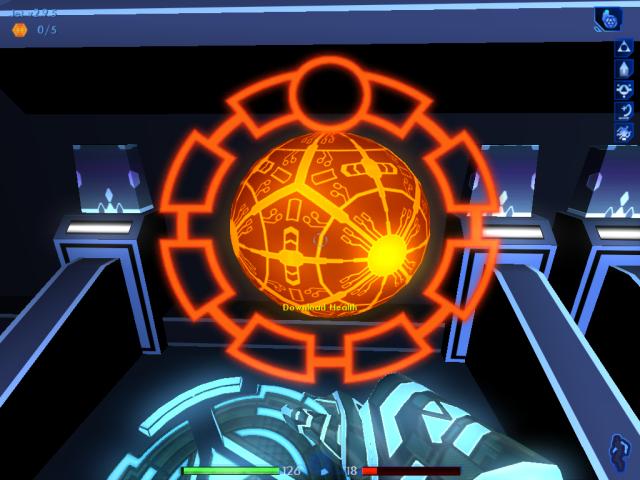
After fighting off the Z-Lots, your health will have suffered. Move all the way to the end of the corridor, and use the health patch there to recharge. If any of your memory blocks or subroutines were affected, defrag or disinfect where necessary.
Now turn around, and head back to the blocks. Stop by in the energy pool if you like, to fill your energy meter.
|

|
When you return to the blocks, Yvonne (her name could be different) will talk to you. She feels sorry for Byte, who was recently used in a pong match against his will.
|
Move right, and check in between the blocks for a build note. If it's there, take it.
1/5 2.9.7 2.9.7
|
|
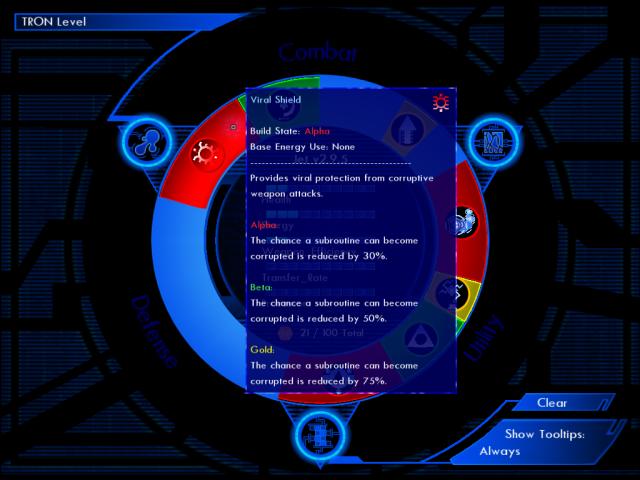
Before we go any further, take the time to install the Viral Shield subroutine you downloaded previously. You will definitely be needing it from this point forward.
|

You may also want to switch to using the Ball Primitive. Although you could continue using the disc, it's a good idea to practice combat with the other weapons from time to time. Their effectiveness in certain situations may surprise you. A properly aimed ball, will take out Z-Lots with ease.
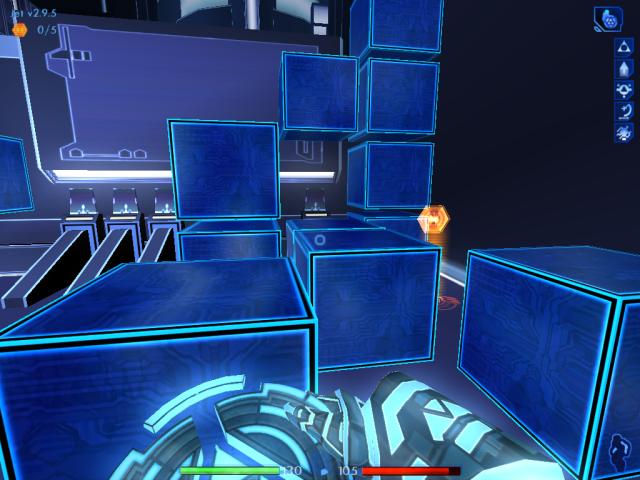
Quick save your game, and jump up the blocks until you reach the top one where the arrow points.
|

|
Once on top, quickly turn around. If you can see a build note ahead, run and jump onto the beams, then duck inside the opening.
|

After grabbing the note, turn around and look back the way you came. You'll be able to see what's in store for you, when you jump over the wall below.
Quick save your game, then run and jump back on the blocks you came from. Drop down a couple of blocks until you're below the wall again, so the Z-Lots can't pound you with their attacks.
|

Do another quick save. Look up, and hold down the fire key for a few seconds, then release. You'll fire a ball over the wall. Be careful to get it over the wall, otherwise it will stick on the wall and then blow up in your face.
Do this a couple more times. The idea is to keep the Z-Lots back a bit, and if you're lucky you may actually hit one or two of them. Now, jump on top of the wall.
|

Welcome to Hell. This is the beginning, of what is easily one of the most difficult parts of the game.
When you fire the ball, try to aim as precisely as possible at each Z-Lot. You will have to get a feel for timing, trajectory, and distance, using this weapon. Eventually, you'll either be able to hit them dead-on, or at least land the ball nearby and it will then explode.
One of the main reasons for using the ball here, is that you can take out multiple Z-Lots in one shot, if they're close together. Since they keep coming in hordes, you can see why it's necessary to take them out as quickly as possible. A lot of players would probably want to use the LOL here, but it saps too much energy and leaves you vulnerable while you hold still firing.
|

If the Z-Lots start pounding you — which won't take long — drop to the ground and keep moving, so you aren't a sitting target. Do your best to take them down, without getting yourself killed.
It certainly won't be easy . . .
|

|
If you managed to survive the onslaught in one piece, head for the large energy pool in the center of the room, and use it to recharge your energy. Then, facing away from the wall you jumped over, turn left. Move to the large opening ahead.
|

|
Two archive bins can be seen inside. Head for the one on the right.
|

|
Download the permission in this bin. You can ignore the other bin, because it contains subroutines you already have.
|

|
Turn around, and go back outside. Walk all the way to the other side, where the other large opening is. Inside, you can see a health patch, and sometimes a build note, on top of a large column.
|

|
Jump up these blocks, to reach the column.
|
Pick up the note if it's there, and then refill your health charge.
2/5 2.9.9
|

|
Drop back down the blocks, and head for the archive bin at the other end of the room.
|

|
Only download the upgraded sequencer subroutine. The rest, including the unknown subroutine, are useless because you already have them.
|
|
Head back to the other large opening again. On the way, use the pool to recharge your energy. When you're standing in front of the opening, turn right.
|

|
Byte has taken refuge at the top of the ramp, ahead.
|

Talk to Byte twice. You receive five build points for finding him, plus you'll reach a new version milestone!
3.0.4
|

|
Go to your system memory screen, and allocate the attribute points. Make sure to put a little more into Energy, than Health and Weapon_Efficiency. Don't bother putting any in Transfer_Rate or Processor.
|
|
After doing that, turn around and follow Byte. Head for the ramp that leads to a force field, in the distance.
|

|
Once on top of the ramp, turn right. There's an archive bin here, between some blocks. Download the e-mail inside.
|

|
Turn around, and talk to Byte. He'll lower the force field so you can go meet up with Ma3a now.
|

|
Head through this passage.
|

If the Gods of Fortune have smiled upon you, then you'll be lucky enough to see a code optimizer here — or very soon — instead of much later. (This is the only level I know of, where the optimizer appears in more than one place.)
Don't forget to check for the optimizer on the ceiling! After optimizing in the next step, head right.
|

|
Optimize the LOL this time. You'll be needing its upgraded capabilities soon.
|

Once through the doorway, you'll see another opening to your right. If you look down, you'll notice a small platform, that sometimes has a build note on it. Quick save your game, and drop down.
Switch back to the sequencer at this time, as well.
|

Pick up the note if it's here, then drop down another level.
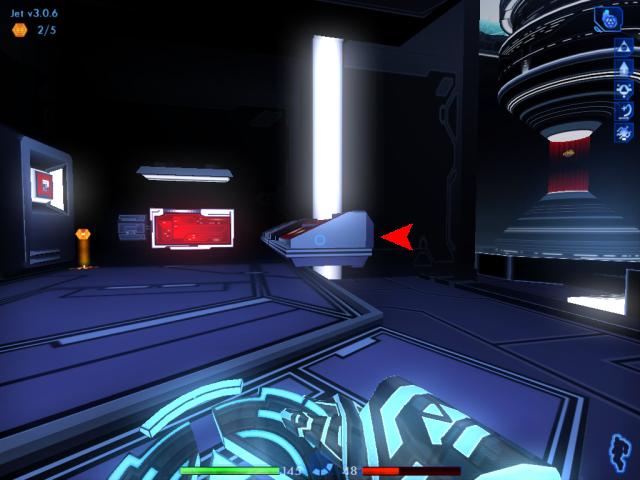
3/5 3.0.6
|

When you land, turn around and make sure you've dropped all the way to the floor. You want to be sandwiched between the archive bin and the structure behind you. Crouch down, to hide from the ICPs nearby. Be careful of the floor here, it has a slick surface that causes you to slide around when you move.
Download the e-mail and the unknown subroutine.
|

|
Go to your system memory screen, and port the foreign subroutine. It will turn out to be a Beta Fuzzy Signature upgrade. Make sure you keep the new Beta version!
|

|
Turn left, and you'll see another archive bin. Sometimes a build note is here as well. Quick save your game. Then head toward the bin, while remaining crouched. Grab the note if it's here.
|

With luck, you won't be spotted by an ICP right away. But if you are, be prepared to fight.
Probably only one ICP will notice and come running. After you dispose of him, the others usually won't follow.
|

|
Download the Permission and Support Safeguard. You won't have enough energy to get the Ball Launcher, so you'll have to come back later, after recharging.
|

|
Walk forward, and dispose of any remaining ICPs in this area. Then move to the left, and look down the nearby hallway.
|

|
Two more ICPs will be waiting for you. Use your disc to deflect their attacks, and fire off your own disc a couple of times. But instead of attacking them head on, let's goad them into following you.
|

|
Step back, and wait next to this console on the left. At least one of the ICPs will follow and continue attacking. This way, it's easier to deal with just the one ICP. After finishing him off, you can go after the other one.
|

|
Having dealt with both ICPs, head back to the area with that console, and the archive bin you were just at. Move to the big doors on the right.
|

|
Use the panel to open the doors.
|

|
Inside the next connecting passage, you'll sometimes find a build note. Don't bother with the other set of big doors, you can't open them.
|

|
Turn around, and head back down the hallway again. When you reach the end, and see a wide open area in front of you, look to the left. Behind a console, you'll sometimes find another build note.
|

|
Move ahead a little, and look to the right. In the right corner of the room, once again you can sometimes find a note.
|

|
Travel to the left, and stop by the large doors there. Quick save your game, before using the control panel to open them.
|

When the doors have opened, either the coast will be clear for the moment, or an ICP standing guard will spot you.
If the ICP is there, use your disc to deflect his attacks. Of course, moments later, other ICPs in the area will come swarming at you.
If the ICP isn't there, you'll have to lure them into attacking you. Briefly step inside the room ahead, then back off.
|

Face the right. You'll notice two alcoves with patch routines in them. Use the health patch to replenish your dwindling health.
For entering the processing dock area, you earn two build points.
3.0.8
|

Stay in here, and wait for the ICPs to come into range. The wall for this alcove will protect you from most of the ICPs' attacks. As soon as they move past the wall into your sights, you can nail them one by one. There will be at least four ICPs that attack you. You may run out of energy while attacking, and switch back from the sequencer to the disc primitive. Just keep throwing that disc, and don't worry about it for the moment.
There could be more, depending on whether one of them gets to a Sec Rezzer to call for reinforcements. Keep an eye out for an ICP attacking from the left, as well.
|

|
When the coast seems to be clear, come out from your hiding place and grab all the core dumps you can find. You'll really be needing them by this point! If you ran out of energy and lost the sequencer as your selected weapon, go back to it now.
|

Walk into the next room. Check ahead, left, and right for any remaining ICPs. If you find any, eliminate them. In my case, there was one at a console station on the right.
If you came across an unknown subroutine in one of the ICPs' core dumps, just ignore it. It's one that you already have, don't waste your precious energy.
|

Grab the remaining ICPs' core dumps, that you de-rezz. By now, another ICP will have dropped a Profiler subroutine . . . but we already have a better version.
Don't be surprised if yet another ICP shows up, coming from the corridor you used to get in here.
|

|
Head back to that corridor, and look to the left. Return to the alcoves, and use both patches to restore your energy and health, as much as possible.
|

|
When you're done, step back out into the corridor.
|

|
After replenishing yourself, head all the way back to the archive bin with the Ball Launcher, that you couldn't download earlier.
|

|
Download the launcher, now.
|
|
And, of course, revisit the energy patch to restore the power you just used to download the subroutine.
|
|
When you return to the main room in the processing dock area, look at the left console station. Sometimes, you'll find a build note there. After grabbing the note (if it's there), go past the right of the console so you're between it and Ma3a in her dock.
|

|
To the right of the console on the wall, you'll find a Sec Rezzer. You should have the permissions you need by now, in order to disable it.
|

|
Turn around, and head to the other side of the room. To the left of the other security console, you'll again find a sec rezzer. Turn off this one as well. Notice that you can also sometimes find a build note, under some platform-like outcroppings on the left.
|

|
Return to the left side of the room, and walk past the right of the nearby docking seal.
|
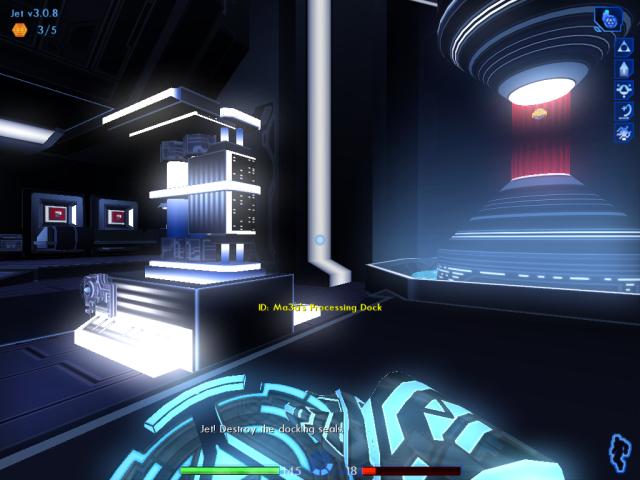
|
Turn left. In front of you, is Ma3a in her dock. She urges you to destroy the docking seals, so she can leave the system with you, before the reformat occurs.
|

Before we do that, let's explore the room further. Moving a little to the right, we see the second docking seal. But also to the right, it looks like we've found ourselves another build note. Take it, if it's there.
4/5 3.1.0
|

|
After grabbing the note, turn around. Head to the left, and walk all the way to the end of the room in that direction.
|

|
Here, under the outcroppings, is the second location that the code optimizer could be present. Feel very fortunate, if you've found the optimizer by now . . . you'll find out why, in but a short time.
|

Turn around. There could be another build note here, for you to pick up.
5/5 3.1.2
|

Return to the docking seal on the right. Transfer energy to the bit in the socket, which will cause an overload and destroy the seal.
Quick save your game, before continuing.
|

|
Do the same to the bit in the docking seal on the left, and watch the fireworks.
|

You'll earn a total of thirteen build points for freeing Ma3a.
3.2.5
|

|
Turn left. Up to two more ICPs will attack you now. Take care of them, as usual.
|
|
On the way back to the other room, recharge yourself one more time.
|
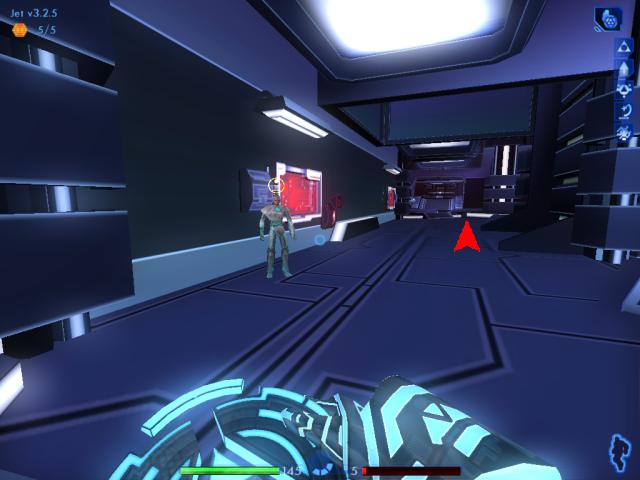
|
When you enter, you'll see a civilian program nearby. Before you talk to him, check to see if another ICP is still hanging around in the distance, approximately where the arrow points. Deal with the ICP, being careful not to hit this friendly conscript. Quick save your game after nailing that ICP.
|

Talk to Wolfgang three times. (His name could be different.)
He'll tell you the reformat is coming. When you're finished talking to him, he'll give you a vital permission needed to call a platform you can use, to get out of here.
|

Use the control panel on the left wall, to call the platform. While still facing the panel, move to the left.
We're stepping away from it, because the platform could come down on your head and crush you, if you don't move! Also, let's hope our friendly program isn't dumb enough to stand under the platform when it lowers, or you'll be guilty of an illegal program termination and have to reload your game.
Before stepping on the platform, save your game! In fact, do two saves. Do a regular save, plus a quick save. This is just in case you quick save at a bad moment, and need to come back to this point. Saving your game here twice, is extremely important, as you're about to find out.
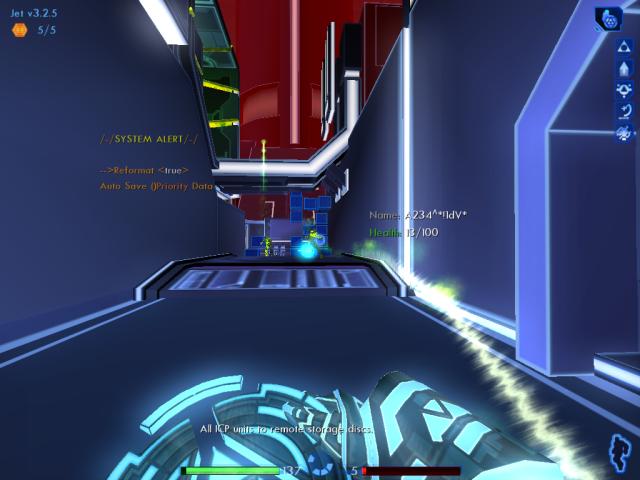
|

When the platform reaches the top, you'll hear a message being broadcast by the ICP Kernel. He explains that the system reformat is now underway.
Welcome to Hell, continued.
Step forward off the platform, and turn left.
|

|
Either nearby, or further down the corridor to the left, a Z-Lot will be waiting. Take him out.
|
|
Turn around. Two more Z-Lots need to be dealt with, down at the other end.
|

Be sure to pick up the core dumps after de-rezzing them, for much needed health energy.
Keep moving, and head for the blocks. Jump back up them, once more.
|

|
Turn around for just a moment, to observe the dreaded format wall that's approaching. Touch it, and you die. Lucky enough the thing moves pretty slowly, so you can outrun it . . . or so you'd like to think, anyway.
|

Quick save your game once more, having made sure you also did a regular save, earlier.
Now jump over the wall again, and head for the large opening on the left only if you didn't encounter the code optimizer earlier.
|

Expect to be swarmed by Z-Lots. Do your best to fend them off. Since you're under pressure for time, using the sequencer is now the best option to attack the Z-Lots with.
Jump up on top of the high column, where the arrow shows. This is where that Gold Y-Amp, comes in really handy.
|

|
Search for the optimizer, and activate it. It could be on the floor, on the wall, or even suspended in mid-air.
|

|
Return outside. Take out as many Z-Lots as possible, before moving to where the arrow points, behind the column.
|

|
There will probably be a Z-Lot back here. If not, he should show up shortly. Take him out.
|

Turn around, and look up. Above you is an area, where up to three Z-Lots will attack from. De-rezz them, before they get you.
Remember to continually check and disinfect your subroutines, as necessary. Don't let the corruption spread to all of them. The Alpha Viral Shield can only do so much.
|

|
Check the core dump of the Z-Lot you just destroyed, down here. His core should contain a Corrode subroutine you can download. If not, one of the others will have it; so you'll want to keep searching core dumps from now on, for energy and this subroutine.
|

|
While downloading, keep checking around you for more Z-Lots. Look above, to the left, and behind you. It will be difficult defending yourself while doing this, so hopefully the Corrode subroutine can be transferred at this spot, where you're afforded some protection by the column barrier.
|

|
Turn around and head left, if you're still behind the column. If not, you want to head toward the force field that can be seen at the opposite end of this area, from the wall that you jumped over.
|

|
When you head toward the force field, walk backwards. Lay down covering fire for yourself and Byte, who is waiting for you. Take out as many Z-Lots as you can while retreating. Byte needs to be protected from harm, so he can lower the field in a moment.
|

|
Once you reach the field, turn around and talk to Byte. Ask him to remove the barrier. It's possible that he may already do it without your asking, if time is getting tight.
|

If you've made it this far, congratulations! It gets a little easier from this point forward. But just a little.
Byte will cut his timing really close! As soon as the field goes down, run for it!
|

After entering the next area, you can go either left or right. It doesn't matter. I chose to go left.
But before you proceed, pause a moment and enter your system memory screen.
|

Make room in your subroutine ring for Corrode. You can do that by taking out Power Block, for the time being. Power Block is useless against the Z-Lots' ball weapon, anyway. Corrode will add a bit more punch to your disc's damage.
After you've exited the screen, quick save your game here.
|

|
A Z-Lot will be waiting for you, around the corner. Hit him right in the face!
|

Move ahead and then to the right. Two more Z-Lots will attack. Be careful not to hit Byte, during the battle.
Once you've dealt with them, you can once more go left or right and it won't really matter. But to save travelling time, take the closest route. Which in my case, will be left again.
|

|
When you reach this turn to the right, another two Z-Lots will be awaiting your arrival around the corner.
|

Like always, take out the Z-Lots. Head to the right, now.
Remember to continue checking your subroutines, and disinfect them if necessary.
|

Ahead you'll see a health patch. By now, you're probably in desperate need of one. So go over there, and use it.
Take note of the passage here in the middle, on the left side.
|
|
Keep using the patch, until the last possible second. When the format wall is about to touch you, take off and head down the middle passage you noticed a moment ago.
|

|
This middle passage, is the last location you could find a build note. Sneaky place, no? Grab it if it's there, and then move ahead to the exit port.
|

|
Defend Ma3a and Byte from the Z-Lots, until they can get the port open. If you hold them off long enough, the game will automatically shift to a cutscene.
|

|
Mercury will suddenly appear, and start kicking the Z-Lots' asses.
|

Final build version for this level: 3.2.5