8.2.9 Packet Transport
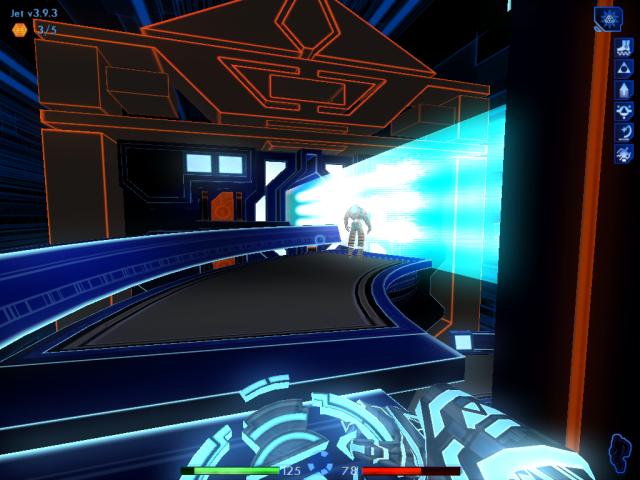
After reconfiguring the exit port on Alan's Desktop PC, Jet finds himself on a transport heading for the Encom power routers, together with Ma3a. Unfortunately, they don't have the proper permissions to be onboard the transport. Jet must now locate a place to stow away, before the ICPs find him again.
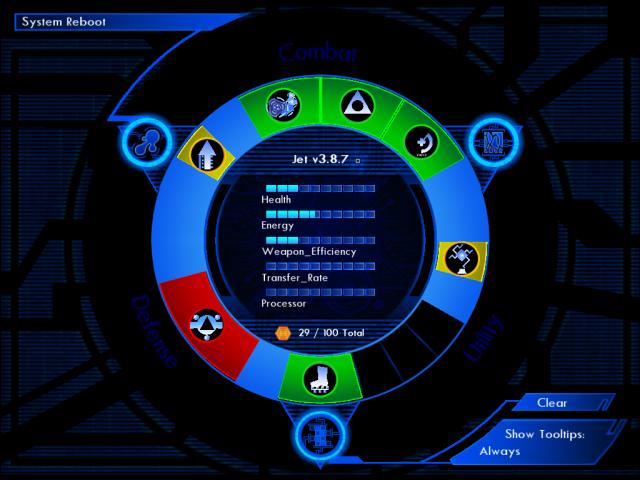
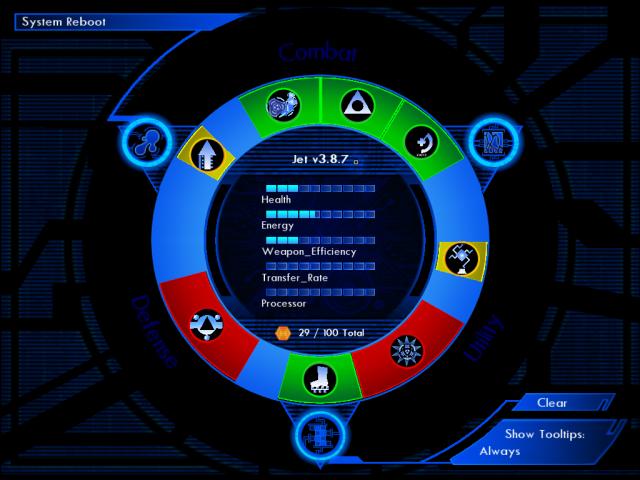
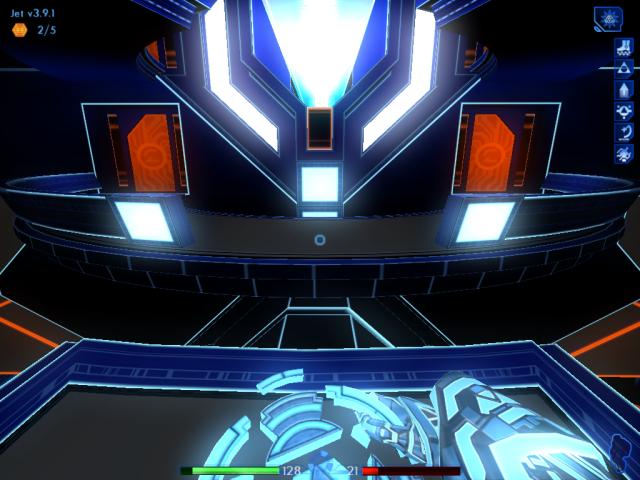
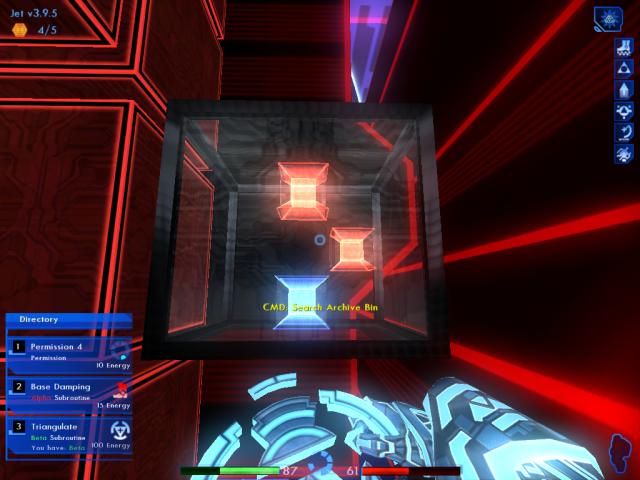
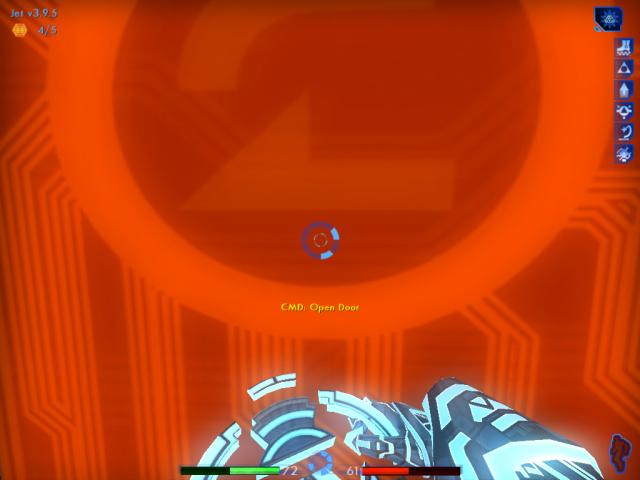
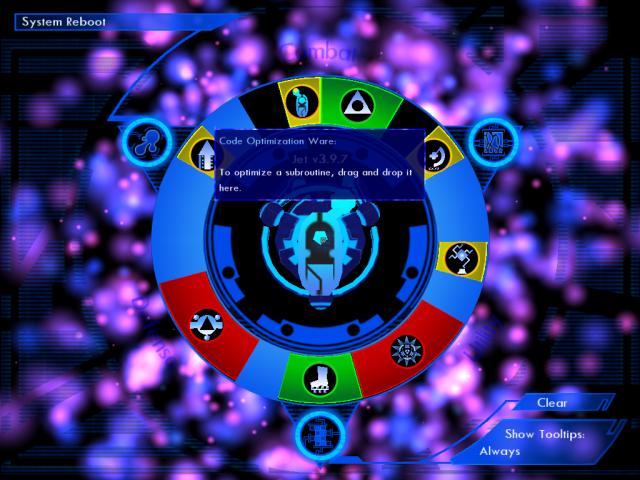
Since you're entering another new system, you'll have to reconfigure your subroutines.
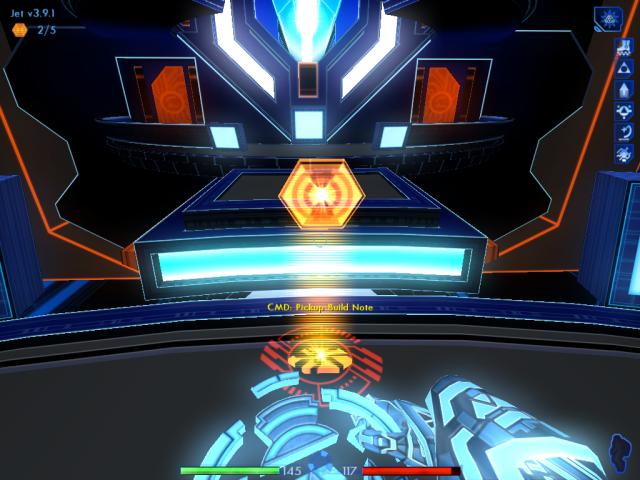
A suggested configuration is shown above. Some slots have been left open for a subroutine you'll be finding shortly. Press the F1 key to exit this screen.
|
Rerouting the exit port on the last level to reach this transport, gives you another ten build points. (Strangely, the game doesn't inform you of this, like it normally did on the previous levels.)
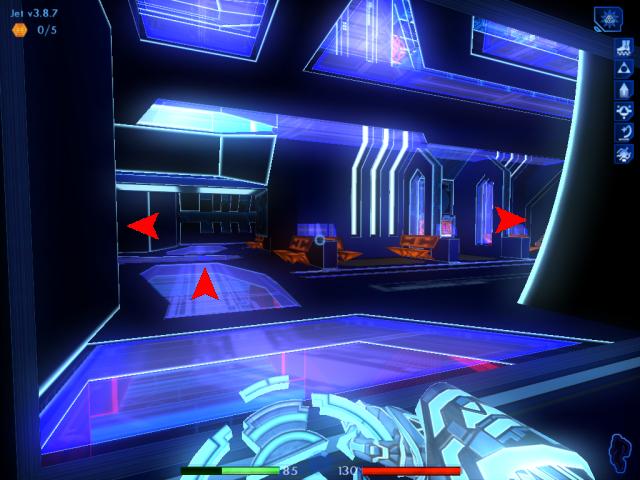
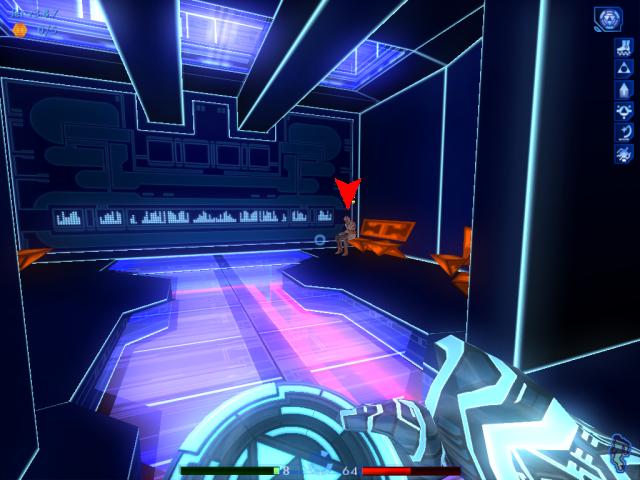
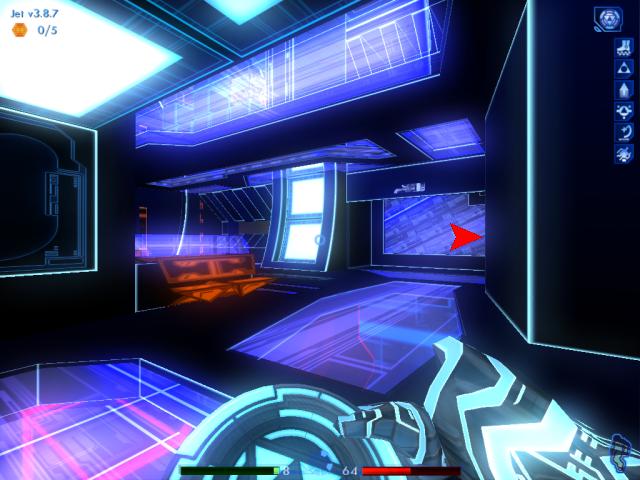
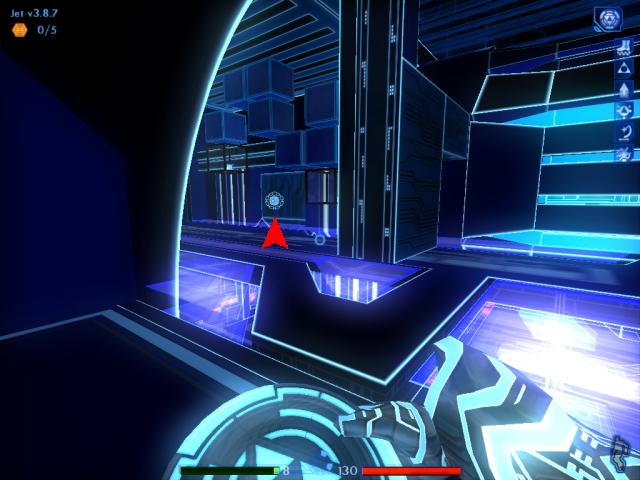
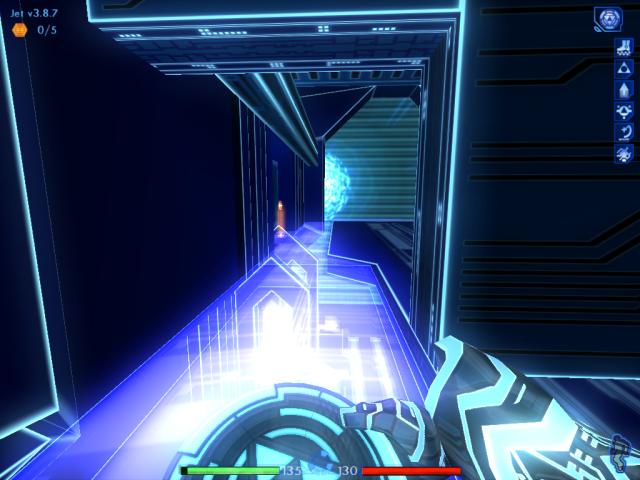
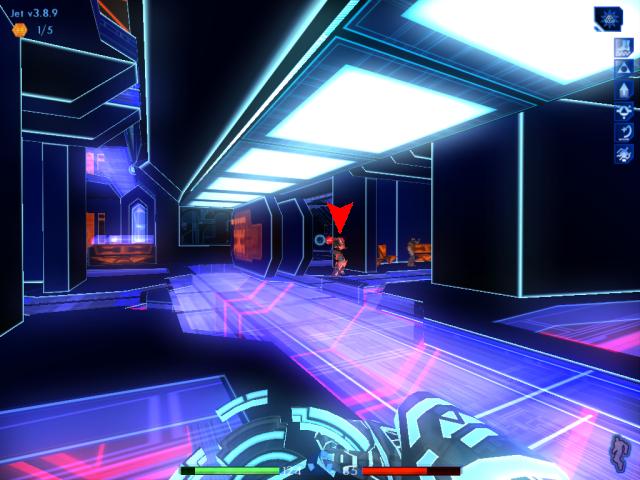
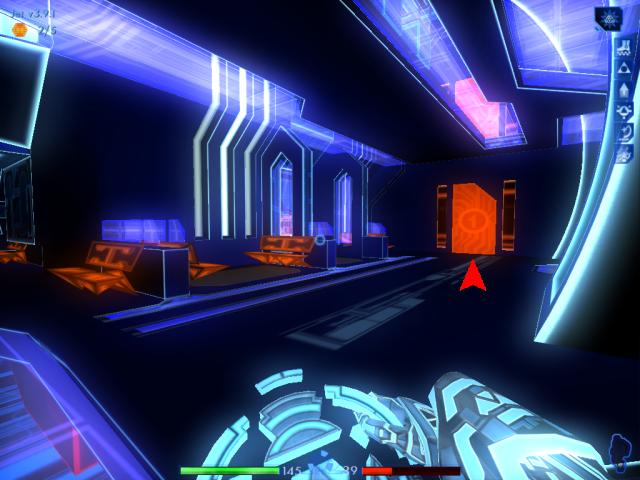
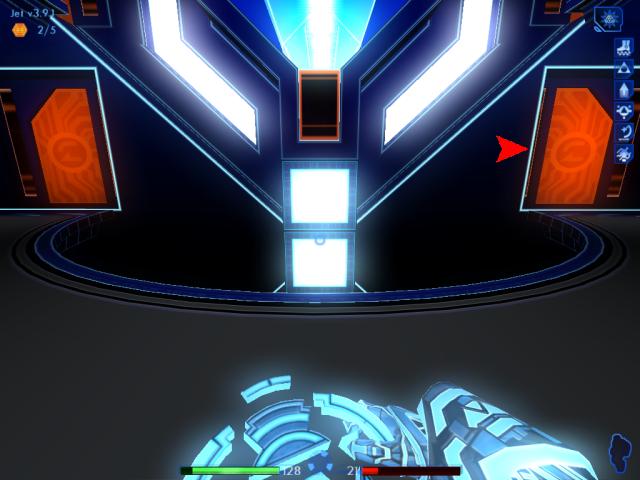
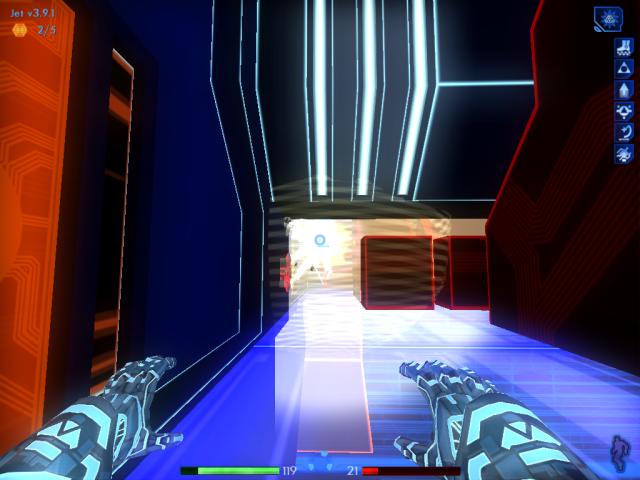
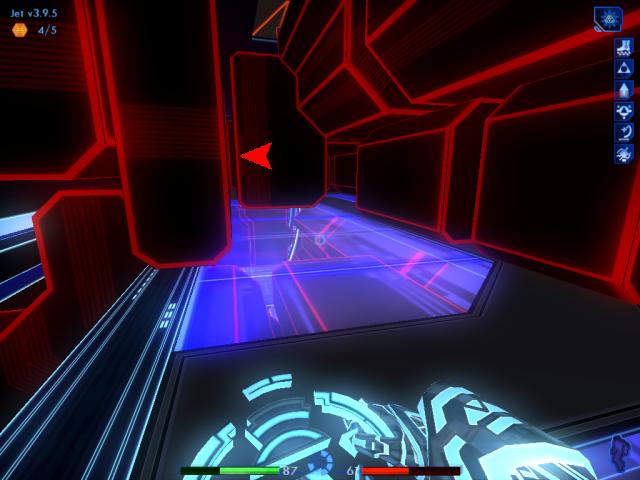
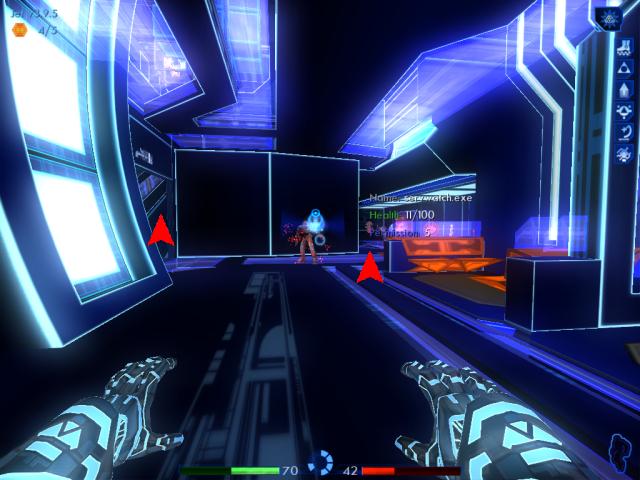
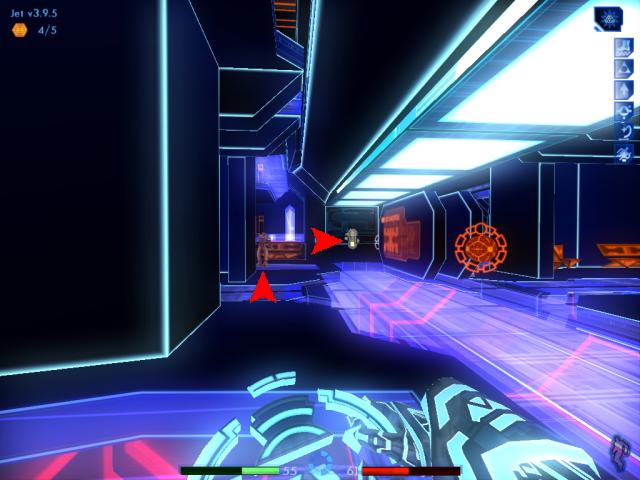
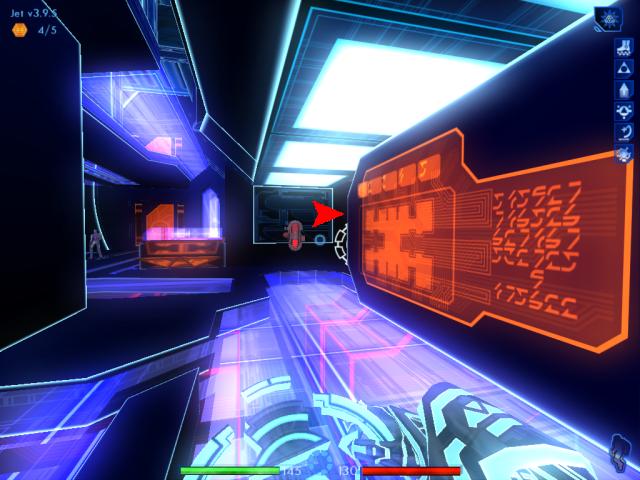
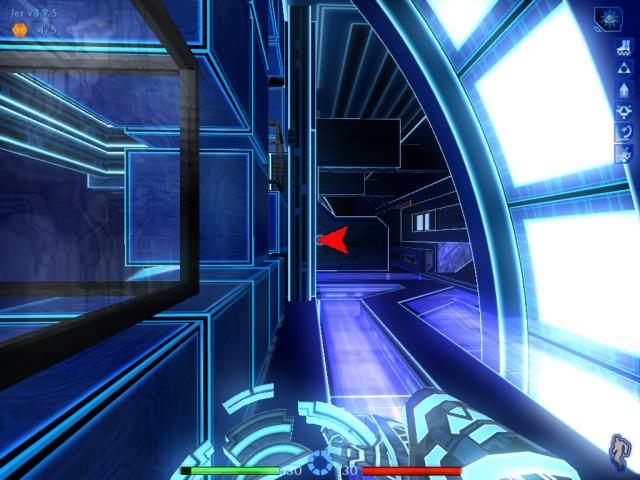
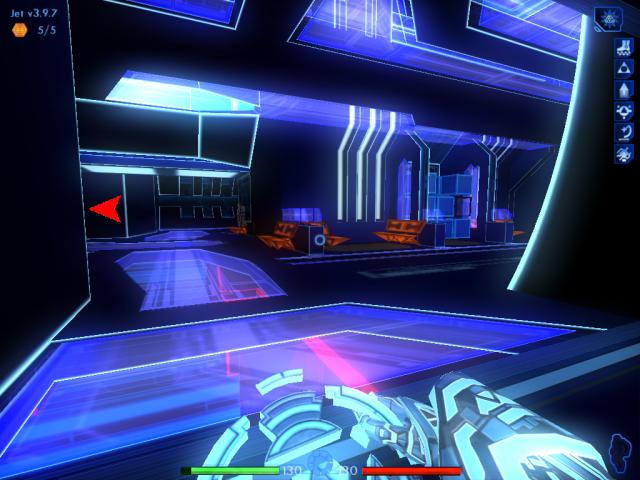
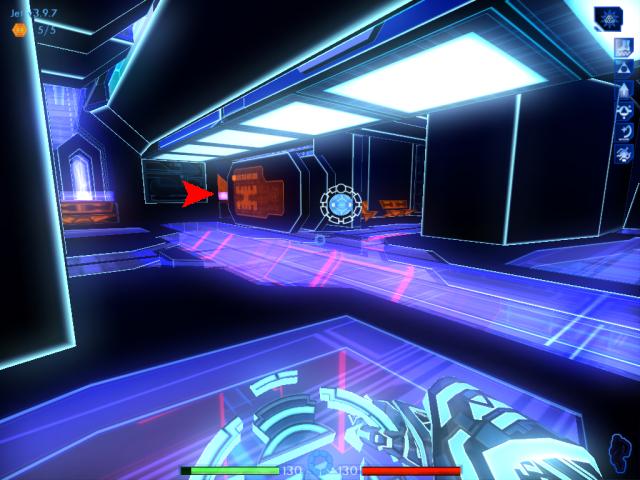
After the cutscene is finished and you've chosen your subroutines, you'll find the female cyberpunk program wandering around nearby. She'll either be leaning on the partition where the arrow on the right indicates, or further ahead through the opening.
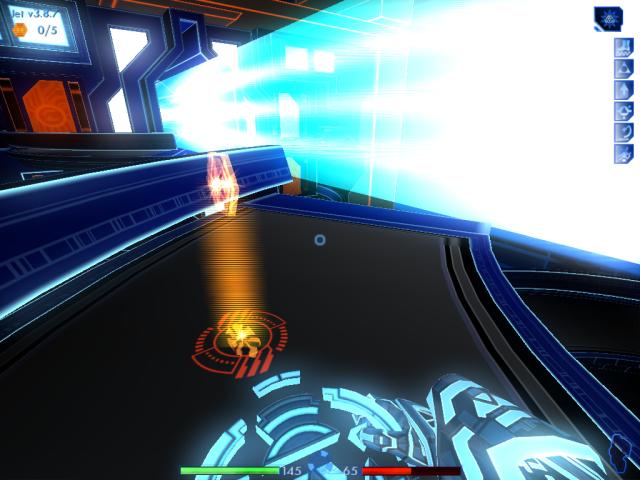
3.8.7
|
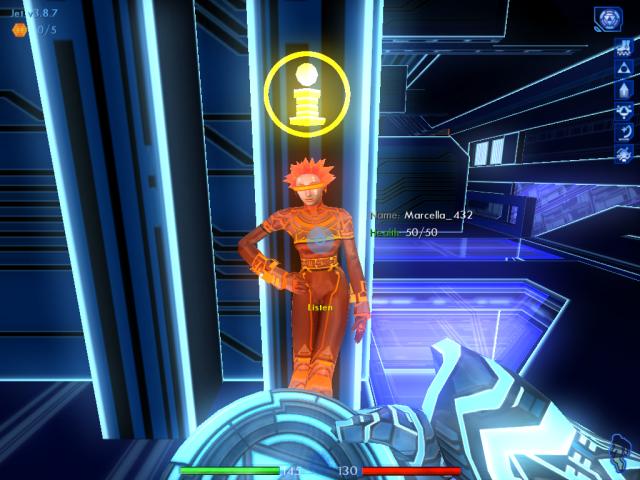
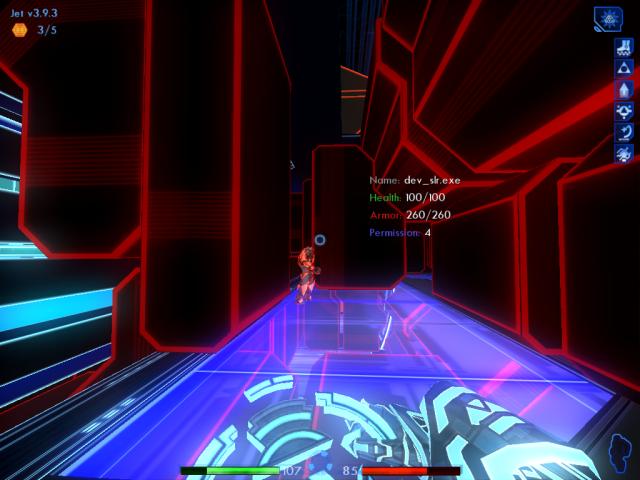
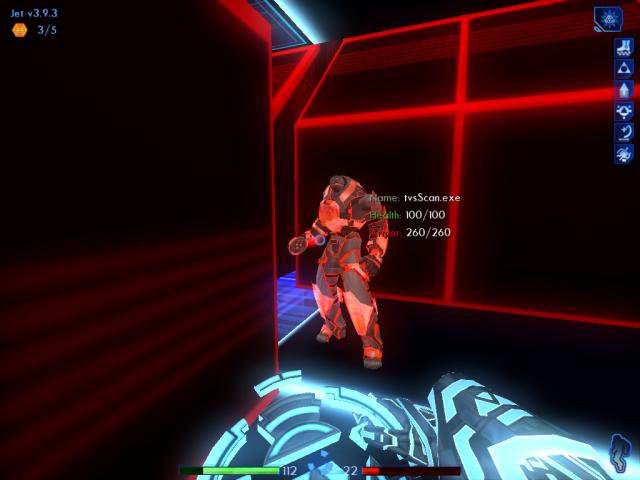
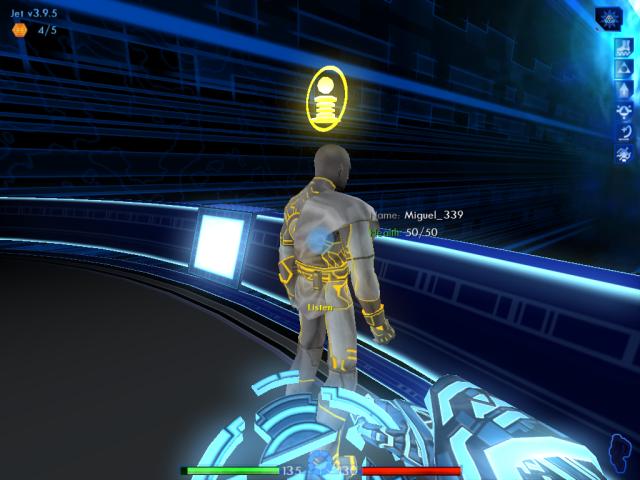
When you find her, talk to Marcella.
She'll mention that she heard there's a stowaway on board. Marcella also says that she hopes your user has the proper permissions so the transport isn't delayed any further.
|
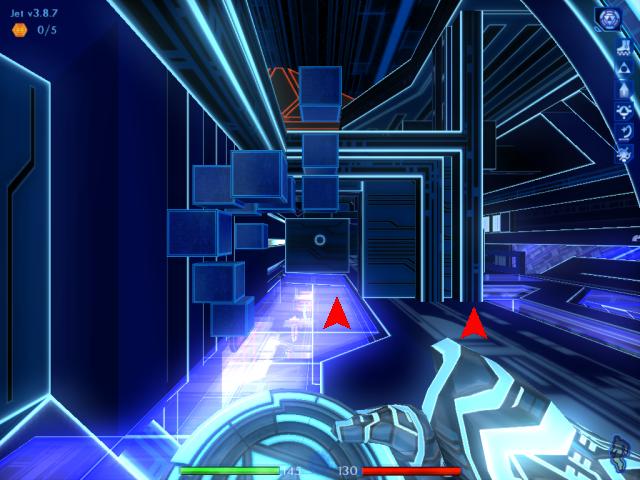
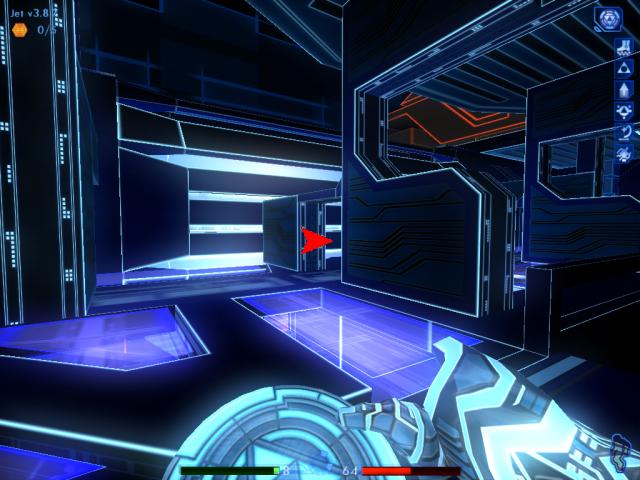
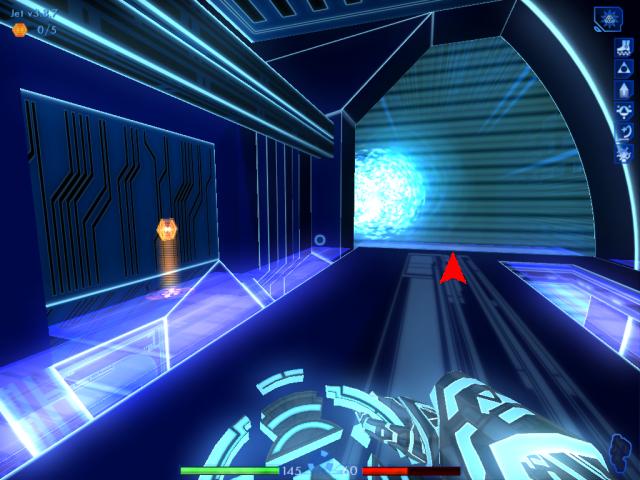
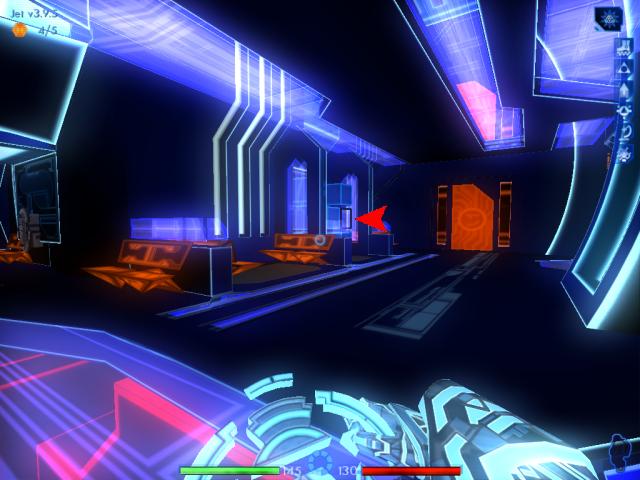
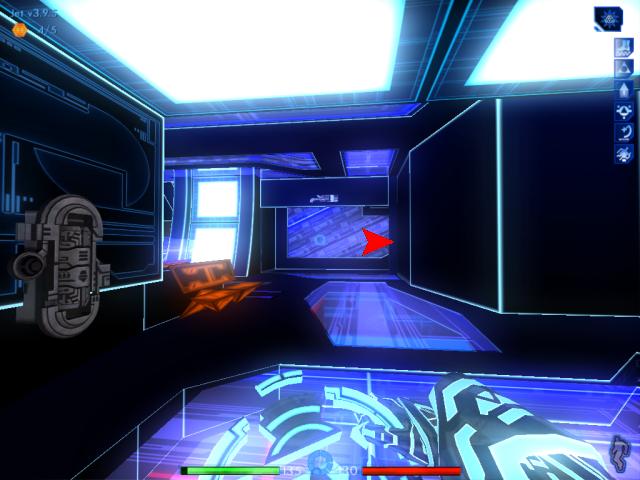
If you found Marcella leaning against the partition, move ahead until you see another opening.
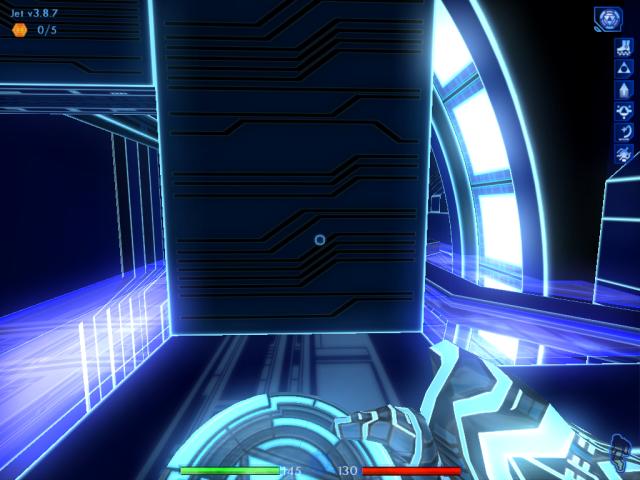
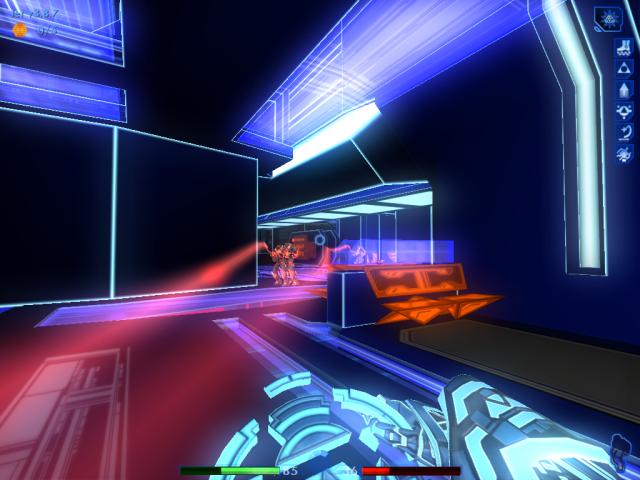
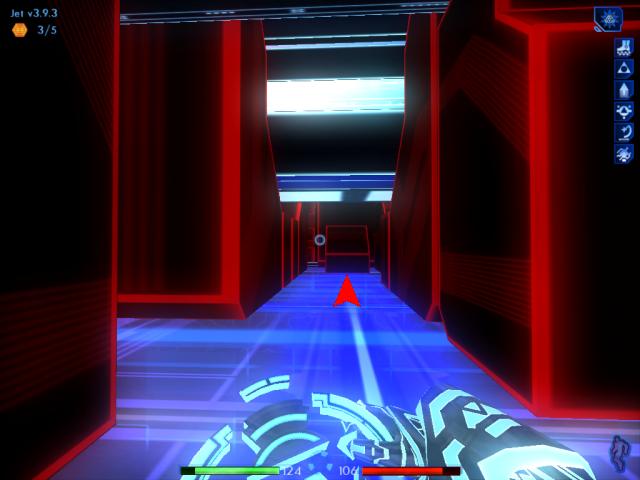
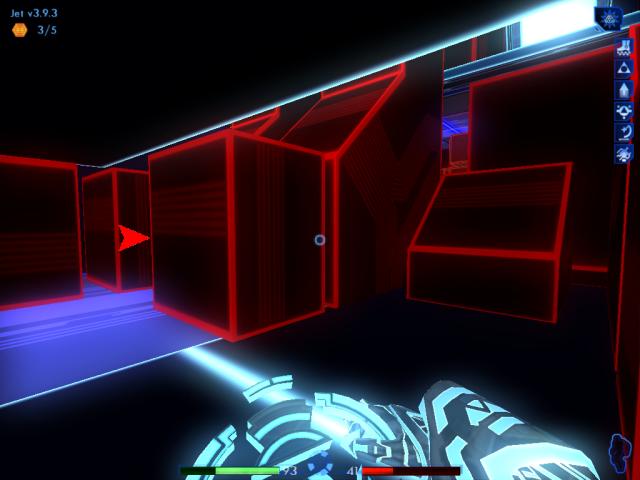
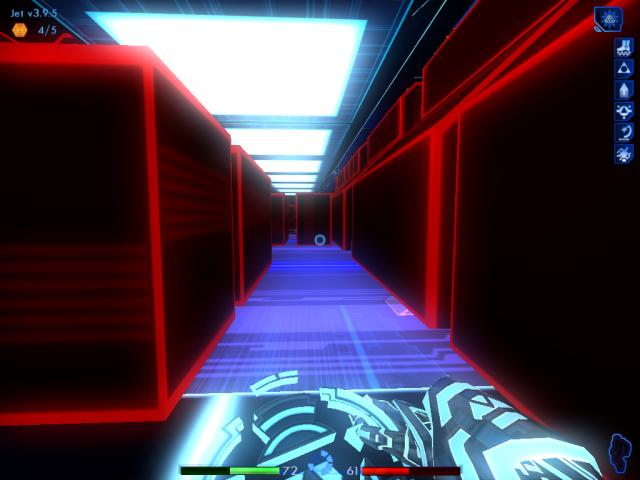
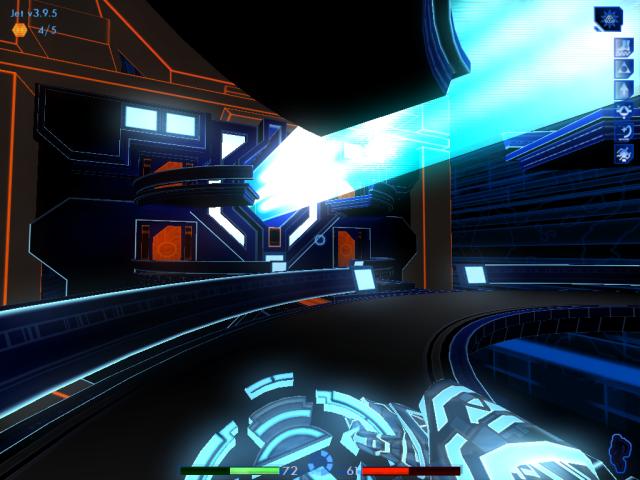
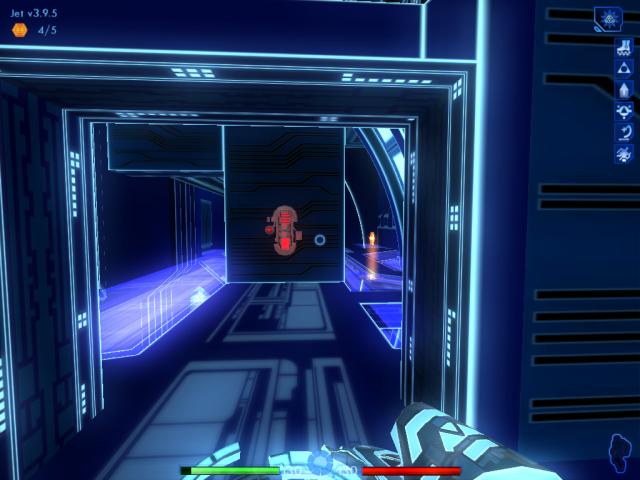
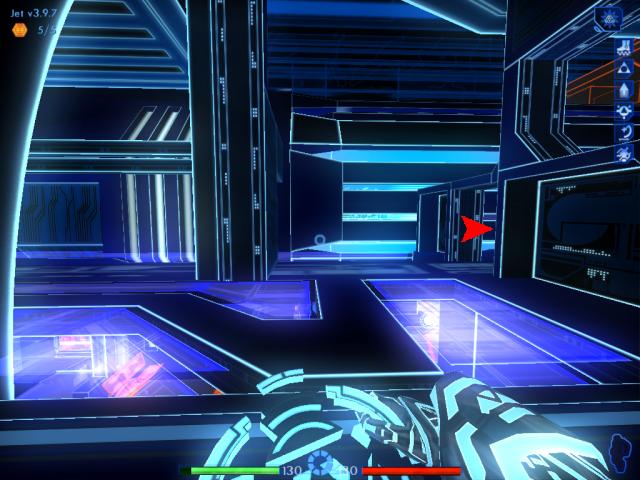
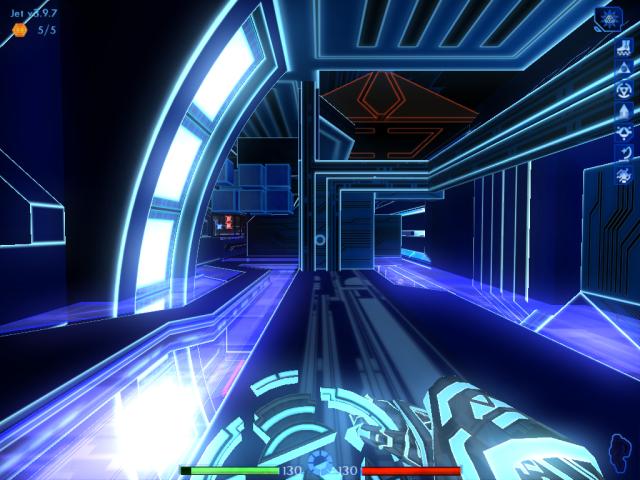
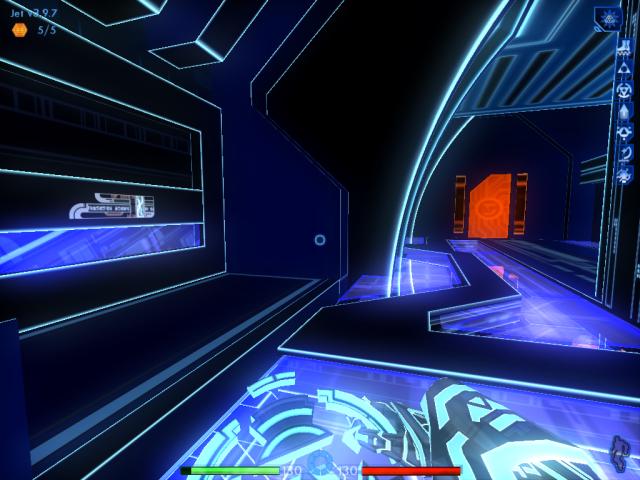
Move through this next opening, as shown in the screenshot. Notice the head of a Recognizer at the top of the screen? This transport is being hauled by several Recognizers. 
|
|
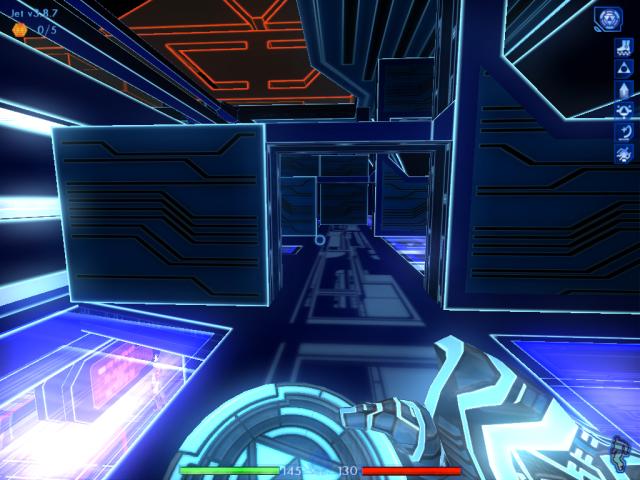
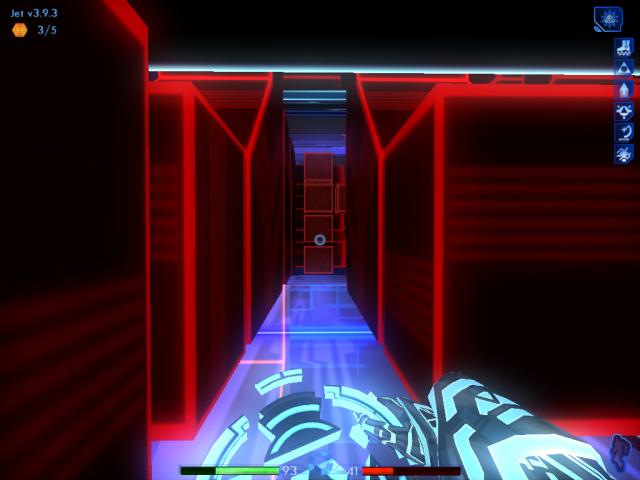
Keep moving until you reach another partition, in your way. Then head either left or right, around it. I chose to go right.
|
|
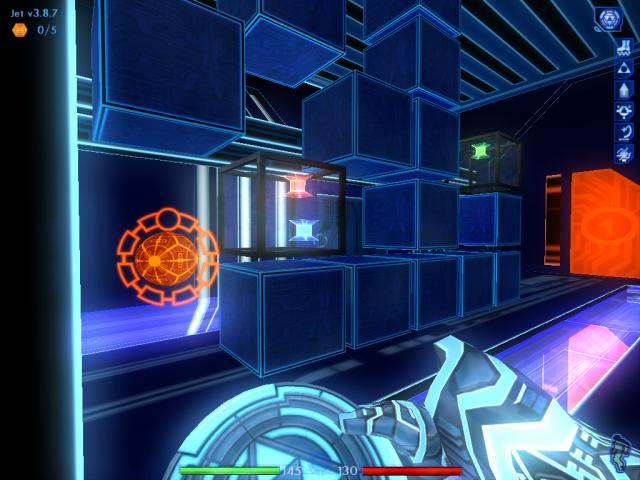
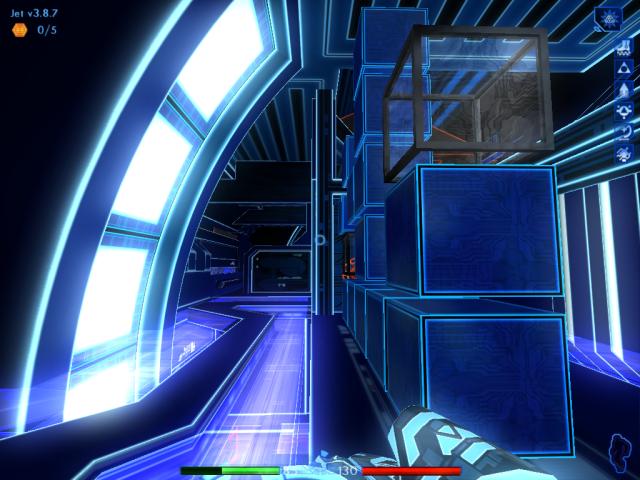
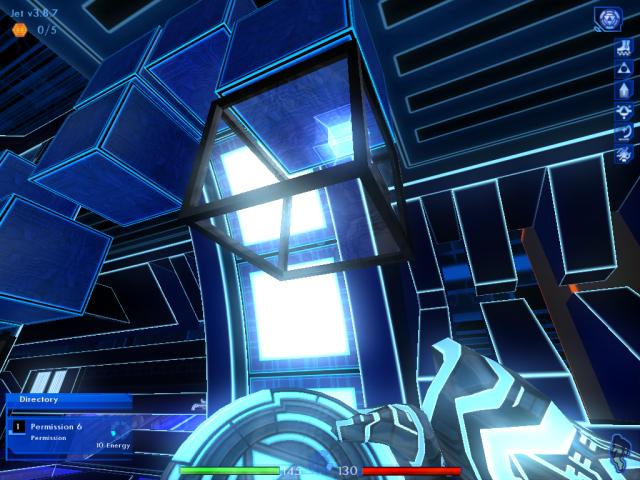
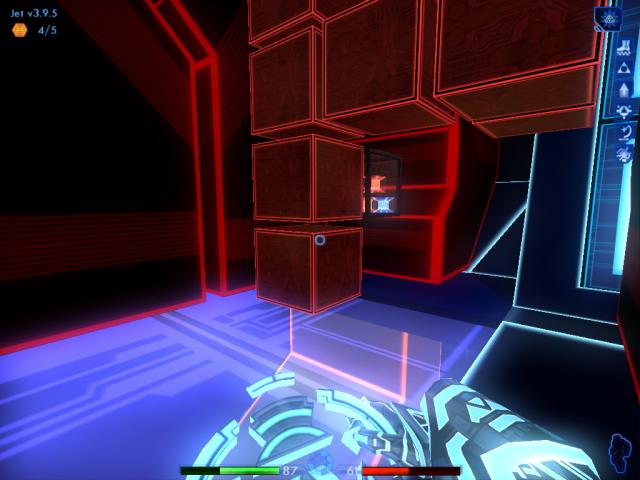
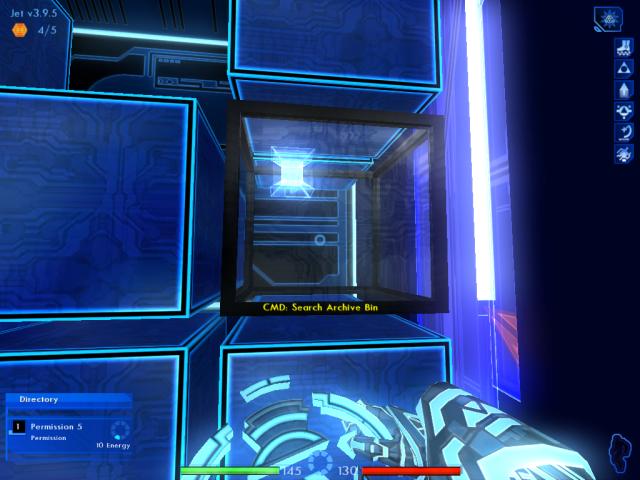
Behind the partition you'll find a health patch, and a couple of archive bins.
|
|
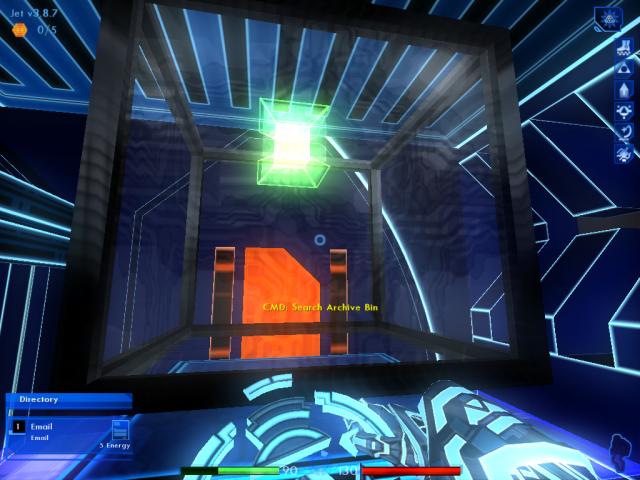
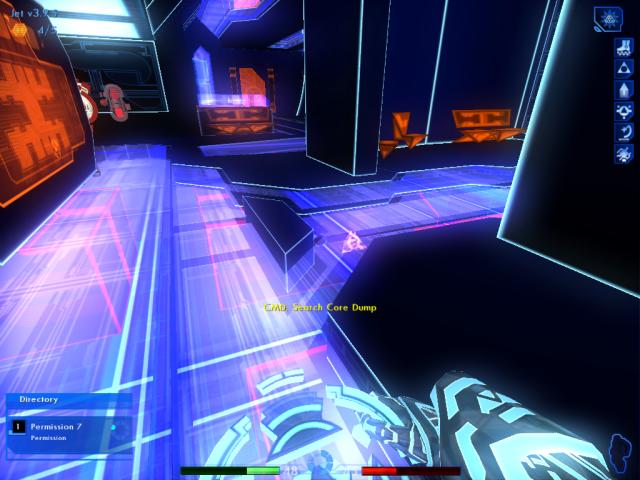
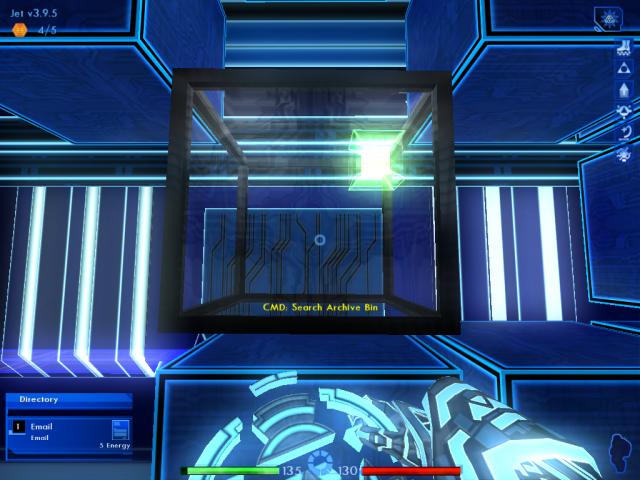
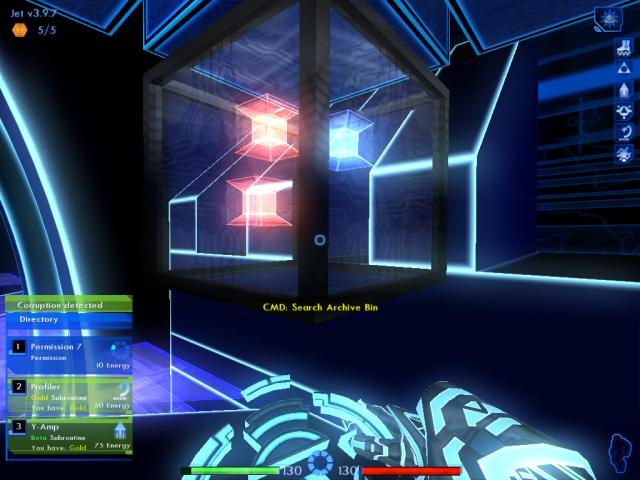
Move to the closest bin. Inside is a Permission, and a Cluster upgrade for your Disc. Download them both.
|
|
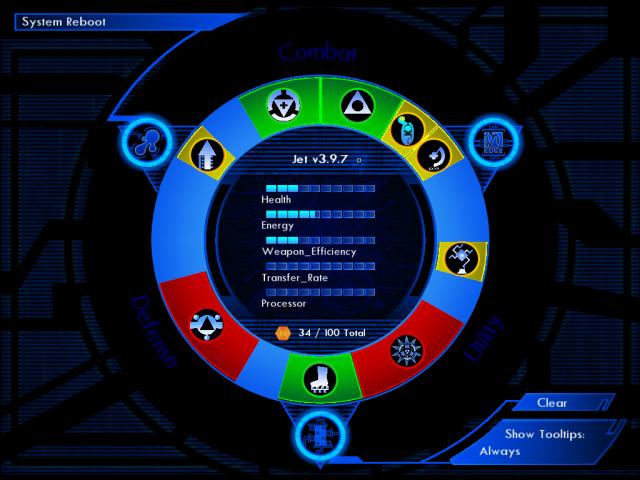
Go to Jet's system memory, and install the Cluster subroutine in the slots we left empty. Exit this screen, and switch to the Cluster immediately afterward. The Cluster will give you a lot more punch against the ICPs, at the cost of some extra energy use.
|
|
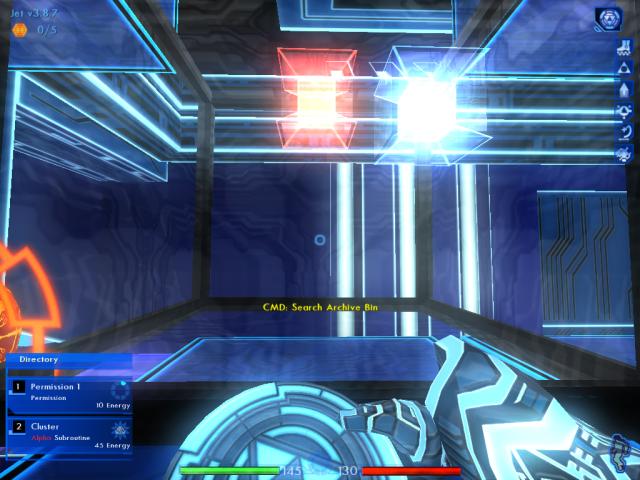
Move to the other bin now, and retrieve the e-mail.
|
|
Turn left, and head back the way you came.
|

|
Keep going until you see a ramp leading down to the lower level, on the left.
|
|
Quick save your game (F5 key). Then head down the ramp, and turn left at the bottom.
|
|
An ICP could be waiting for you to the left, ahead, or to the right. If you moved quickly enough up to this point, the ICP will usually be on the right.
|
|
Be sure to check all the way to the side — behind the curved wall segment — for the ICP, when you turn to face this direction. After taking him out, turn around.
|
|
Up to three more ICPs could attack. Use your upgraded cluster disc to smash them to pieces.
|

|
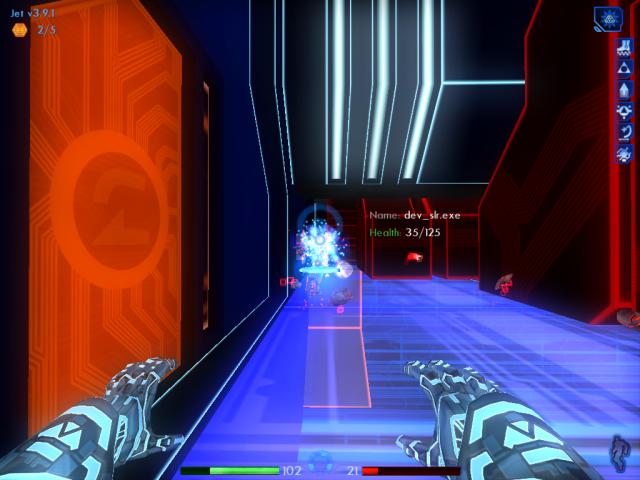
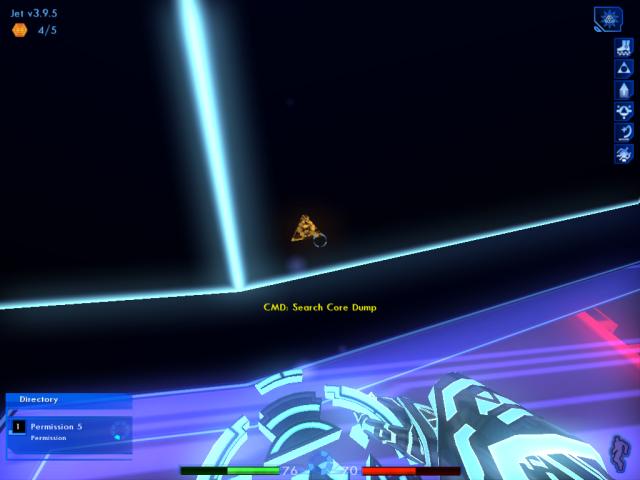
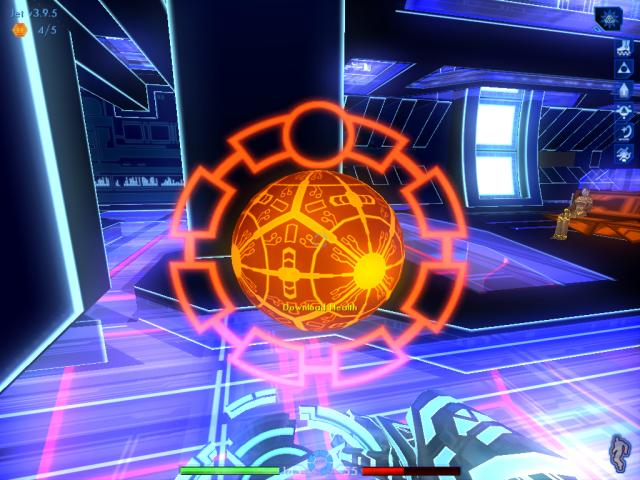
These guys will drop valuable items in their core dumps, so be sure to always check them. One of the ICPs will have dropped a permission that you'll need.
|

Another ICP left behind a Gold Profiler subroutine that will upgrade your Beta version!
Now move toward the floating information display ahead. While facing it, turn around.
|
|
Behind you is an opening that leads to a passenger seating area. Most of the time, you'll notice a lone program sitting inside. (Sometimes he'll be standing by the display, though.)
|
|
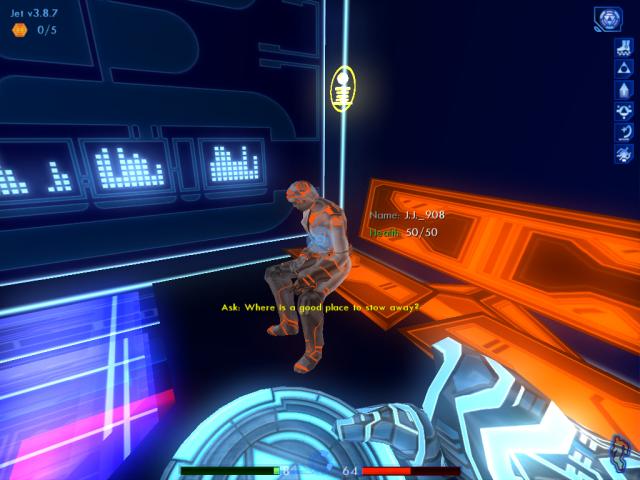
Talk to J.J. You'll ask him if there's any safe place to stow away on the transport, to elude the ICPs. He'll tell you that you can hide in the upper part of a Recognizer tug.
|
|
Go back outside, and return to the ramp you just came from. Move back up the ramp.
|
|
When you make it to the top, head right.
|

|
Keep going until you reach the health patch and bins you were at, earlier. Download health from the patch, to recuperate from your battle with the ICPs.
|
|
Now go back down to the lower level, and return to the display panel. To the right ahead, is a second ramp, on the other side of the transport car.
|
|
Walk to the top of the ramp.
|
|
Make your way toward the energy patch in the distance, on the left.
|
|
Turn around, and look up. Behind you is an archive bin that's easy to miss or forget. Take the permission inside.
|
|
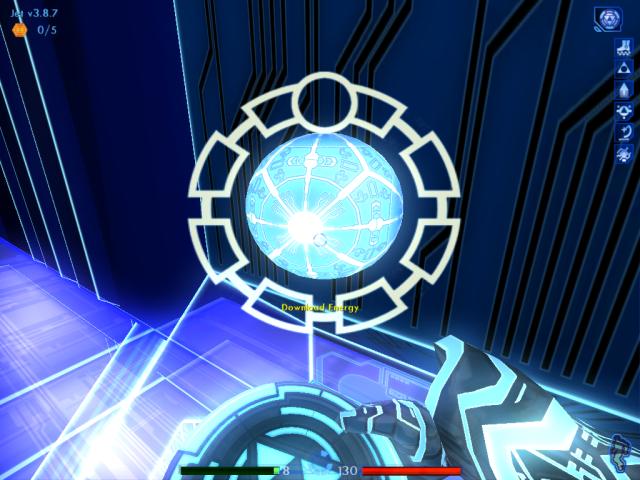
Turn around again. Recharge your energy cache, which has certainly been drained by this point.
|
|
Turn right, and travel all the way to the other side of this upper level.
|
|
As you approach the other end, you'll see a partition ahead in the middle, and a force field at the end. You can walk past either side of the partition.
|
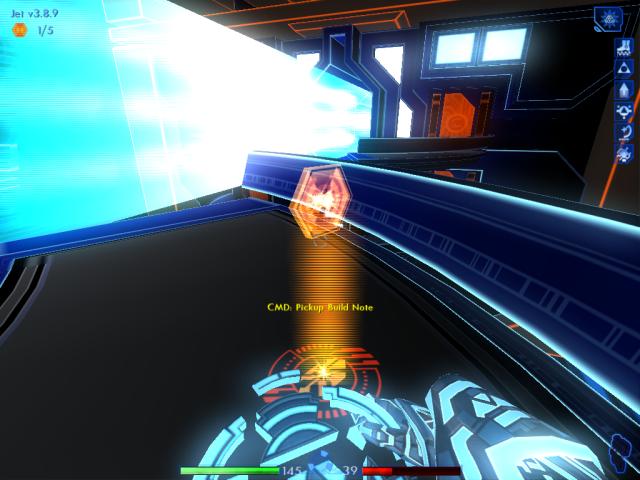
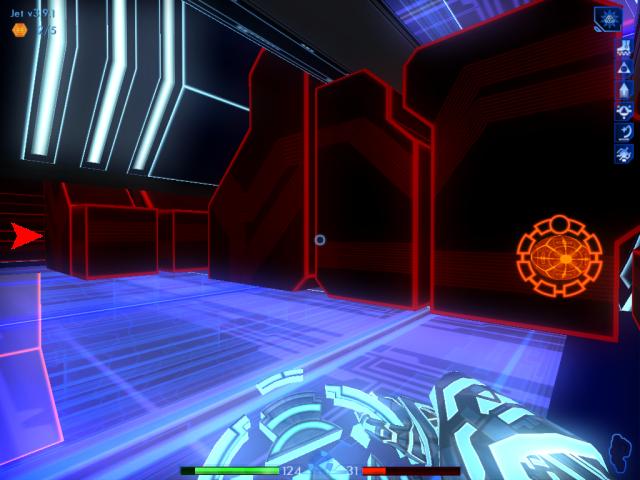
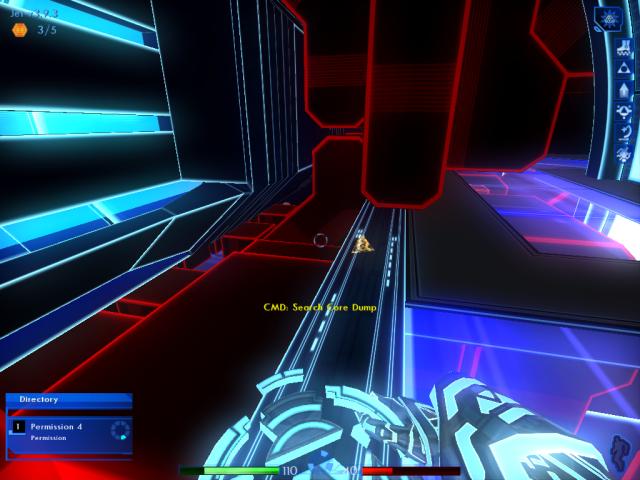
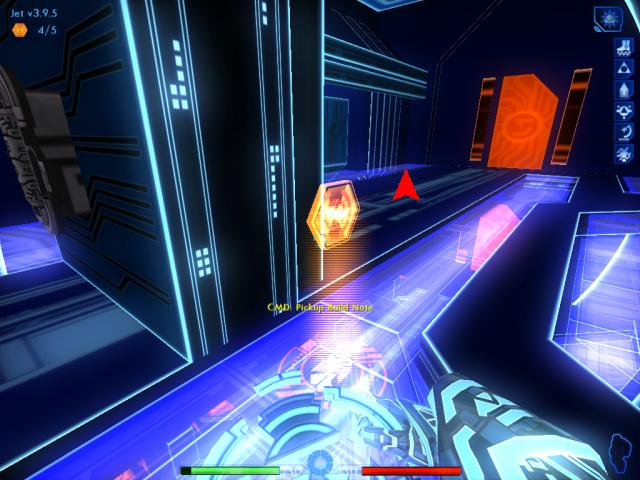
Here you could find your first build note, either against the left wall or in front of the force field where the arrow indicates.
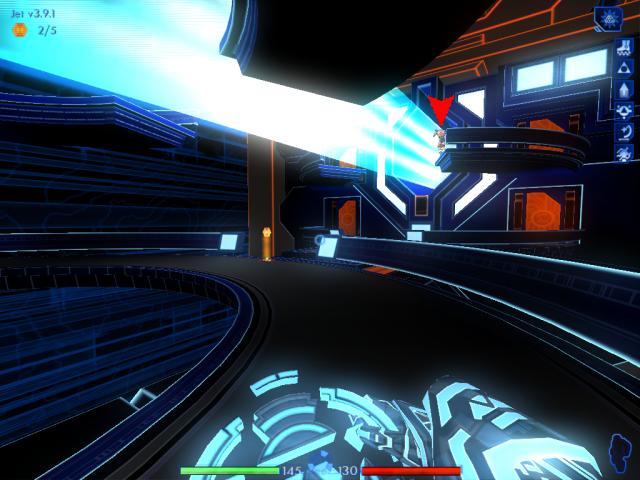
1/5 3.8.9 3.8.9
|
|
Head back to the ramp. If you automatically switched to the disc primitive because you ran out of energy earlier, make sure you select the cluster disc again. Quick save your game here, too.
|
|
Upon returning to the lower level, the same situation will occur as before. ICPs could be to the left, ahead, or to the right. Most likely, the nearest one will be on the right.
|
|
Deal with this ICP first.
|
|
When you turn around, another ICP should be near the floating display in the middle of the car. Take him out as well.
|
|
Again you'll probably have lost health and energy in these confrontations. So keep moving forward, and head up the ramp on the right.
|
|
When you reach the upper level, head right.
|
|
Use the health patch to restore your health once more, if it's still there.
|
|
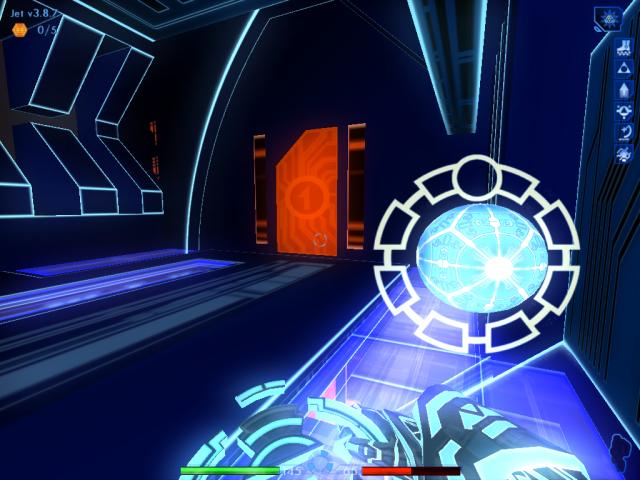
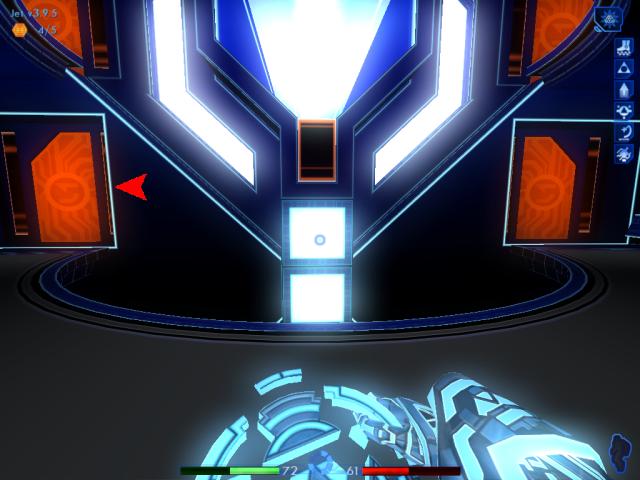
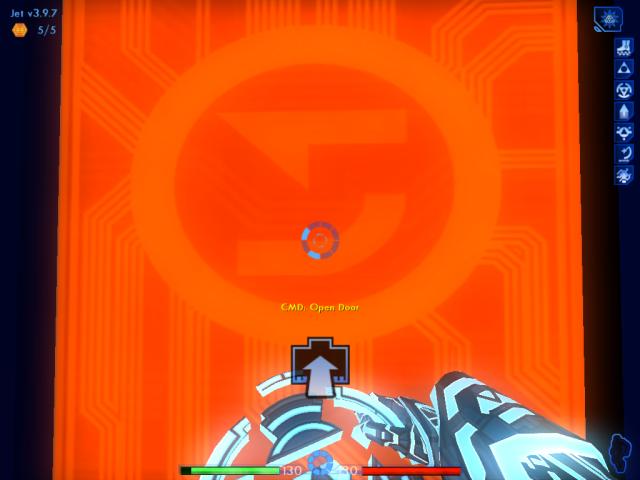
Turn right, and head to the door.
|

|
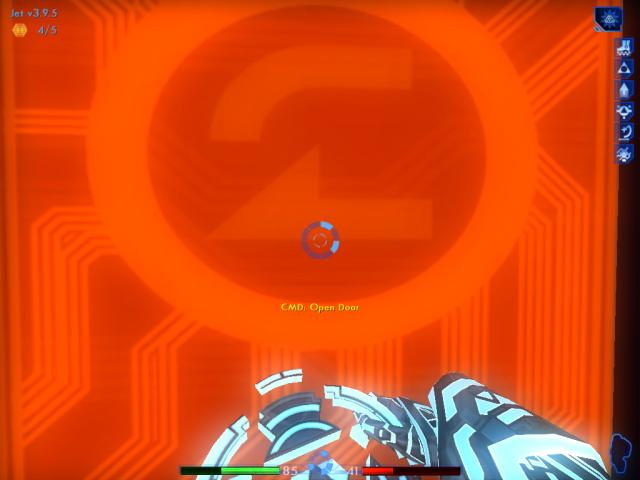
You now have the permissions needed to open the door.
|
On the other side, is a catwalk where a build note is usually located.
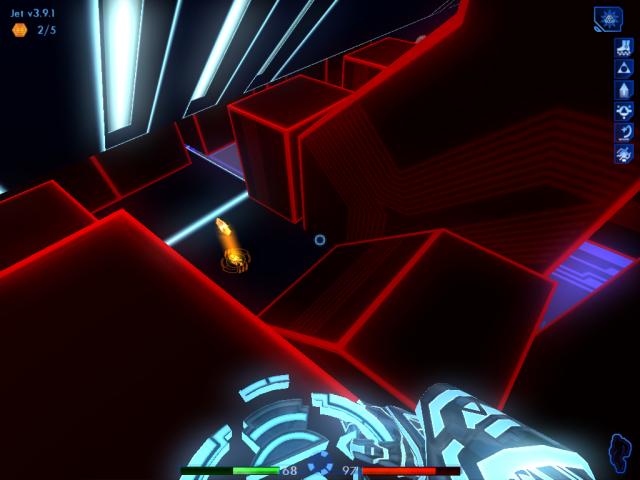
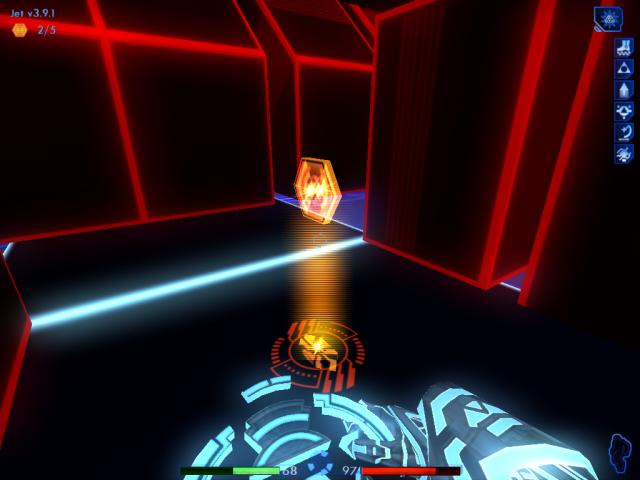
2/5 3.9.1
|
|
Return to the lower level again, and cross to the other side. Head up the other ramp, and visit the energy patch once more.
|
|
Restore your energy, now.
|
|
Turn to the left, and head for the nearby door.
|
|
Again, you now have the permissions necessary to open the door.
|
|
On the catwalk, you'll sometimes find a build note.
|
Finally, head back to the lower level, and cross to the other side one last time.
Look for the doors at the end of the car. You can go through either one of them. If you choose the door on the left and notice the blocks with the archive bin, ignore the bin. It contains items you already have.
|
|
I chose to open the door on the right.
|
Move along the catwalk until you reach the opening in the middle.
If an ICP spots you from the upper right catwalk on the next car, don't engage him, and make your way to the next car ASAP.
|
|
Here in the center, you'll sometimes find a build note.
|
|
Quick save your game, and jump to the hitch in the middle.
|
|
Upon reaching the other side, quick save your game again. You can go through either door on the next car, but I recommend choosing the right.
|
|
Before opening the door, be prepared for the fact that you could be attacked by ICPs and/or a Finder.
|
If you're very lucky, you won't encounter any opposition, or the finder will be nearby but facing away from you. The worst-case scenario would be both the finder and an ICP in front of you, as well as an ICP above and behind, attacking all at once. If you're being attacked by all three, then hitting the finder should take out both it and the ICP below, quickly eliminating two opponents.
No matter what circumstances you're in, attack and destroy the opponent(s) in front of you, and then run into the opening on the right. That way, if an ICP is attacking from behind, he can't get at you any more. Don't destroy that ICP yet, though. Also, make sure the ICP in front of you doesn't reach the Sec Rezzer on the wall, or you'll have quite a fight on your hands.
|
If either or both ICPs weren't destroyed, then destroying the finder will attract their attention and they'll come running. So be prepared for a fight. If the finder is nowhere to be found, then you will encounter it soon.
Remember to always keep your distance from finders, when they explode.
|
|
If you haven't ducked into the opening on the right, then once all opposition has been eliminated, head there now.
|

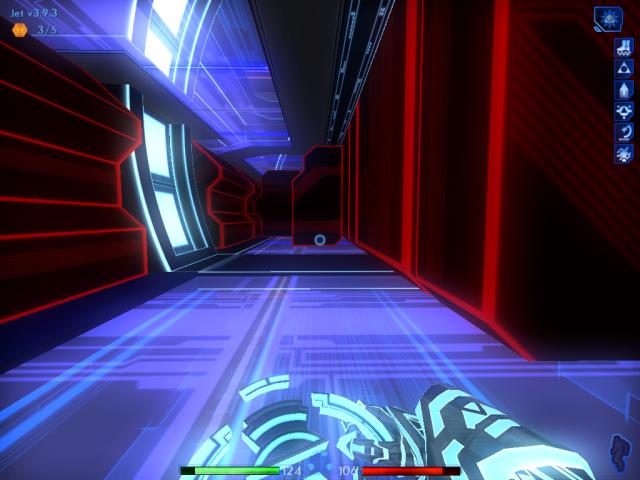
Aside from being a place to find cover, this nook sometimes contains a build note.
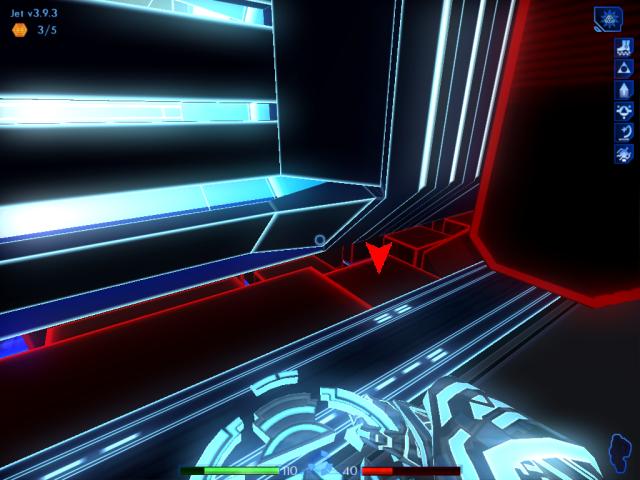
3/5 3.9.3
|
Turn around, and head back to the door you came in from. Facing away from the door, you'll see a health patch on the right. You'll probably be needing it, so refill your health meter now. Quick save your game.
Turn left, and travel all the way to the end of this corridor. That ICP on the upper level might attack again, so move quickly. When you reach the end, turn right.
|
|
Travel to the end of this corridor, and turn right.
|
|
Head straight to the end, where the short column can be seen.
|

If you haven't encountered the finder on the lower level by now, it will be somewhere off to the right. You might want to wait here for a while, until it shows up. Make sure you're not too close to the column as you wait, or else the ICP on the upper level will spot you and attack.
Once the finder is eliminated (if it wasn't already), quick save your game. Then jump up on the column.
|
|
Jump up on top of the two columns ahead, and then jump on the floor to the left.
|
|
On your way up, don't be surprised if a finder and up to two ICPs attack you. Here, I encountered the finder first.
|
|
Head up and down the length of this upper level, looking for any more opposition, and de-rezz them.
|

|
Turn to face the door near where you jumped up onto this level, and move toward it.
|
|
Check to see if an ICP is present, and destroy him if he's there.
|
|
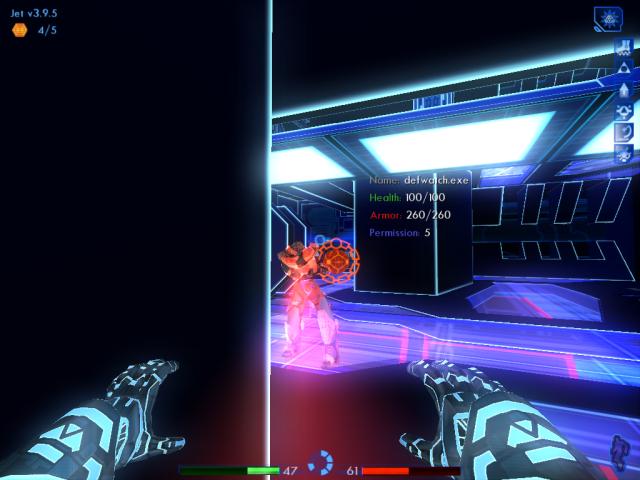
When you eliminate the ICP(s), check the core dump(s). You'll find Permission 4, which you absolutely need to continue. However, as you'll soon see, this permission can be found elsewhere in this car.
|

|
Don't bother with the other door on this upper level. Drop back down the columns, to the lower level, for the moment.
|
|
Turn left, and look for a very narrow opening that has been intentionally made hard to find.
|
|
After going through the opening, you'll find two archive bins. Download the permission and e-mail in each one.
|
|
Return to the column, and jump back up to the next level.
|
|
Head to the left, where the arrow shows.
|
|
Now move onto the column where the arrow indicates. When you get there, quick save your game.
|
|
Turn right, and drop down to the next column.
|
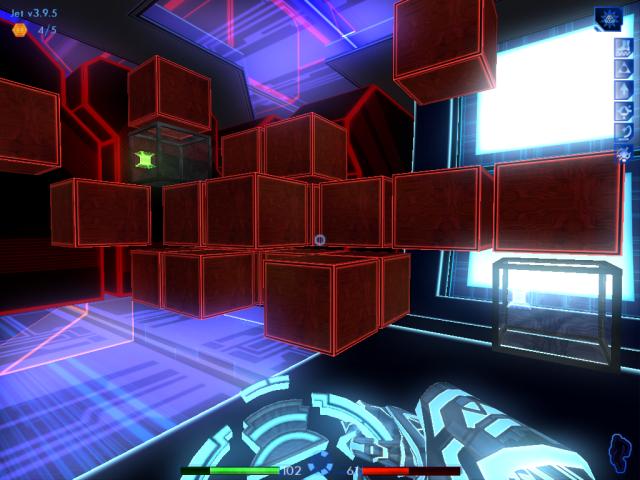
Drop to the floor. Sometimes, you'll find a build note here.
4/5 3.9.5
|
Wait here, until the nearby ICP spots you. If you don't de-rezz him in time, he'll use a sec rezzer to call for help. You will then encounter three of them. Just stay put and pick the ICPs off one by one, as they pass in front of you, from the left. As long as you don't get hit, they'll provide a free health and energy boost.
There's a small chance they won't come running. If so, move out into the open and walk to the left a little. Then come back to this spot. That should get their attention.
|
|
If you managed to get rid of the ICP(s), quick save now. Then step forward, and turn right. Head into the opening seen on the right.
|
|
Walk all the way to the end of this passage.
|
|
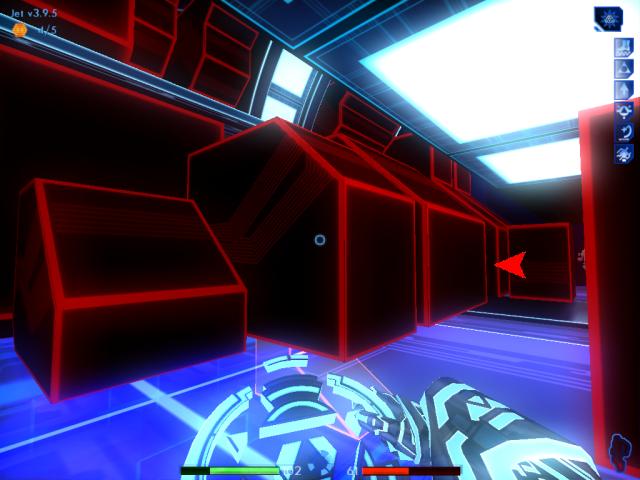
At the end, you'll find a stack of blocks concealing an archive bin.
|
|
Download the Base Damping subroutine, and the permission if you missed it from the ICP's core dump earlier.
|
|
Return to the opening, and face left. Walk down to the end of this corridor.
|
|
Turn right at the end. If you've been lucky again, you haven't encountered the third finder yet. Remember to keep your distance when you attack.
|

|
Move though the short passage, and look to the left. Sometimes you'll see a build note in this other nook.
|
|
Turn to the right, then move all the way to the end of this next corridor, passing by the opening to the right ahead.
|

|
You can go through either door, and it won't matter.
|
|
The permissions you picked up in this car, allow you to open these doors.
|
|
Travel to the middle of this catwalk, like you did before.
|
|
Quick save your game, before jumping on the hitch.
|
|
After making it past the hitch, quick save yet again. Head for the door on the left, this time.
|
|
Before opening the door, you may want to switch to the Sequencer. You will be encountering a lot of ICPs shortly, so the sequencer will help to quickly pound them as they swarm on you. The Cluster causes more damage . . . but can't be thrown as often, of course.
|
When you enter the car, an ICP could be on the ramp to the left, in front of you, of ahead to the right. Most likely, he will either be on the ramp or in front of you.
If he's in front or to the right, throw your disc to get his attention. Then proceed to take him out. If the ICP is on the ramp, run up to him and throw your disc right in his face.
|
|
This nearby ICP should drop a permission, which you can grab now. (The permission can be found elsewhere in the car, though.)
|
Move up against the wall in front of you, and stand right by the edge where you can see the center area of the car. Wait here for the ICPs to come to you. Take them out as they move into your view.
You will encounter up to five ICPs! Initially, there should be three. Two regular ones, and an ICP with a shield. If you have trouble with the Shield ICP, look three steps down for a tip on how to get rid of him without too much trouble.
|
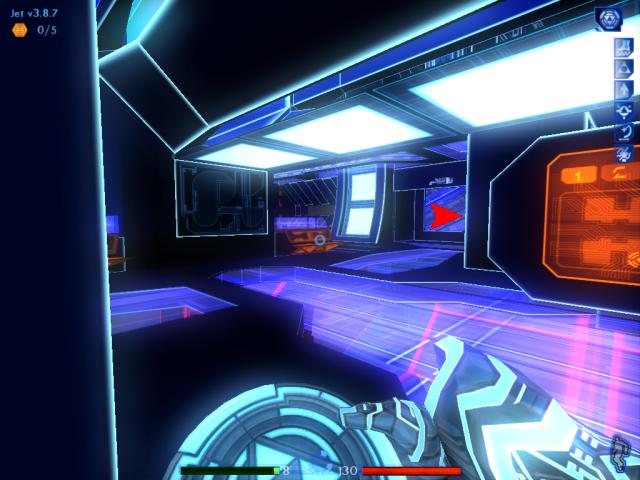
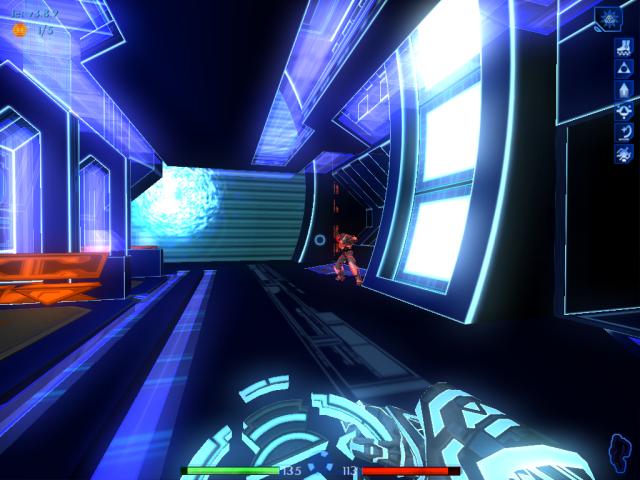
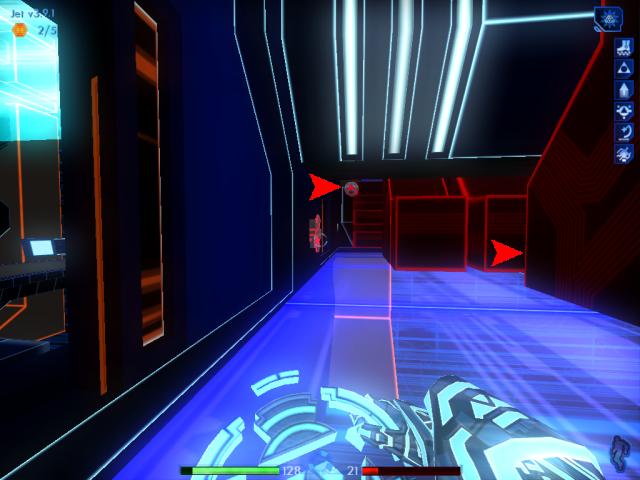
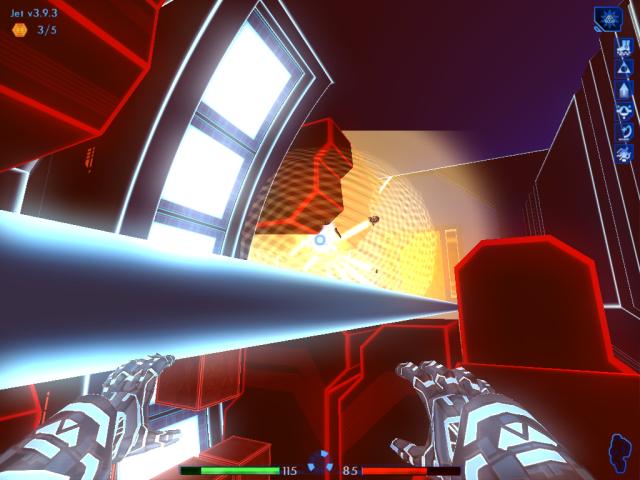
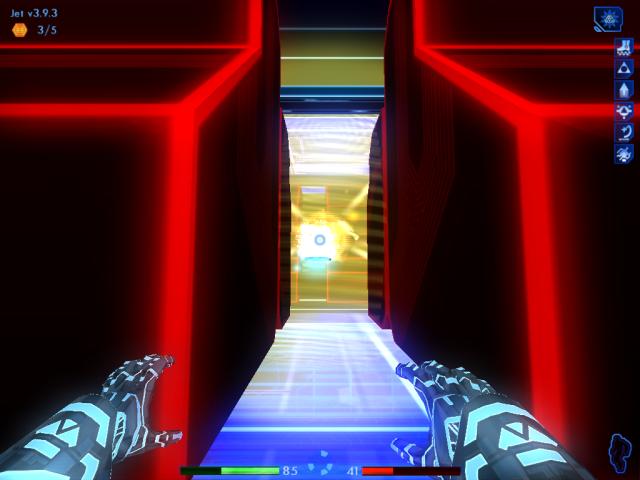
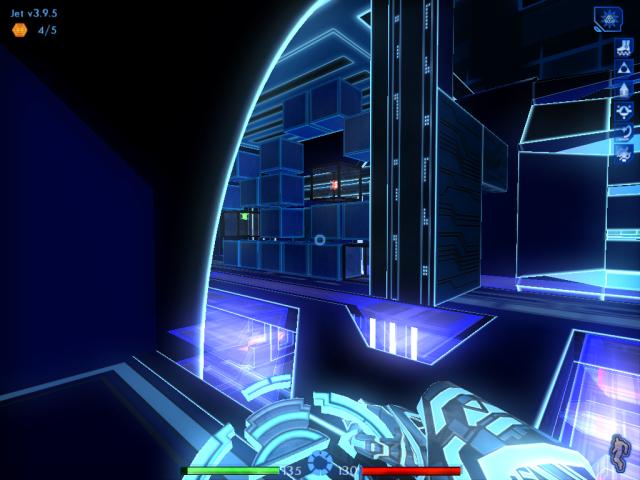
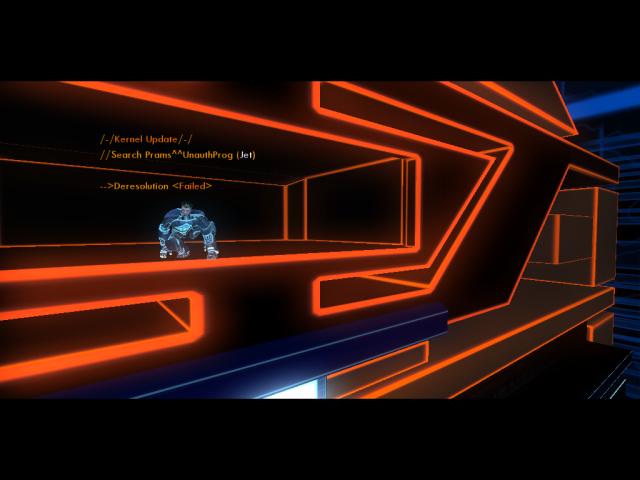
After eliminating the first three, allow the remaining regular ICP (if he's there) to use the Sec Rezzer and call a second Shield ICP, as you can see has happened in this screenshot. Once he's used the rezzer, then you can nail him.
Yes, you heard right. It's best to deal with all these ICPs now, so let the survivor(s) call for any remaining reinforcements.
|
|
In the meantime, pick up all the core dumps. One of them should contain another permission.
|

When the Shield ICP rezzes in, walk right up to him. You want to get really close, so he won't use his sequencers on you. Instead, he'll try to swat you with his shield. Which is nowhere near as bad as being hit repeatedly by his discs.
There are two tactics you can use to cause damage. The first is to aim for his feet, and hit him there. Or wait until he swings his shield at you, which leaves him open to attack. The shield can be destroyed, but it takes too long.
|
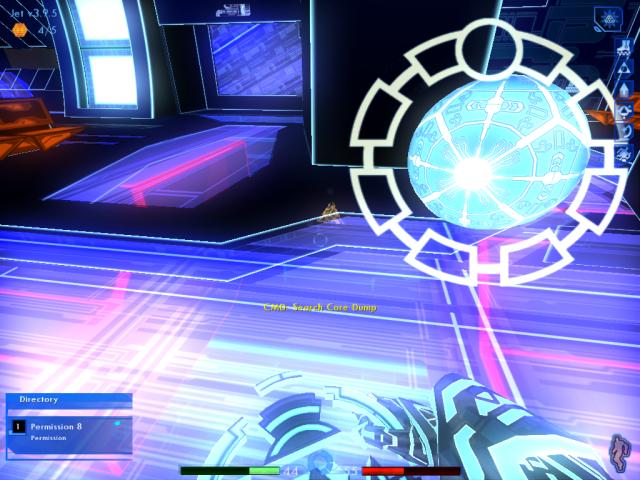
After defeating the Shield ICP, he might drop Permission 8. This permission is required to open a certain door on the upper level. However, as it turns out, there's nothing useful behind that door. So, it doesn't actually matter if you have this permission or not.
If you're not near the energy patch, make your way there and recharge. It's right beside the display panel. By now, you'll definitely be hurting for energy and health.
|
|
Turn around and head to the other end of the floating display. Use the health patch to refill your meter.
|
|
Head toward the Sec Rezzer, and turn right. Make your way to the right door at the end of the car. You can go through either door, but there's something on the right you might need.
|
|
Notice the archive bin behind the blocks. Make your way there.
|
|
If for some reason you missed Permission 5 dropped by an ICP earlier, now is your chance to obtain it.
|
|
Now turn right and open the door.
|
|
Sometimes you'll meet this program inside the car in front of one of the doors, but more often you'll find him here on the catwalk.
|
|
Talk to Miguel. He'll tell you that you can climb onto the Recognizer from an upper catwalk.
|
|
Return inside the car through either of the doors.
|
|
Head for the ramp on the left side of the car.
|
|
Walk to the top of the ramp.
|
|
On the left, you'll notice two archive bins with items in them.
|
|
Ignore the bin with the unknown subroutine, because you already have what's in it. Just download the e-mail from the other bin.
|
|
Turn right, and move toward the other end of this upper level.
|
|
When you come close to the end, you'll see a partition with a sec rezzer on it.
|
Sometimes, to the right, you'll discover a build note.
If you take a few steps forward, sometimes you'll find a build note to the left of the door ahead, where the arrow points.
5/5 3.9.7
|
Head back to the other side of the level, and then go down the ramp.
You can ignore both doors up here . . . because they both lead to nothing, even though one of them requires Permission 8, which can be difficult to obtain.
|
|
Move to the other side of the car, by going left.
|
|
Turn right once you've passed the floating display, and walk to the other ramp.
|
|
Head, once again, to the top of this ramp.
|
|
Make your way to the right end of the car, on this level.
|

|
Keep going until you notice blocks and a bin on the right side.
|
|
Download the Permission 7 or Gold Profiler, in case you missed either of them earlier.
|
|
Look to the end of the car on the left. Move toward the door.
|
|
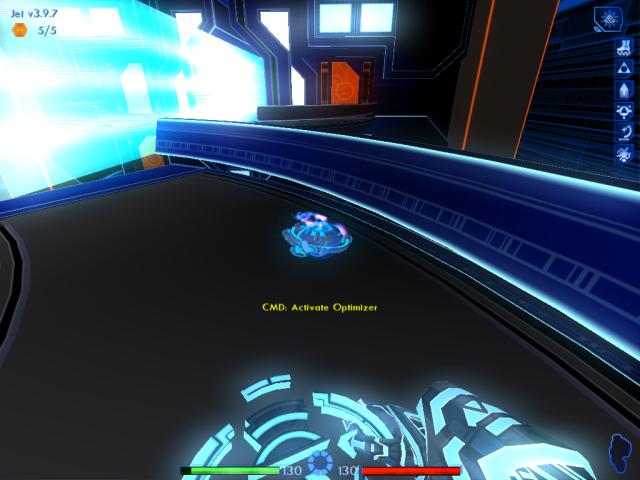
Here on the catwalk, you'll find an optimizer!
|
|
Go to Jet's system memory screen, and replace the sequencer with the LOL. Then use the optimizer on the LOL, upgrading it to Gold status. You'll be wanting its upgraded capabilities in future levels.
|
|
Since both the Profiler and LOL are Gold now, you can make room for an additional subroutine. Move the LOL beside the Profiler, and put Triangulate into the empty slots. You'll also be wanting to use Triangulate in the next couple of levels.
|
|
When you're finished, head back into the car.
|
|
Walk all the way to other side of this level.
|
|
Go to the door that can be seen ahead.
|
|
At last, you've found the door to the catwalk, that grants access to the Recognizer.
|
|
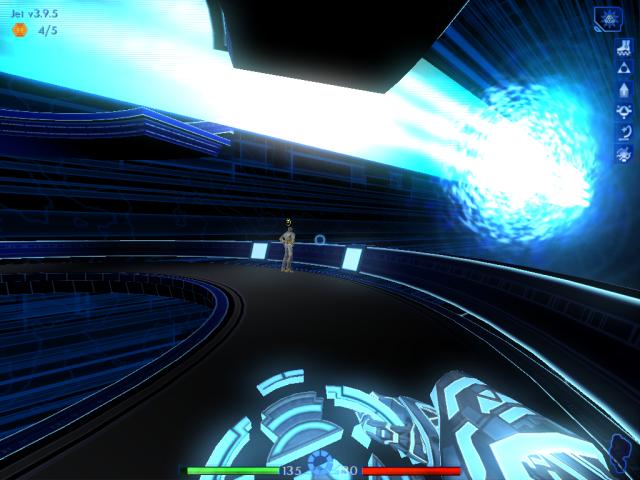
The game will shift to a cutscene, showing Jet successfully stowing away in the Recognizer!
|
Final build version for this level: 3.9.7