8.2.10 Power Regulator
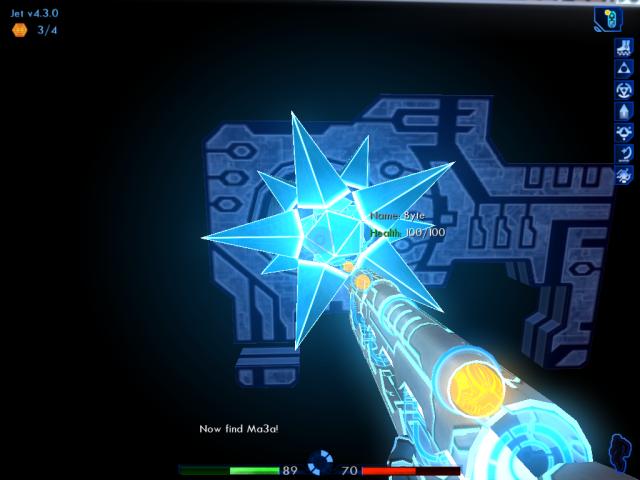
The Transport has arrived at its destination, the Power Regulator area, which controls Encom's power router energy flow. After splitting up with Ma3a, Jet must find a way to start redirecting power to the old EN12-82 mainframe . . . without attracting the ICP Kernel's attention.

By stowing away successfully on the Transport, you gain ten more build points. (Again, strangely the game doesn't display a message about this.)
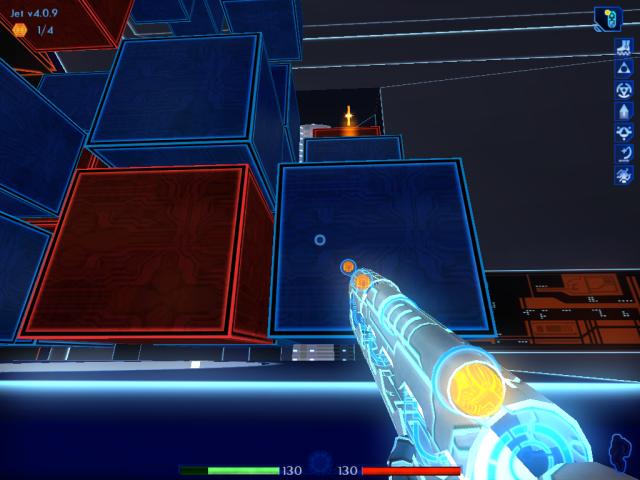
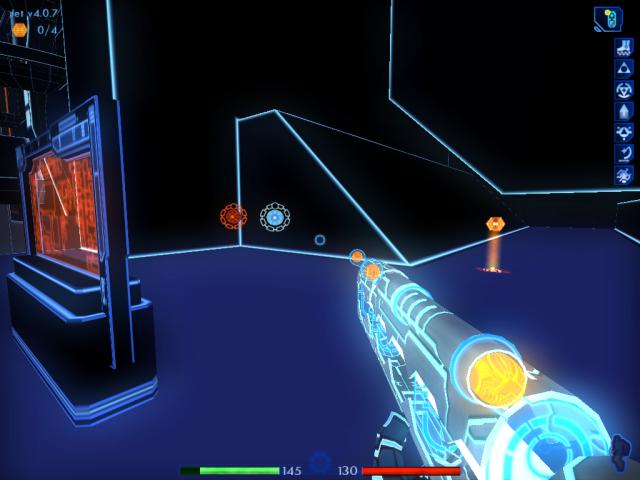
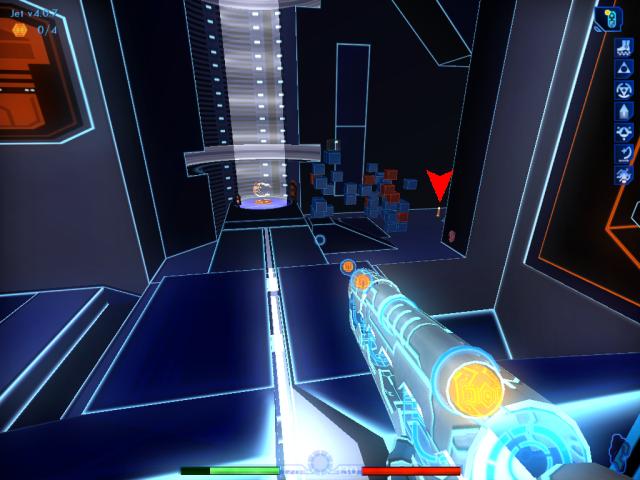
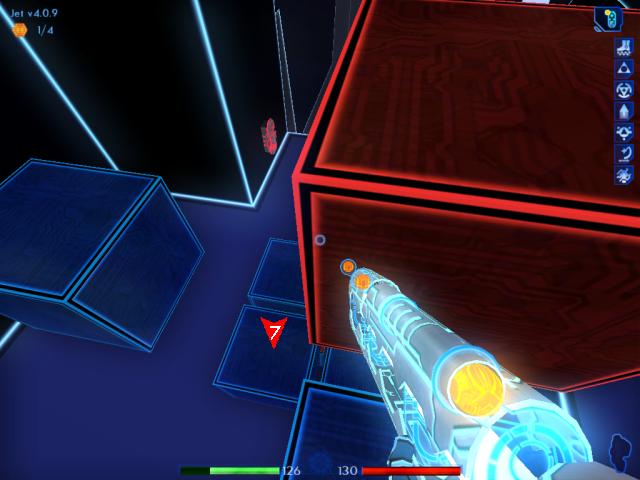
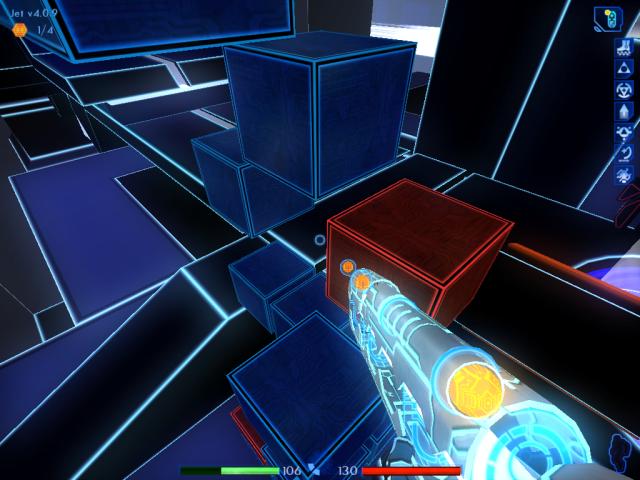
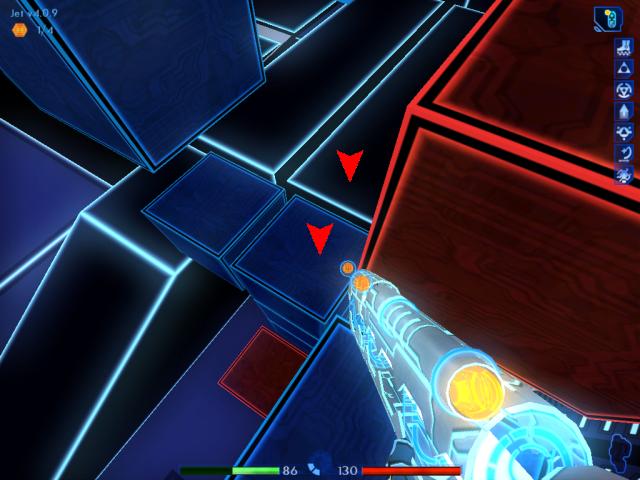
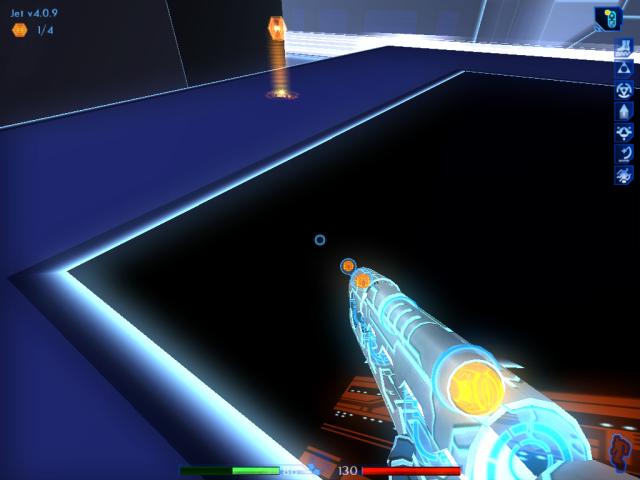
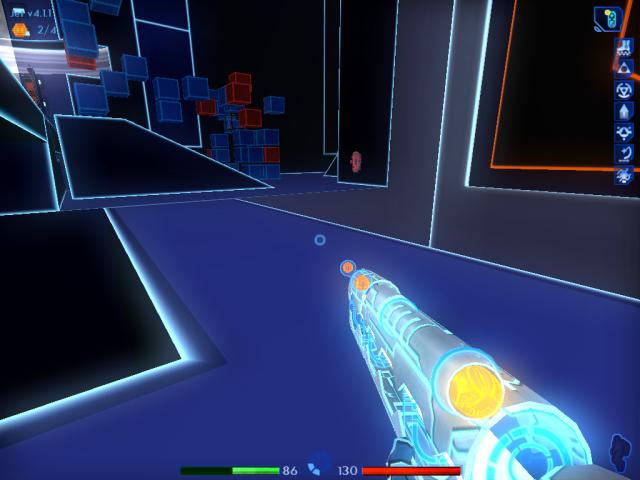
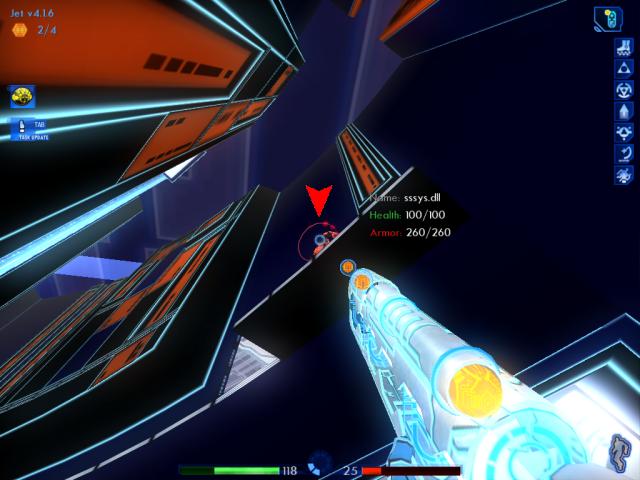
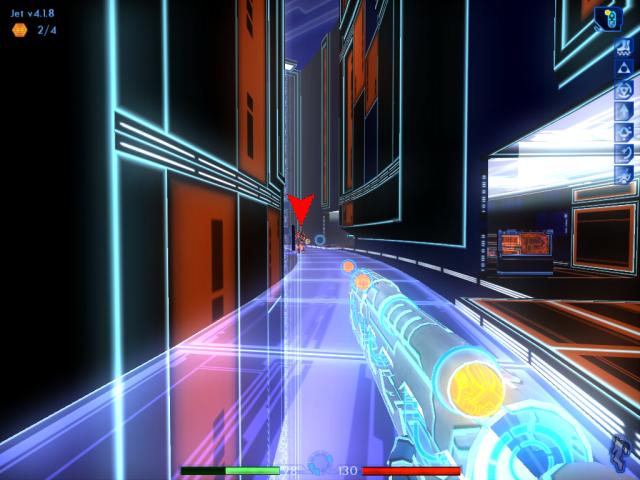
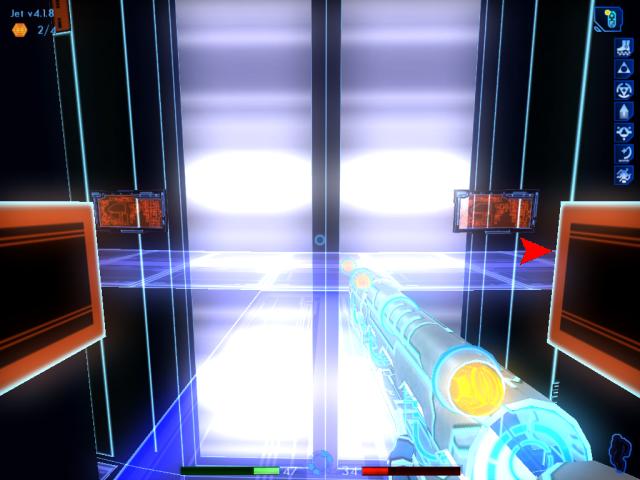
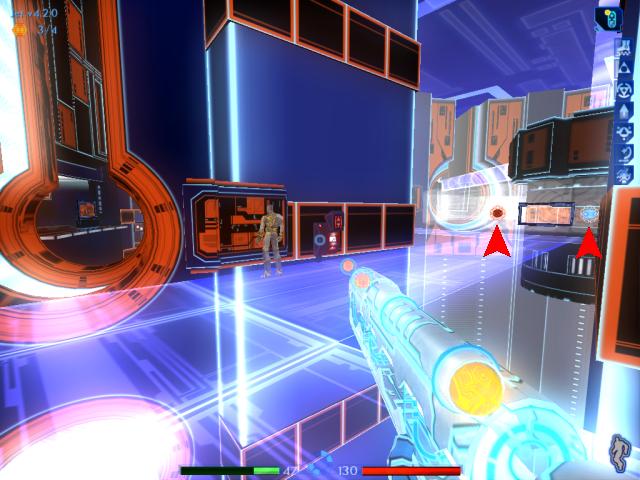
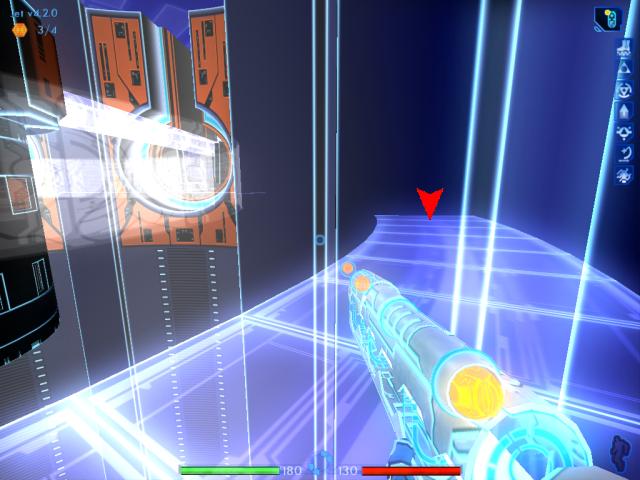
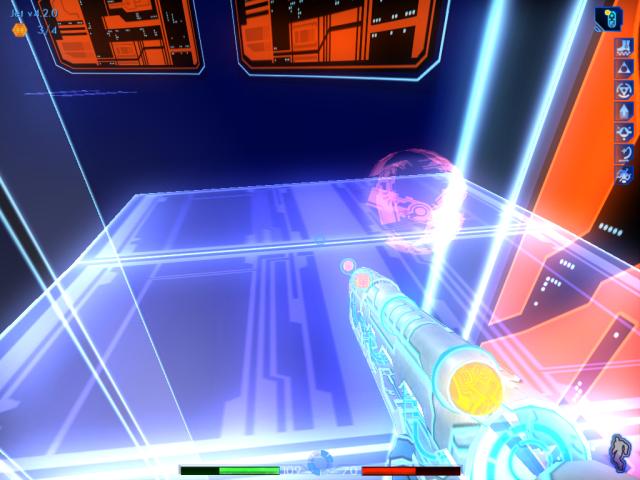
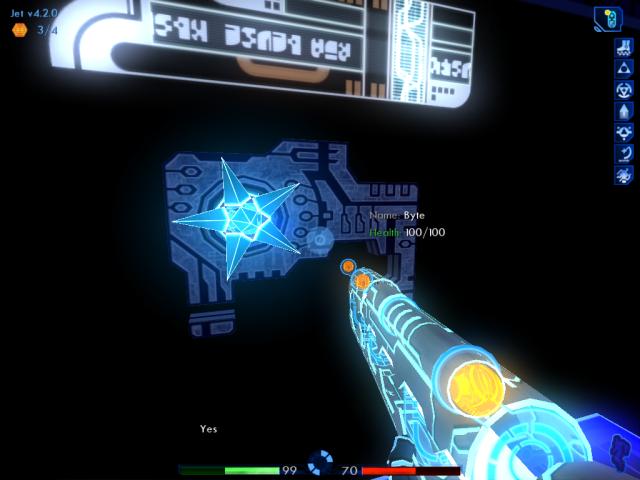
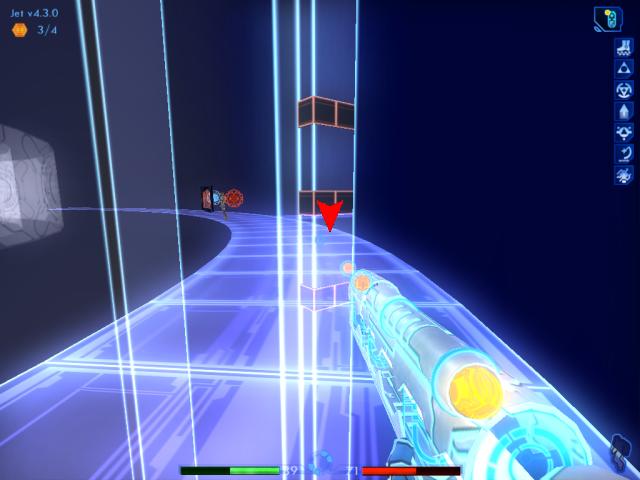
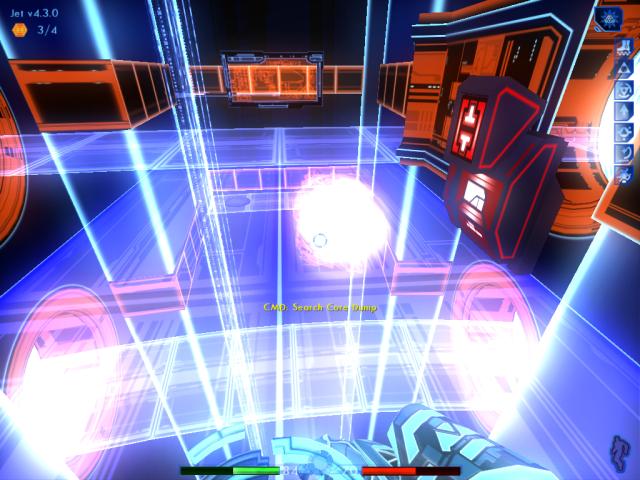
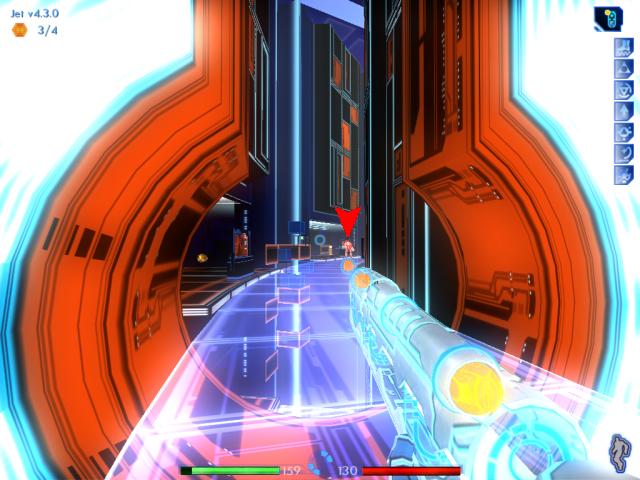
You start this level hiding between some blocks on a plateau. Byte is nearby, warning that you should leave this area before being discovered. Below, you'll see an ICP going about his business.
Turn to the right for a brief moment, to look at something.
4.0.7
|
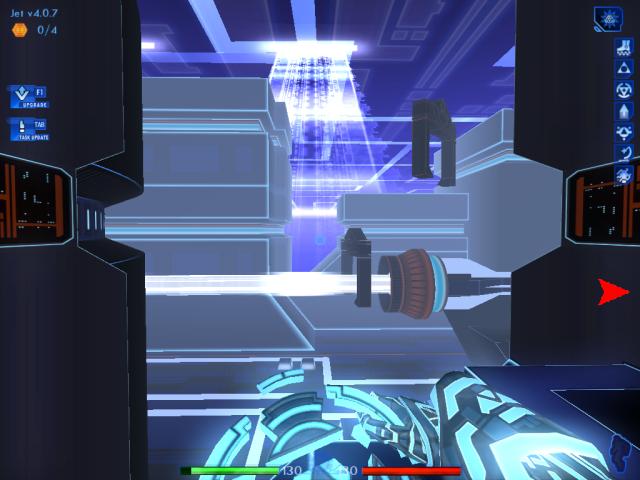
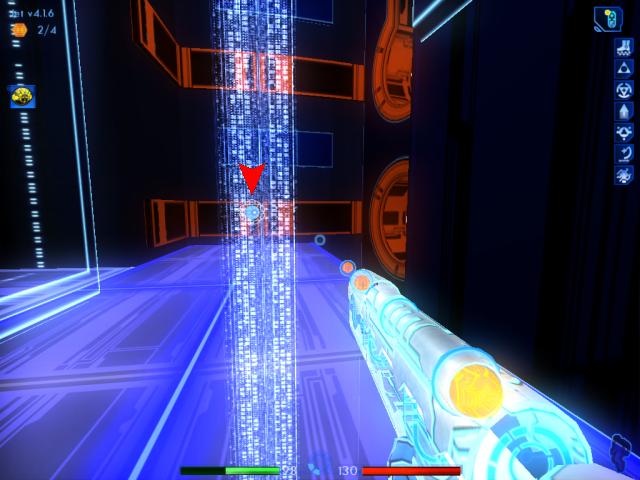
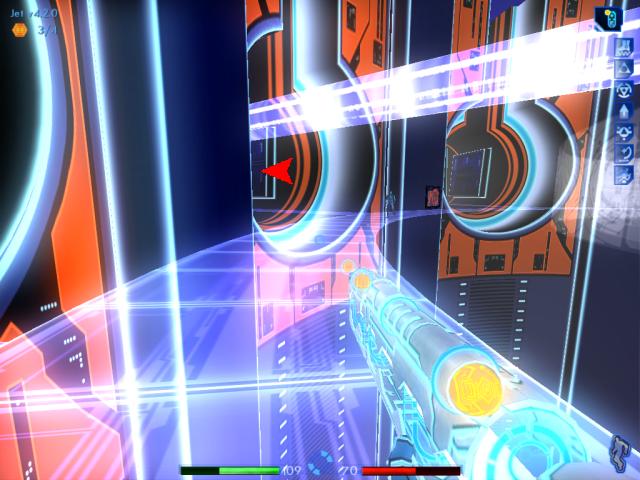
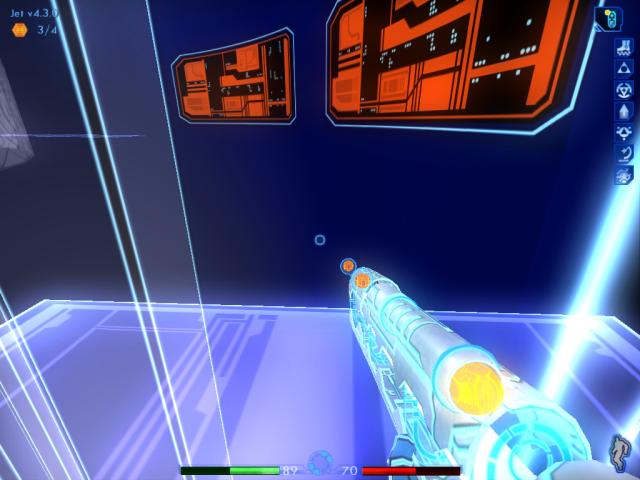
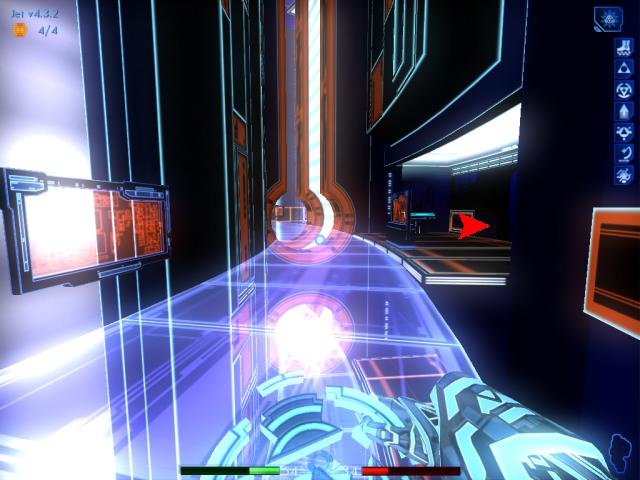
You'll see several Recognizers hitching a ride on an energy beam. 
Don't stare too long though. Turn right again, after watching for a few seconds.
|
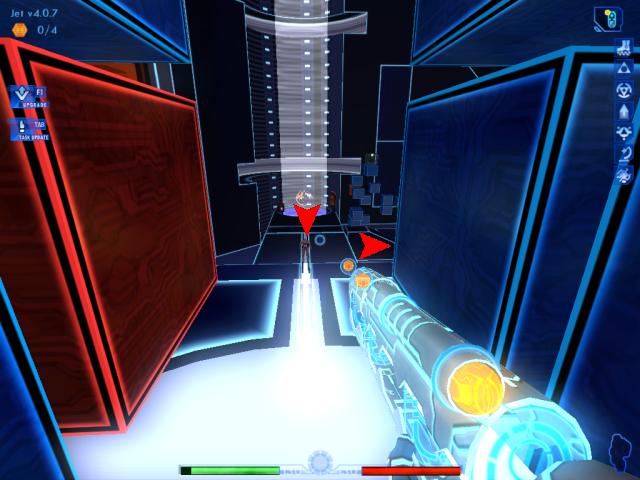
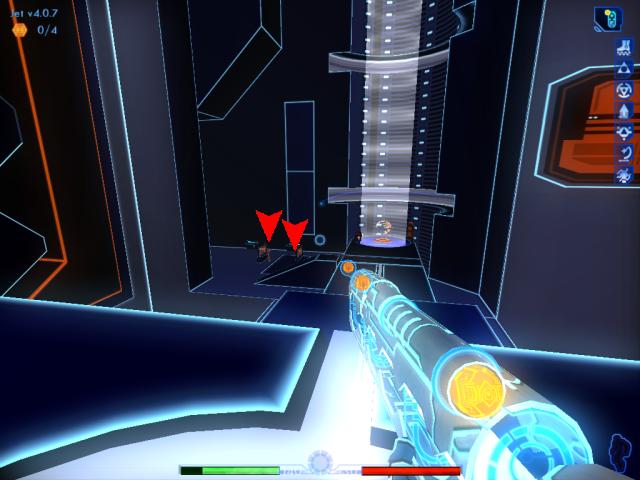
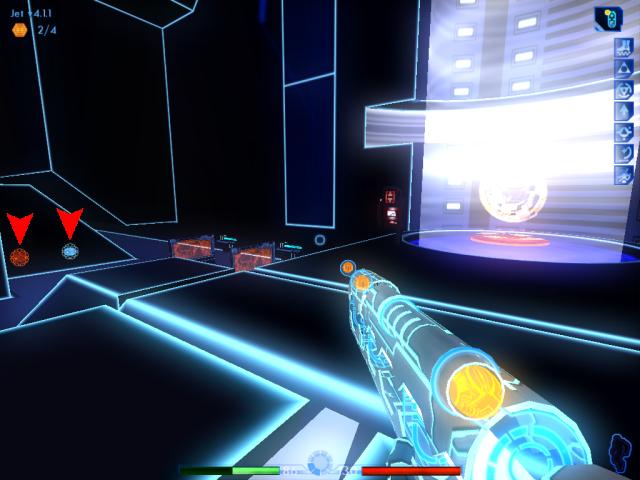
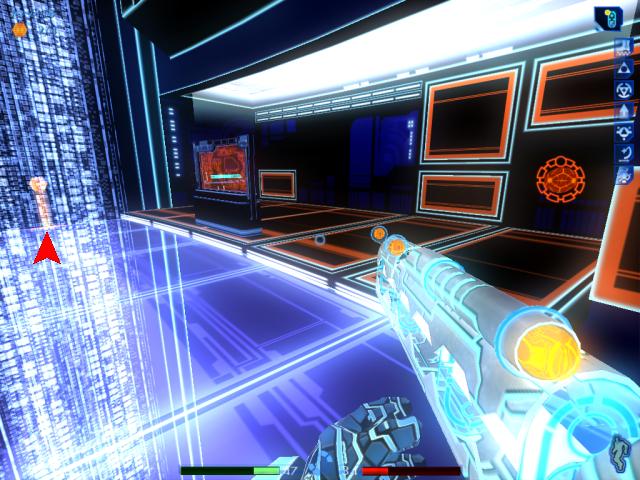
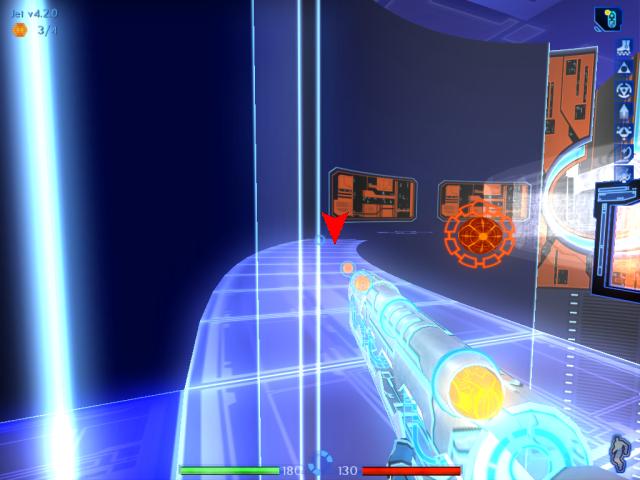
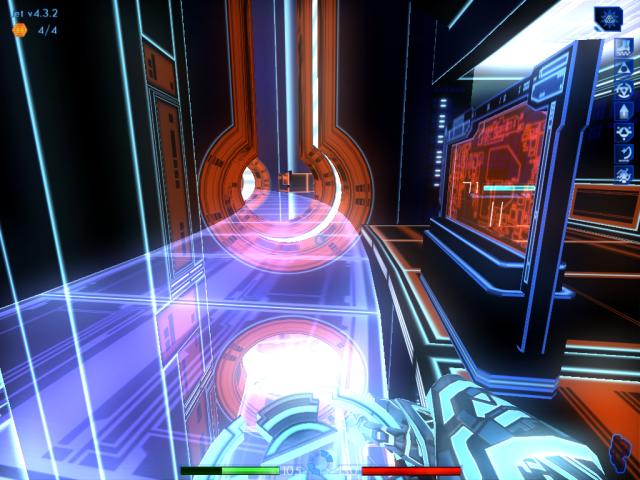
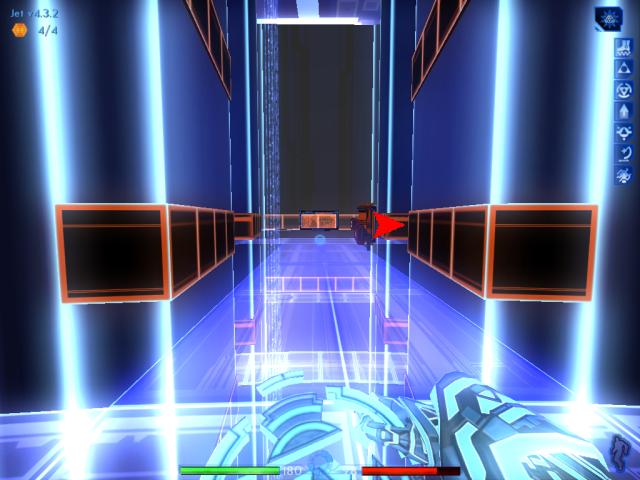
Behind you, is another area with an ICP. Switch to the LOL, then quick save your game (F5 key). You will be using the LOL almost exclusively in this level.
If you turned to face this direction soon enough, the ICP should be standing directly in front of you. Otherwise, he'll start walking to the right and may not be within sight unless you move forward a little.
Be careful, because moving too much forward will gain his attention, and he'll go running for the nearby Sec Rezzer.
|

|
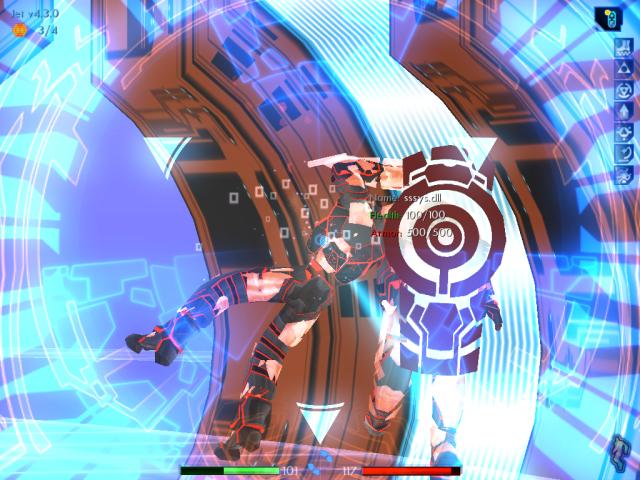
Zoom in with the LOL, and aim for the head.
|

|
After eliminating him, move down and pick up his core dump.
|

|
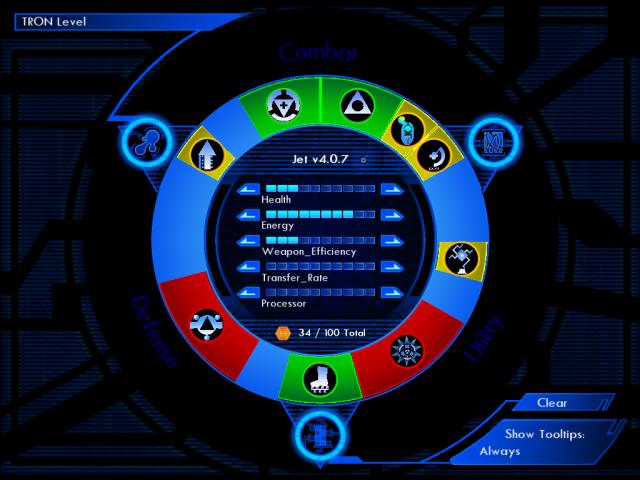
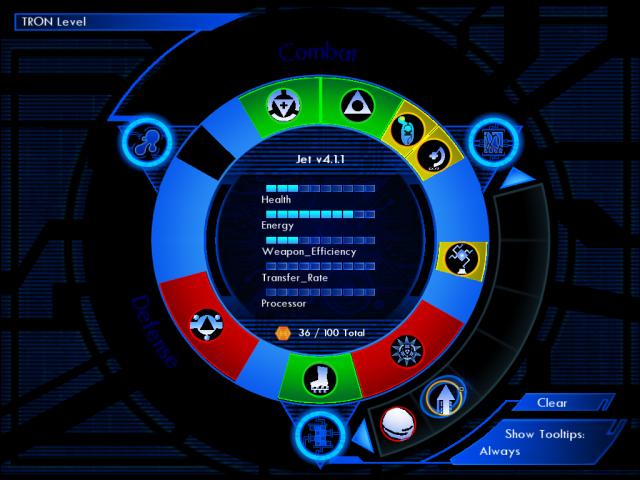
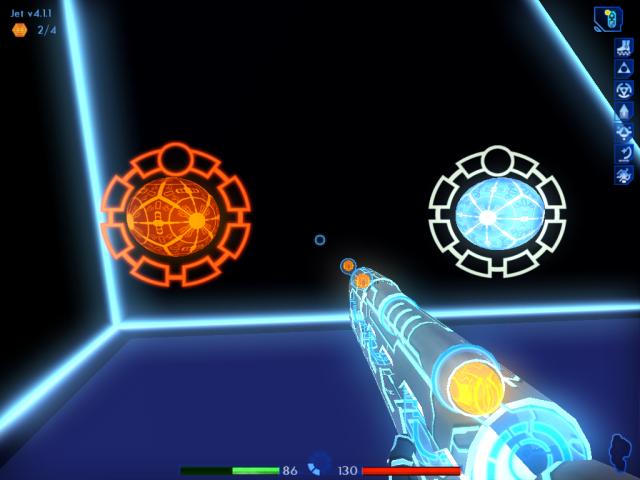
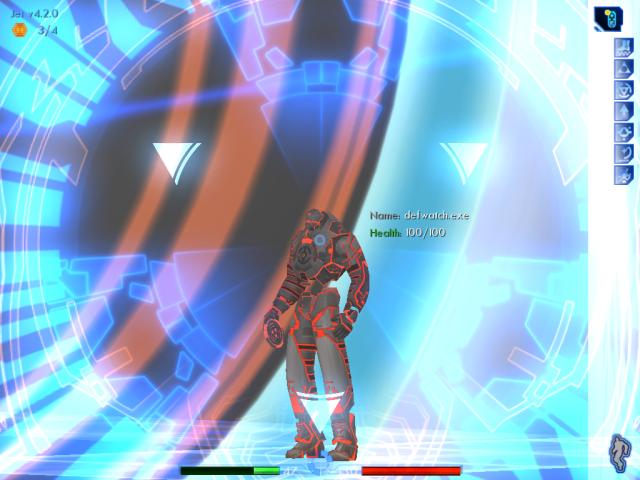
Go to Jet's system memory screen now. You've reached another version milestone, and can upgrade your attributes!
|
|
This time, put all your points toward Energy. We've already upgraded Health and Weapon_Efficiency somewhat, and now shifting the emphasis to Energy is becoming important. Particularly on this level, as you'll soon find out.
|
|
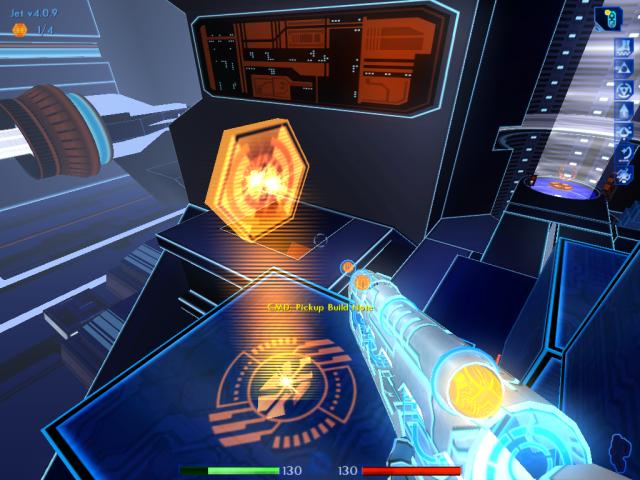
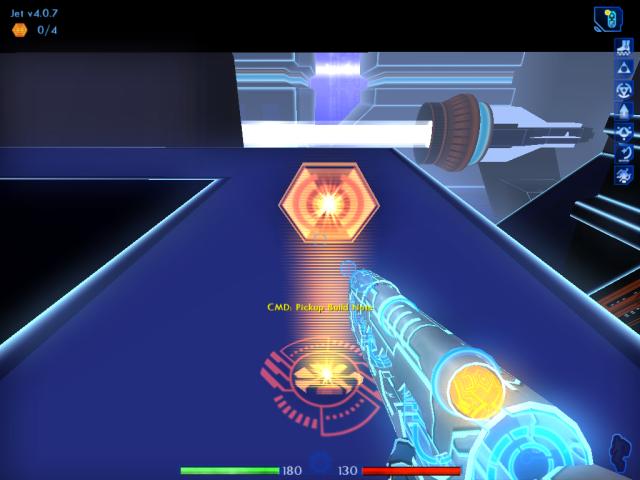
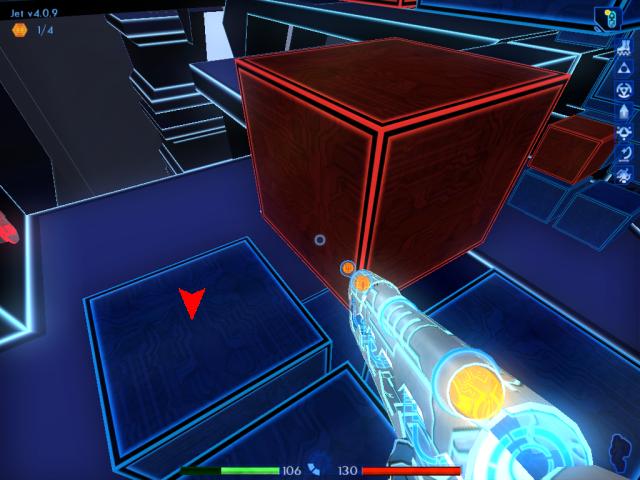
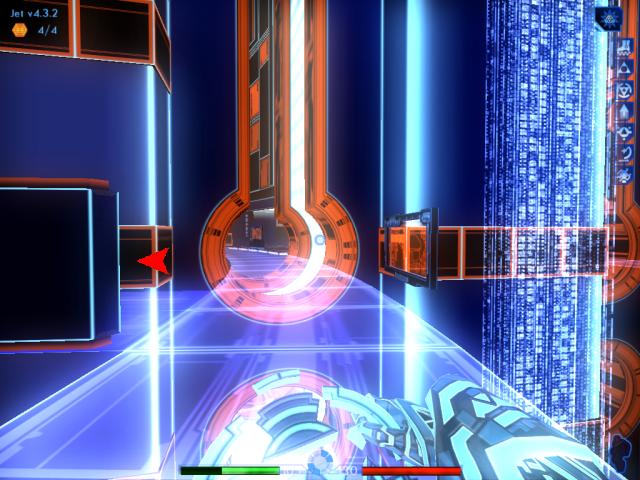
Turn around again, to face the blocks you just came from. Sometimes you'll notice a build note on one of them, if you look carefully.
|
|
Jump up the two blocks on the right side, if you see the note.
|
|
Now grab the build note, if it's there.
|
|
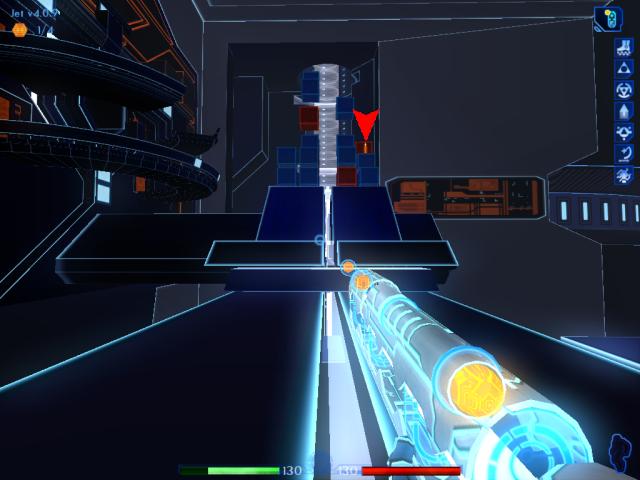
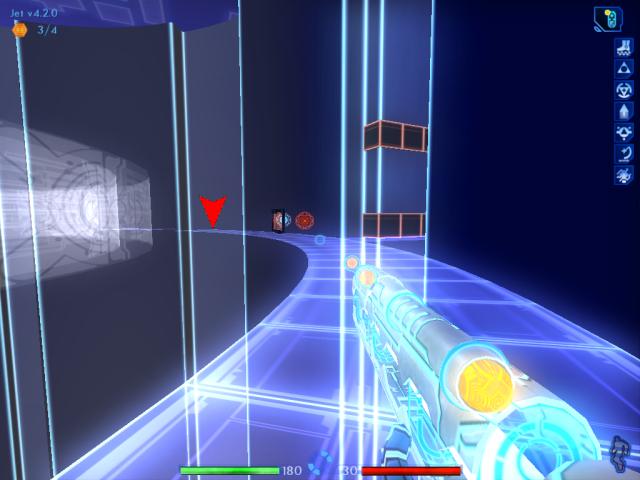
Return to the spot on the other side of the blocks, where you started the level. Below is a second ICP. He will move back and forth between the two consoles.
|

|
Zoom in with the LOL, and go for the head shot.
|
|
Follow the pathway down to the lower area by first walking straight down, and then turning left at the next slope. Grab the ICP's core dump.
|
If you move past the console and turn left, you'll sometimes see a build note near the patch routines.
1/4 4.0.9 4.0.9
|
|
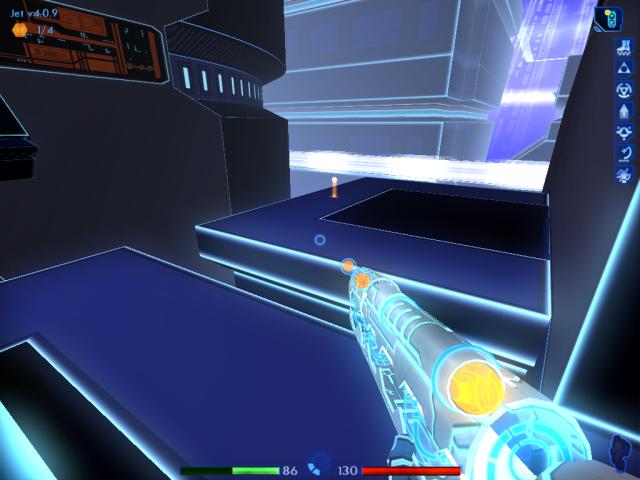
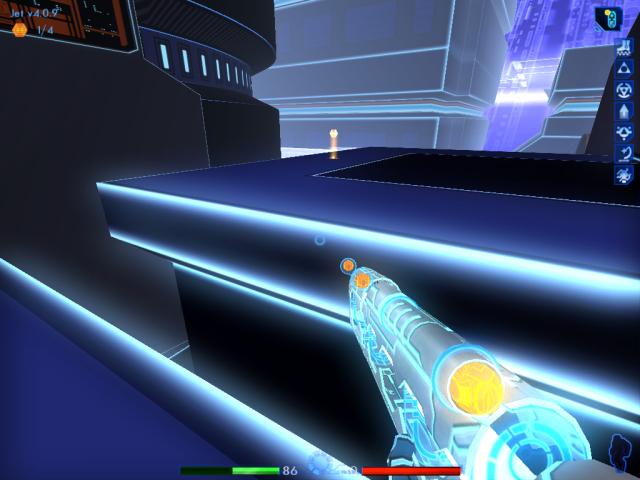
Return to the slope. Off in the distance, under the pathway, you'll sometimes see another build note. Quick save your game now.
|
|
As you make your way there, be careful of the large dark opening to your left in the floor! You'll fall to your death if you accidentally walk there.
|
|
Take the note, if it's there.
|
|
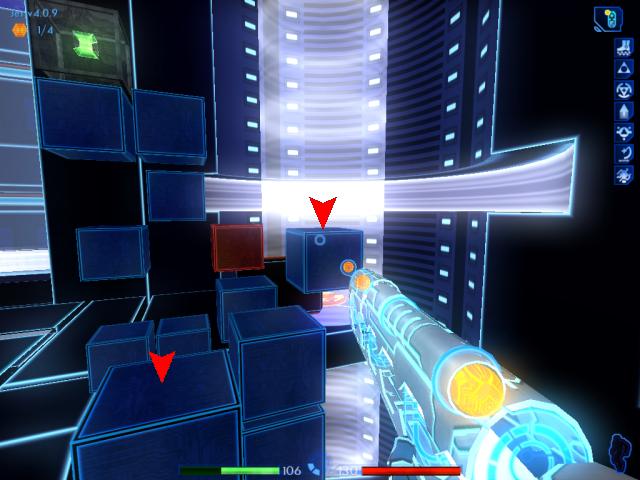
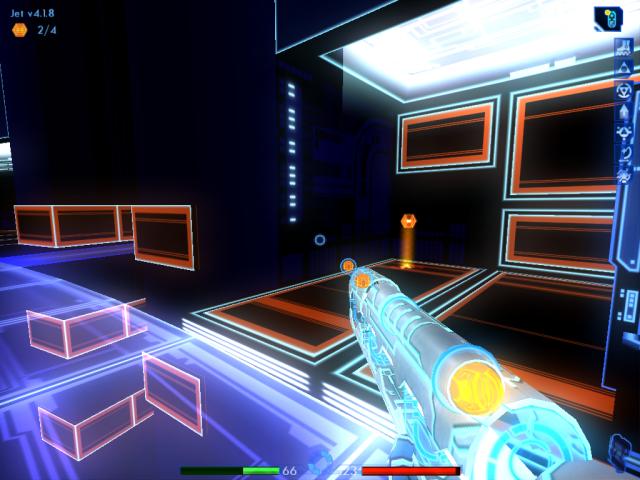
Travel back up the pathway, and return to the other side of the blocks. Off in the distance on the right, you'll sometimes notice a build note.
|

|
After moving down the other pathway, you'll see it on your left.
|
Grab it, if the note is present.
2/4 4.1.1
|
|
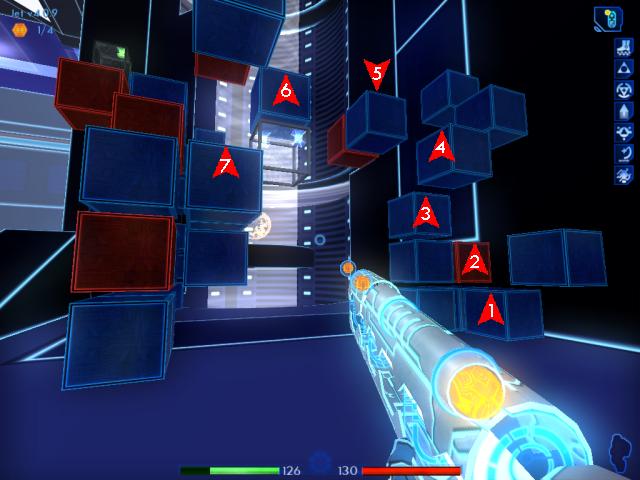
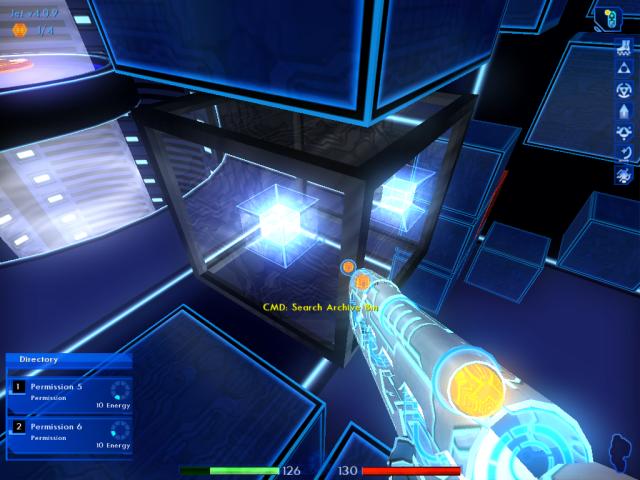
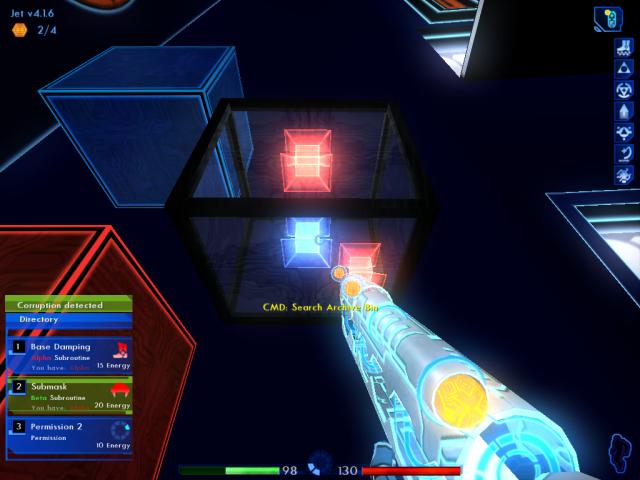
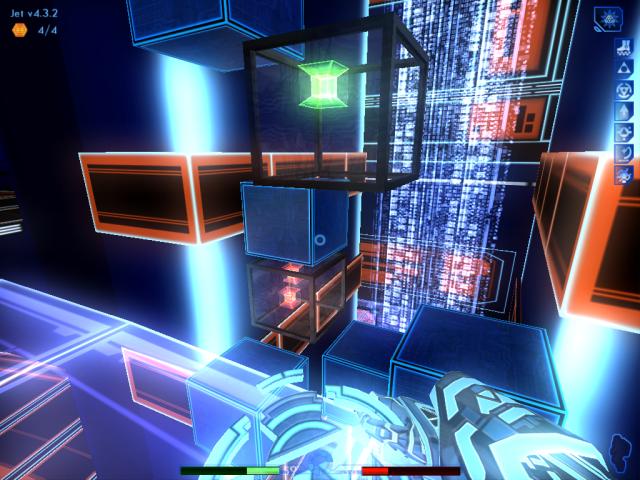
When you turn around, you'll see archive bins nestled in-between the data blocks. Quick save your game first, then jump up the blocks in the order shown by the arrows, to reach the first bin.
|
As you make your way up, you may find it useful to temporarily remove Y-Amp from your subroutine ring. The Y-Amp makes it too easy to overshoot the mark when jumping, so you end up falling to your death.
You may also want to move more slowly by using the Caps Lock key to toggle between walking and running.
|

|
Be careful when making this jump, because it's easy to miss and fall.
|
|
Also be careful when dropping down to this block.
|
|
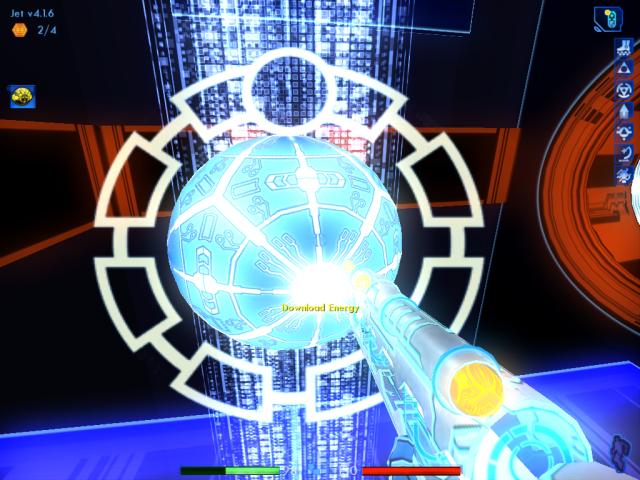
Once you've made it, quick save your game. Then turn around to face the bin. Download both permissions.
|
|
Turn around again, and walk forward onto the next blue block where the arrow points. Otherwise, when you jump, you'll hit the block above you with your head.
|

|
Turn right, and jump up the next two blocks.
|
|
When you reach the top, quick save your game. Jump across to the block on the left, then jump on the block to the right indicated by the arrow.
|
|
Turn left, and drop down to the next blue block. Then jump up on the red block.
|
|
Finally, jump up the next block to reach the other bin.
|
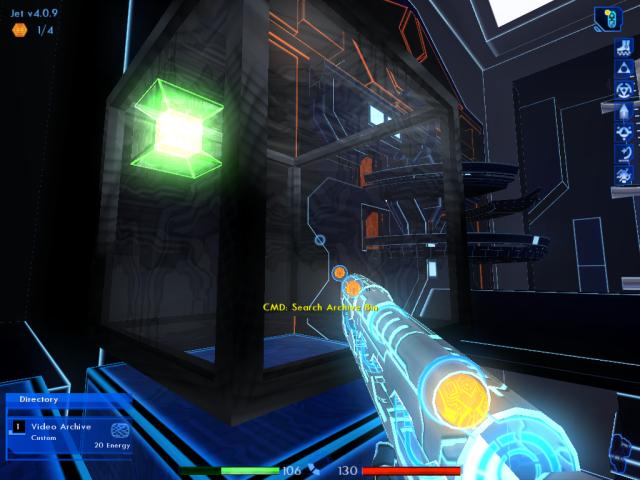
|
Download and watch the video. It shows what fCon has in store, for Jet.
|
|
Quick save your game. Turn around, and make your way back down to the red block. Then turn right while standing on the red one, and drop down to the next block.
|
|
Turn right again, and drop to the block pointed to by the arrow. Finally, drop down to the pathway.
|
When you reach the pathway, don't forget to put the Y-Amp subroutine back in its slot, if you removed it earlier. Also toggle your speed from walking back to running.
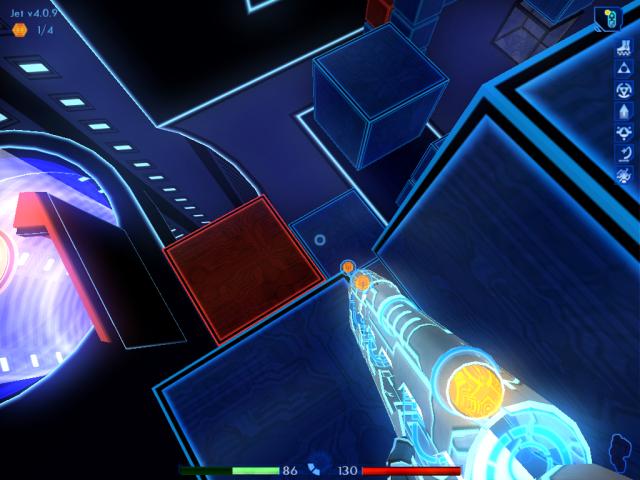
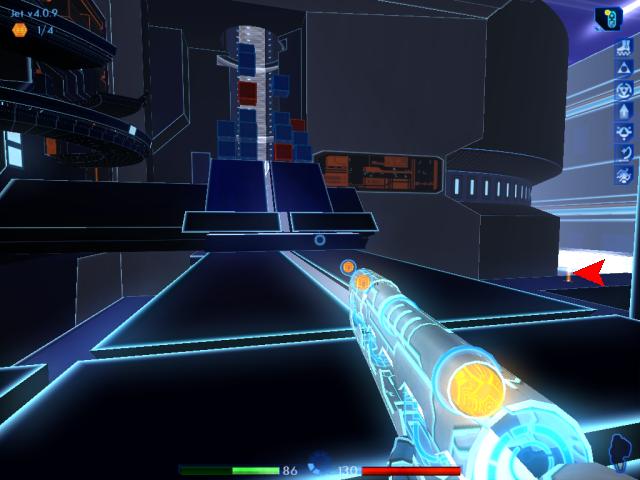
Before returning to the plateau with the blocks again, check to the right for another build note.
|
|
Quick save your game once more, before dropping down off the raised pathway onto the floor below. There's a small chance you could fall into another one of those large openings.
|
|
Move toward the edge, and just as you reach it, jump across.
|
|
After making it to the other side, head for the build note. Once again, make sure you don't fall into the large opening!
|
|
Pick up the note, if it's there.
|
|
Quick save your game. As you return to the edge, again be careful not to fall into the opening. Then jump back across.
|
|
Head to the corner, where the arrow shows. Follow the blue areas to get there, and avoid the opening!
|
|
You can now safely make your way to the sloping ramp, as long as you walk straight ahead on the blue area.
|

|
Head up the pathway, back to the plateau with the blocks where you started the level from.
|

|
When you reach the top, head down the pathway on other side, until the ramp is beside you on the left.
|
|
Head down the ramp toward the health and energy patches.
|
|
Recharge your energy, and health if you lost any.
|
|
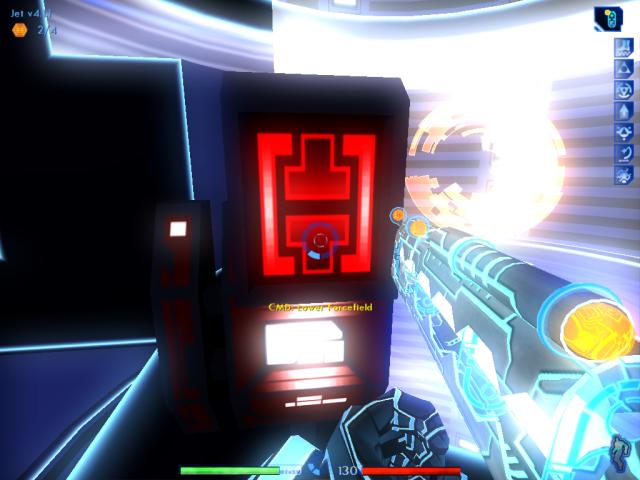
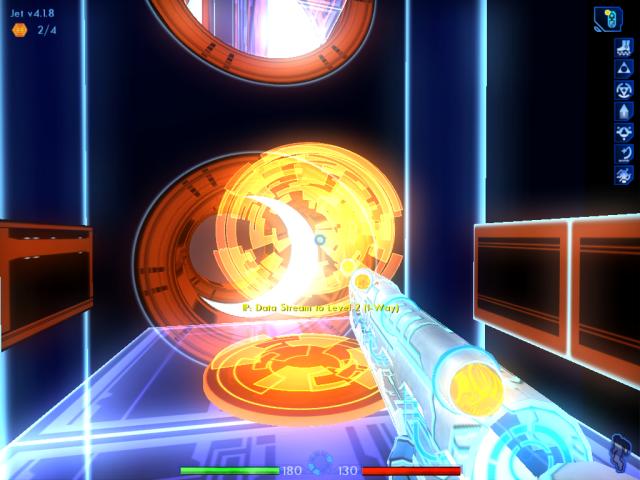
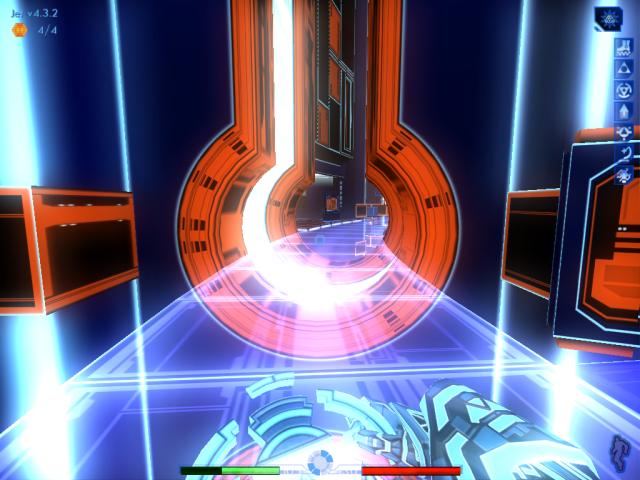
It's time to get out of this area. Turn around, head up the ramp, and move to the left where the force field is blocking the data stream portal.
|
|
Use the control panel on the left, to deactivate the force field.
|
|
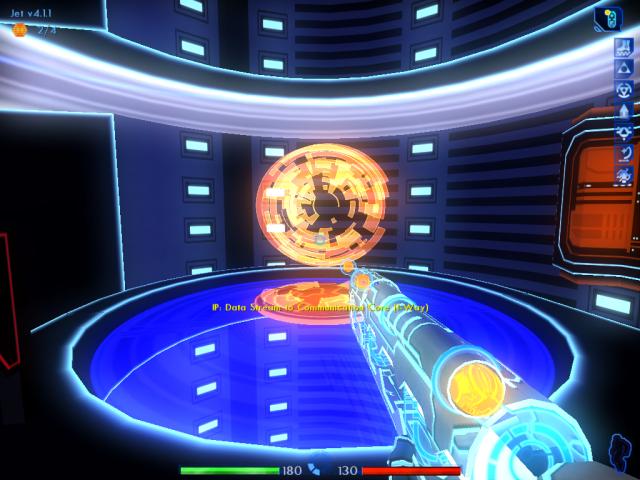
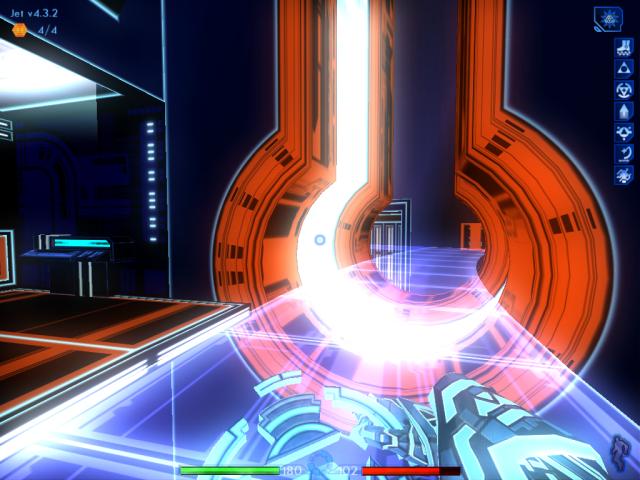
Quick save your game before entering the portal. Though there isn't any need to come back, take note that once you've gone through, you can't return here because the portal is 1-Way only.
|
When you reach the other side, you are awarded five more build points.
You'll notice that Ma3a is pinging you, but it will be a while before we can answer her.
4.1.6
|

|
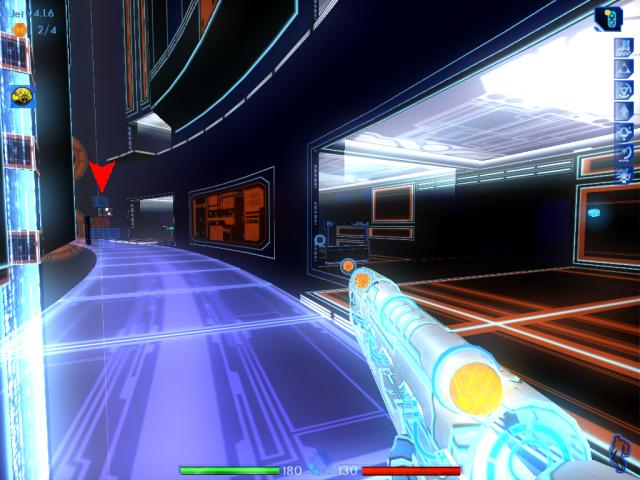
Turn right. Follow Byte, who came along with you, through the opening ahead.
|
|
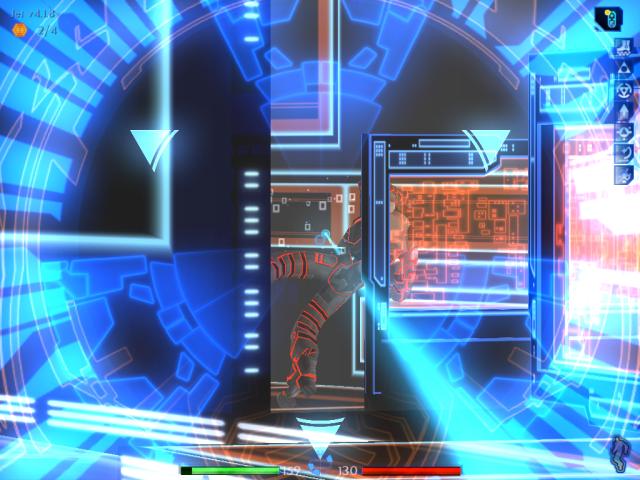
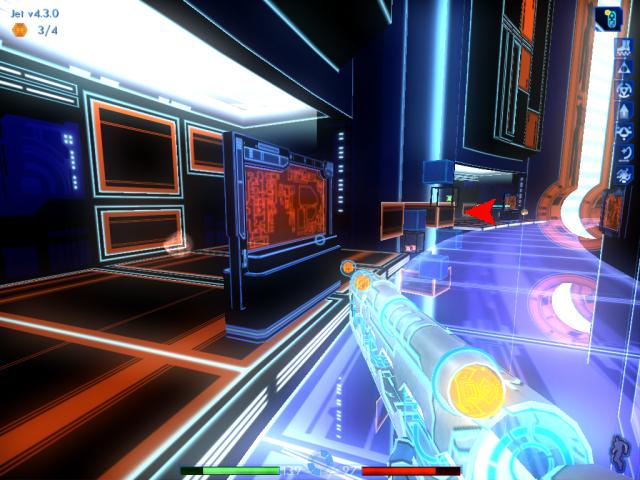
As you begin to enter the opening, come to a stop. Depending on how quickly you got here, either an ICP will walk in from the left, or already be inside the room on the right. Sometimes you'll see him through a display console, as he stops and studies it.
|
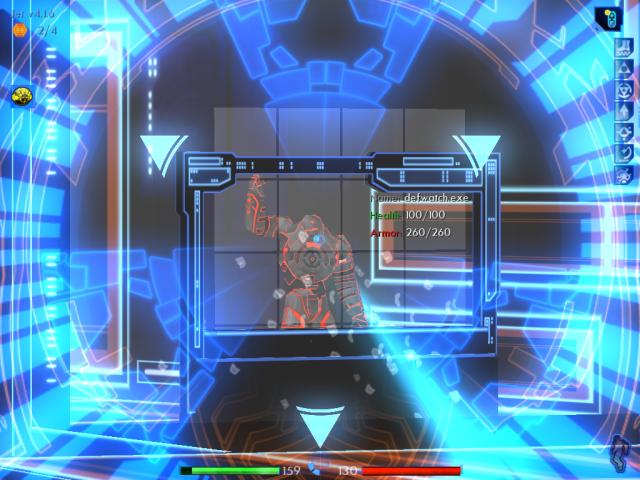
|
Zoom in with the LOL. Be sure to nail him, before he spots you.
|
|
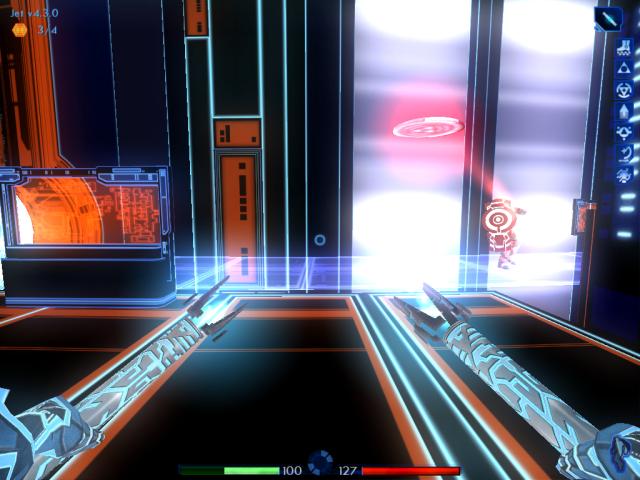
Zoom out for a moment, and creep forward a few steps. There is another opening to the room, further ahead. Zoom in again, on another ICP which has his back turned toward you, studying another console. He should be a cinch to pick off.
|
|
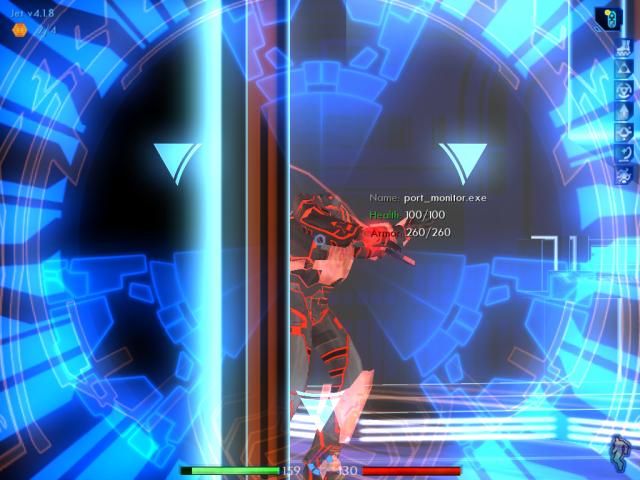
Now wait here another moment, for a finder to show up. In fact, you may have already encountered it. Either way, destroy the finder quickly, before it causes you too much damage.
|
|
At this point, it's possible for another ICP to appear in one of three places. The most likely is directly in front of you, coming from the part of the passage on the left, that you can't see.
|
|
He could also be above you, on a ledge overhead.
|
|
The final place he could appear, is another ledge in the distance.
|
|
Zoom in with the LOL if the ICP shows up on one of the ledges, and take him out.
|

|
After clearing out all opposition, pick up any remaining core dumps.
|

Depending on your marksmanship, your energy level may or may not be very low. Repeated firing of the LOL saps energy quickly, which is why it was important to raise your energy attribute at the beginning of this level.
It would probably be best to recharge yourself already, so turn around and head back through the opening.
|
|
Turn right when you reach the end.
|
|
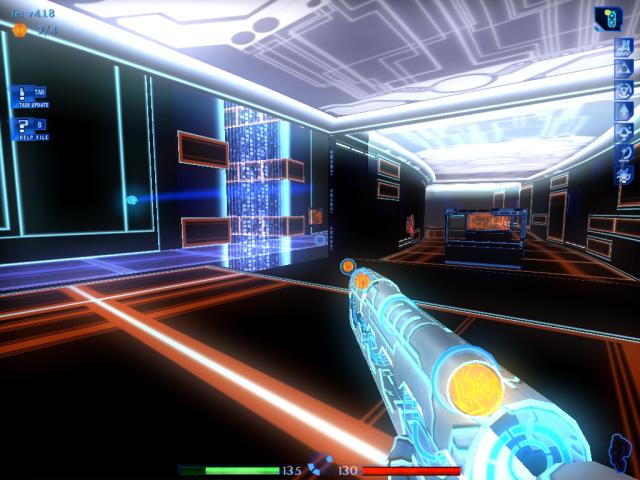
Ahead is an energy patch, which is a little hard to see unless you look closely.
|
|
Recharge your energy. If you switched away from the LOL because of a lack of energy, switch back to it now. Then quick save the game.
|
|
Turn around, and head back to the opening.
|
|
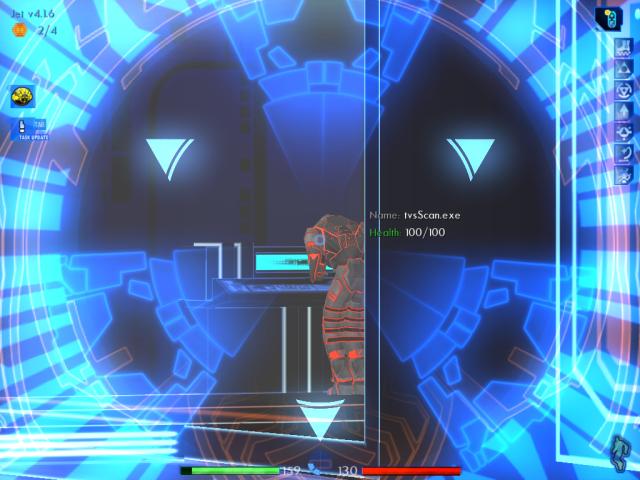
Byte is in the room up ahead and to the right, waiting for you beside an I/O node. But first let's see what else is in the area.
|
|
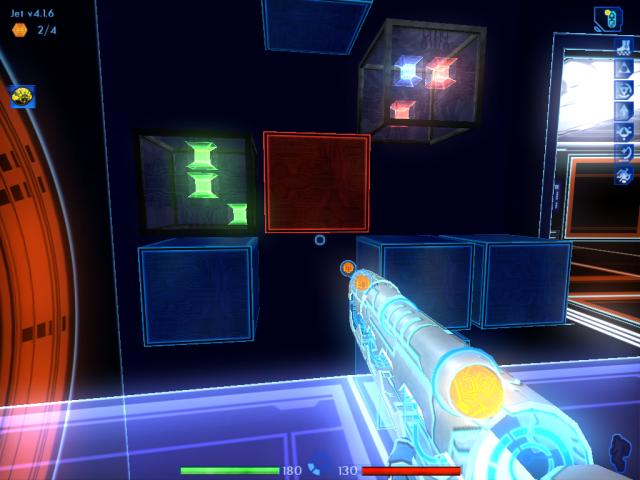
When you reach the first opening to the room, you'll notice a stack of blocks with a bin in the distance. Head for them.
|
|
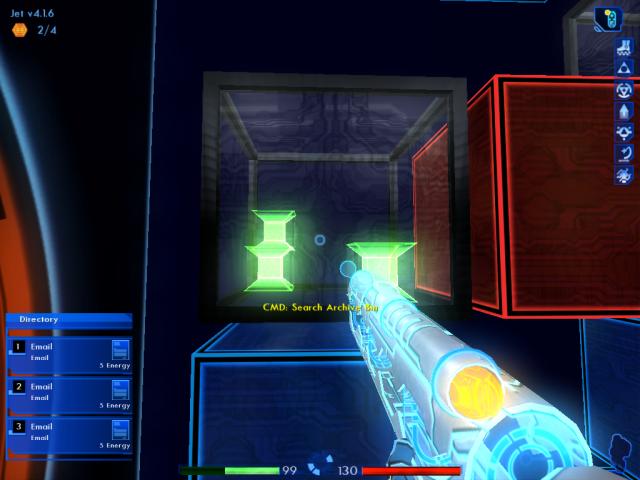
There are actually two bins here. One with subroutines and a permission, the other with e-mails.
|
Move up close, to the bin on the right. Don't worry, you can't fall off the walkway as long as you remain in front of the bins and blocks. If you get close enough, you can access the bin from the walkway without having to climb up.
Download the Beta Submask to upgrade yours, and then the Permission.
|
|
Move to the other bin now, and download the e-mails.
|
|
Turn right, and head all the way back to the opening. Downloading all those items has drained your energy once more, so we're going to recharge a second time.
|
|
Travel to the end and turn right, as before.
|
|
Download more energy to refill your charge.
|
|
Then turn around and head back to the room with Byte.
|
|
Move over to the I/O node on the wall, to the right.
|

|
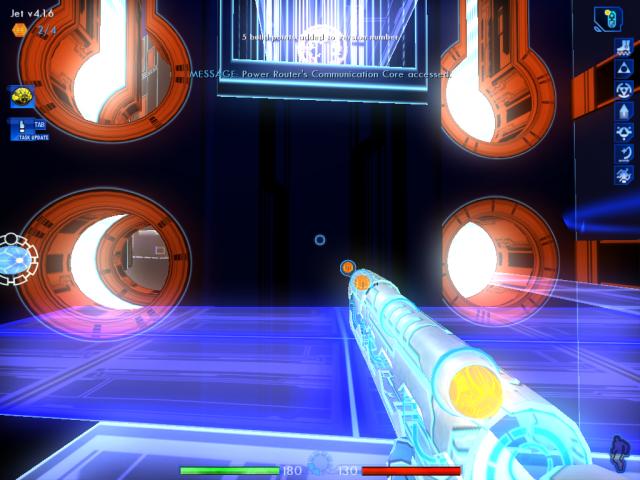
Activate the I/O node, to speak with Ma3a.
|
Ma3a will tell you that you need to overload and destroy communication bits that help regulate the power flow here. Byte informs you that he will monitor the sockets of the bits you overload, to prevent the Kernel from being alerted.
Byte will whiz off now, to prepare for his task. Follow him outside.
You receive two build points for successfully contacting Ma3a.
4.1.8
|

|
Turn right, and travel to the opening past the blocks.
|

|
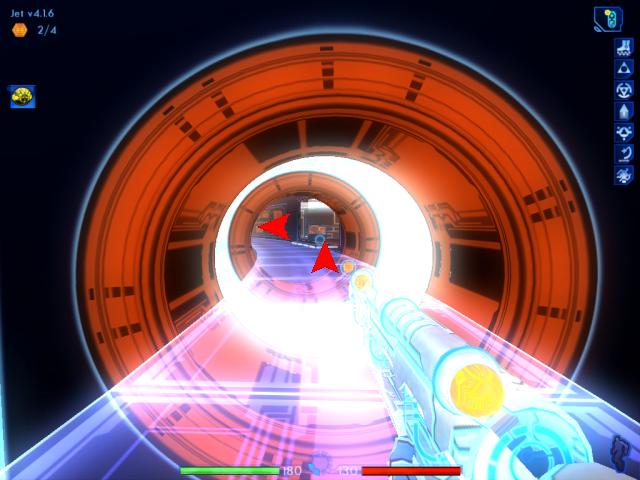
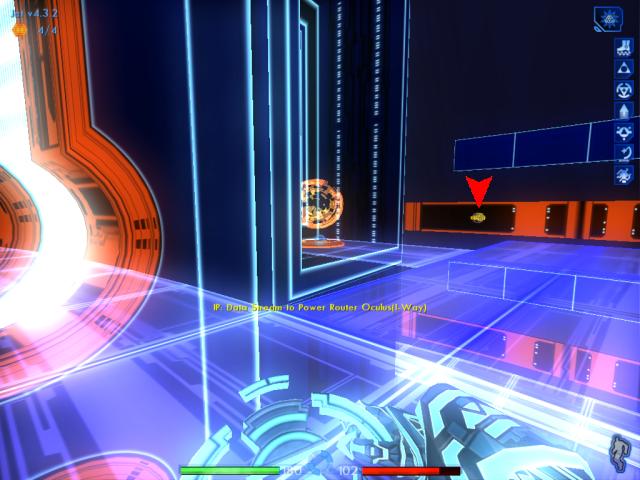
When you enter the opening, you'll see another portal in the distance.
|
|
A portal has now opened, allowing you to move to another part of the level. Quick save your game, before entering. Note that this portal is 1-Way only, so you can't come back after you step through.
|

|
This next part of the level, is basically a repeat of the previous part. The only difference is you won't have an ICP possibly attacking you from overhead. Instead, you'll now have two ICPs attacking from ahead, in addition to the two inside the large room.
|
|
Zoom in with the LOL. Wait for the first ICP to walk in the room, unless he's already arrived inside. If he spots you before going in the room, you need to take him out immediately. Blast him to bits, either way.
|
|
Zoom out for a moment, and creep ahead a little. An ICP will probably come running from up ahead. Zoom in again, and eliminate him next.
|
|
You should notice the third ICP walking into your sights right afterward. Nail him too.
|
|
Zoom out. If you wait a while, it's likely that the fourth ICP will appear.
|

Zoom back in, and finish this one off as well.
Whatever you do, don't let this ICP get away! He'll call for reinforcements, including a Shield ICP, and you'll have a big fight on your hands.
|

|
You should now be able to move around in peace for a moment. Collect as many core dumps as you can, to replenish your energy and health.
|

|
Your peace will be short-lived though, when a finder appears from the passage you haven't entered yet.
|

Remember to keep your distance! Zoom in again, and blow it to pieces.
Finally, you can explore this part of the level without being interrupted any more.
|
|
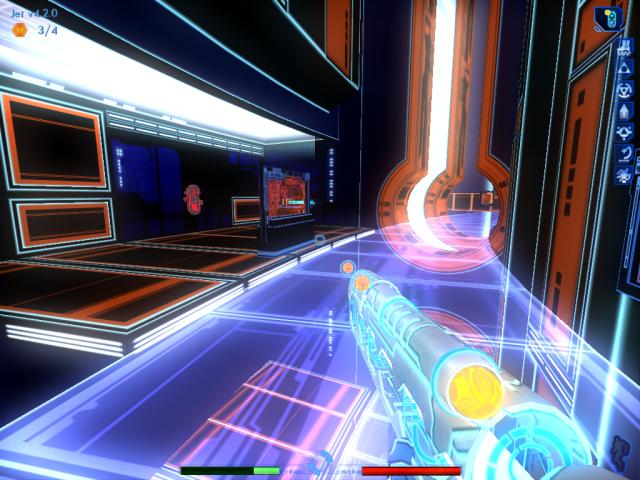
Turn around, and head toward the blocks with the archive bin. When you reach the opening on the right, go inside.
|
|
Sometimes you'll find a build note here, in the corner of the room.
|

|
Now move to the archive bin. Download Permission 1, and ignore the other items. The unknown subroutine is one that you already have.
|
|
Turn around again, and head into the passage on the right.
|
|
Turn right when you reach the end.
|
Here you'll find an area with a health patch in a small room, and sometimes a build note at the end of the pathway. The note can be hard to see against the brightly lit wall, so look carefully.
Restore your health if required, and then take the build note if it's there.
|

|
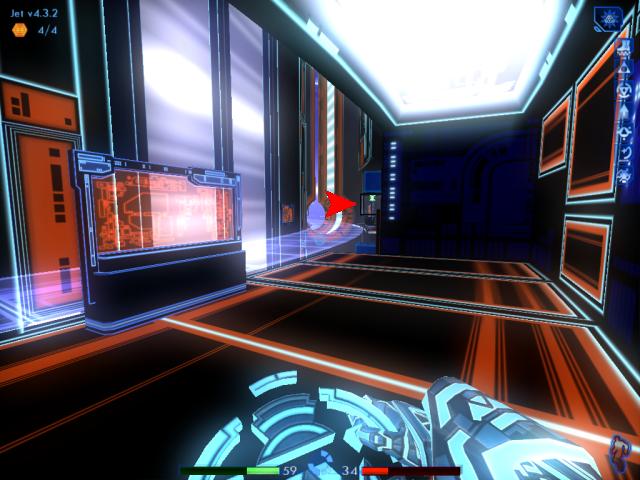
Turn around. Move to where the arrow indicates, at the nearest entrance to the next room.
|
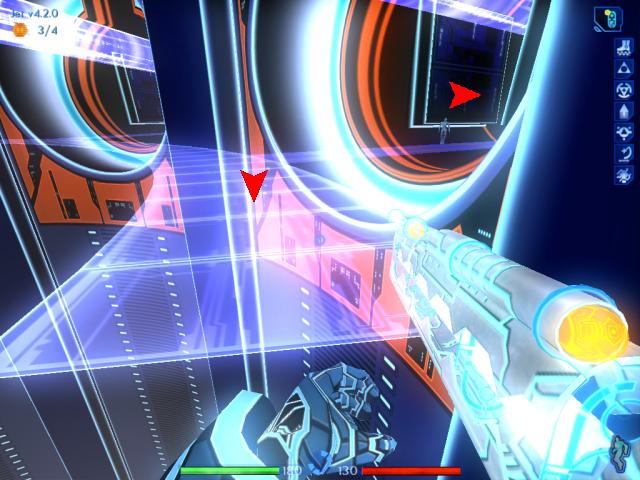
Look in the corner of the room, for another build note.
3/4 4.2.0
|
|
Head back to the walkway, and then go through the next opening.
|
|
Once through, you should see a civilian program somewhere nearby. To the right, are a couple of patch routines.
|

|
Move to the patch routines and recharge your health or energy, as required. Quick save your game here.
|
Turn left. Walk to the end of the walkway. But be careful! There is a moving part of the walkway ahead. Watch as it moves, and make sure you don't step where it meets the main part!
If you step on the moving portion, it will disappear and you'll fall to your death!
|

|
When you've reached the end — and made sure you're not standing on the moving part — turn to the right and look through the rotating energy haze.
|
|
Zoom in with the LOL, checking for an ICP on patrol. He will come to a stop at a certain point, and look in your direction. Don't worry, he won't be able to see you. Take him down, if you spot him.
|
|
If you don't spot the ICP in a short amount of time, try moving to the other end of the walkway.
|
Again, be careful not to step onto the moving part of the walkway!
On this side the moving portion moves more slowly. So it's easy to think that you can walk onto it, if it's joined with the main walkway. Then — surprise! — you fall to your death.
|

|
Once sure you're standing on a safe spot at the end, look through the haze on this side.
|
|
Zoom in, and search for the ICP. If you find him, you know what to do!
|
|
After eliminating the ICP, revisit the patches and restore the energy used by firing the LOL. Quick save your game again.
|

|
Return to the end of the walkway, on the right. Now observe the slowly moving portion.
|
|
Study its pattern, and be prepared to step onto it, when it comes back and joins with the main walkway.
|
Keep up with this moving platform. Segments of it will start to disappear behind you. Fortunately, it moves pretty slowly, so it's easy to follow along.
After its fifth movement (not including its first appearance, joined to the walkway), the platform will start splitting into pieces. Now you'll have to jump onto a couple of very narrow segments of the platform.
|
When you make it past the narrow segments, keep in mind that part of the moving platform has joined with the main walkway ahead! So don't stand still, take a few steps forward to make sure that you aren't still standing on a moving section.
Once sure you're standing on a safe spot, look into the right opening ahead and zoom in with your LOL.
|

|
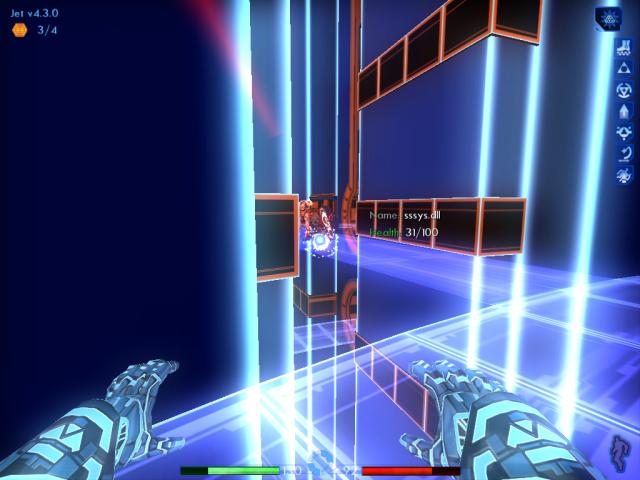
An ICP is waiting to ambush you in the nearest passage. De-rezz him, but be mindful of the civilian program nearby.
|
|
After he's gone, move into the passage.
|

|
Grab his core dump, to replenish your energy and health a little.
|

|
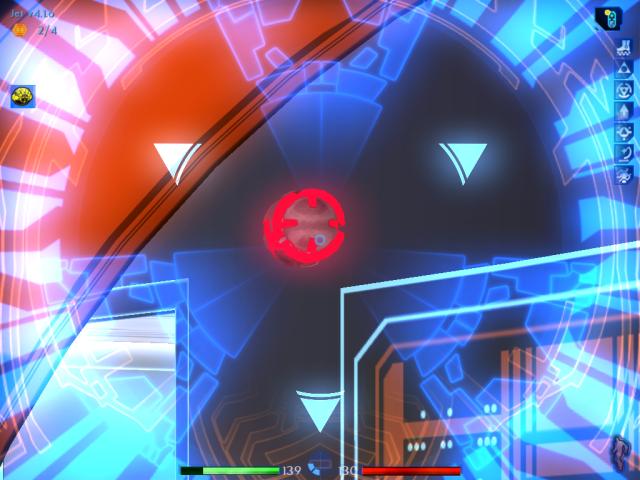
Move to the bit socket on the wall. Charge the bit until it overloads.
|

|
Now stand and wait a moment, while you watch the fireworks.
|

|
Once the bit has burnt out, turn around and head back to the opening.
|
|
By now, an ICP should have emerged from the third opening in the distance.
|
|
Zoom in with the LOL, and eliminate this ICP.
|
|
Run over, and grab his core dump before it fades away.
|
|
Face the direction you came from. It doesn't matter which opening you go into now, but I chose the second one.
|
|
Go all the way to the end again, where the bit socket is.
|
|
Charge the second bit, like you did before.
|
|
Again, this bit will overload and burn out.
|
|
When that's done, you might want to hang around a while for the fun of it.
|
|
Byte will eventually show up, and take the place of the bit in the socket. He'll send the appropriate messages needed, to keep your actions from being discovered.
|

|
Return outside, and move to the final opening.
|
|
Travel all the way to the end.
|
Another light show ensues. 
|
When the final bit has been destroyed, you will receive ten build points.
4.3.0
|

Turn around. You'll be exiting this passage and heading to the right, in just a moment.
Quick save your game first. Then wait until Byte appears. When he does, talk to him.
|
|
He'll tell you your next objective, which is to find Ma3a.
|
When you reach the end of the walkway, again be careful that you're not standing on a moving part!
Study the movement of the platform. It's actually the same pattern as before, except much faster.
|
This is easily the most aggravating part of the whole game.
Walk onto the platform when it joins with the main walkway. Be prepared to move quickly, and follow the platform as it moves.
|
When the platform starts to separate into pieces, you'll have to do three quick jumps in succession. Two onto segments, and one onto where it's joined with the other walkway.
Basically, the key to success here is to jump onto each platform piece just before it appears. You need to predict where they're going to be. If you jump when a piece appears, by the time you land it will be too late, and the piece will be gone again.
|
When you've jumped onto the part that's joined with the walkway, take a few steps forward so you don't fall to your death when the segment disappears again.
Congratulations, if you made it! Now move to where the arrow shows, so you're standing by the wall corner on the right. Quick save your game now!
|

|
As great as it would be to use the patch routines behind you right now, you don't have time. Two ICPs will come running from the passage ahead, on the left.
|

|
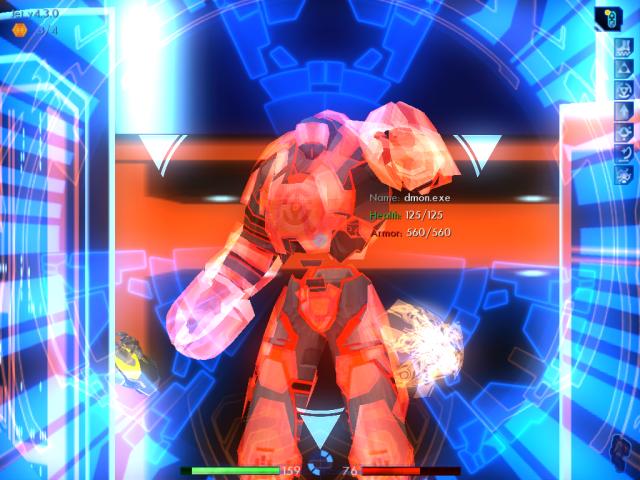
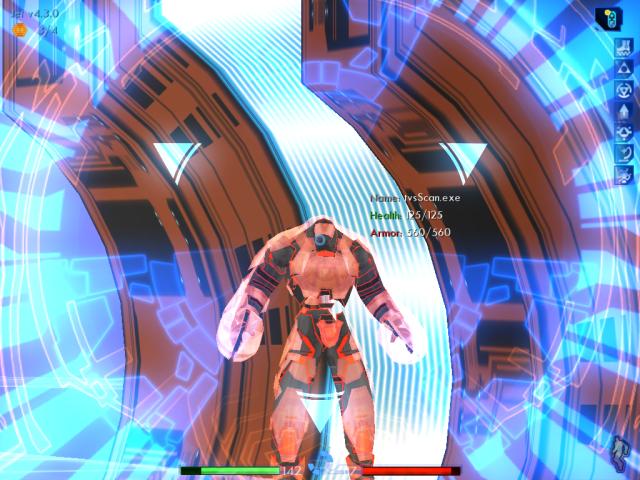
Two of the more dangerous Sequencer ICPs will show up. Take them out quickly, again being careful not to hit the civilian program.
|
|
Once they've been destroyed, you could run over there and grab their core dumps if you want. But it's not really necessary. The health and energy patch routines are right behind you, which you can use now.
|

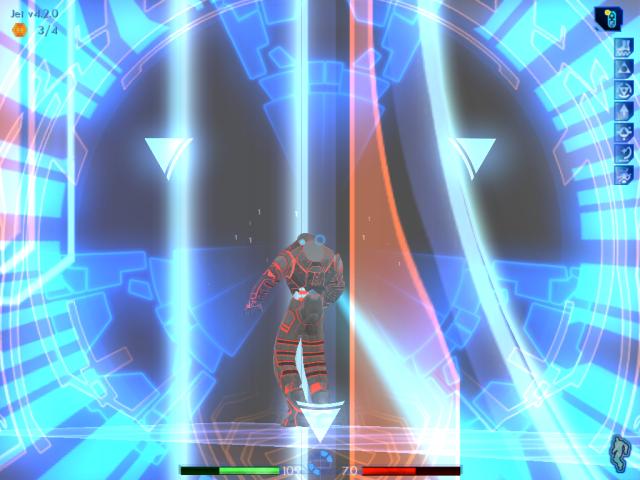
Depending on how long you take recharging, and how close the yellow civilian program is to the control panel in the passage behind you . . . you might be attacked by some more ICPs.
One of them could already be up close like shown in this screenshot, while the other is still in the distant passage on the right. Or, both of them could emerge from the opening to that distant passage.
|
|
Zoom in with the LOL, and take out the first one.
|
|
One of them — most likely the second — will be a Sequencer ICP, so de-rezz him quickly.
|

Guess what, you're not done fighting ICPs yet. Up to three more will emerge from the distant left opening.
At this point, it would be best to switch to your Cluster Disc temporarily. Why? Because one of them could be a Shield ICP, and the other two are Sequencer ICPs. Even though the LOL can penetrate the shield, it will take a while to down all three of them . . . while you stand still, vulnerable.
If you decided to switch weapons later, you would then quickly need to swap to the disc in the middle of the fight. Which isn't a good idea, because again you'd be momentarily defenseless. No matter what . . . the disc is the best option right now.
|
Move to the left, and seek some cover. The Sequencer ICPs should eventually step out from behind the shield, which will make them totally vulnerable to your disc. But if they don't, it doesn't matter. Throw your disc past the Shield ICP and the others, and keep holding down the left mouse button. Then as you recall it with the right button, guide the disc so it hits them from behind.
Keep repeating this action, while dodging or deflecting their attacks. Eventually you'll de-rezz them all, from behind.
|
|
When you've eliminated all three of them, grab their core dumps if you like.
|
|
Switch back to the LOL. Then turn around, and use the patches to restore yourself again. Quick save your game, when you've finished.
|

|
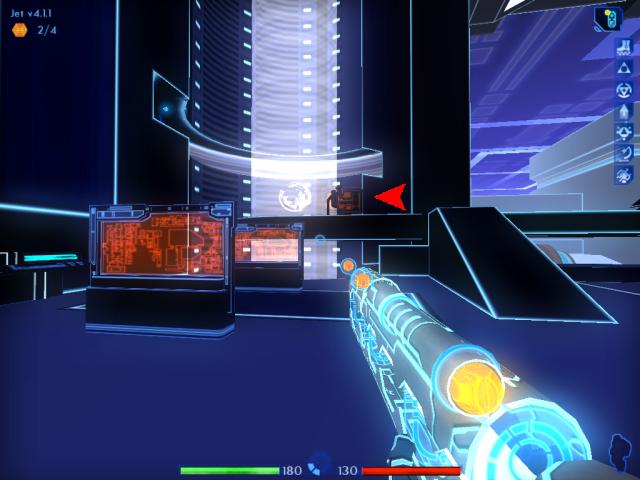
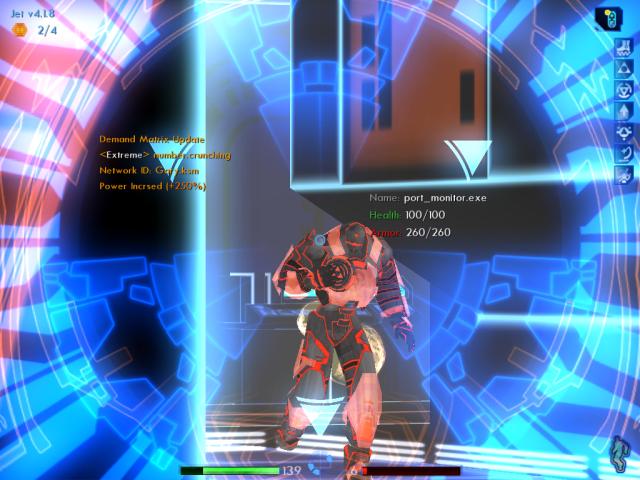
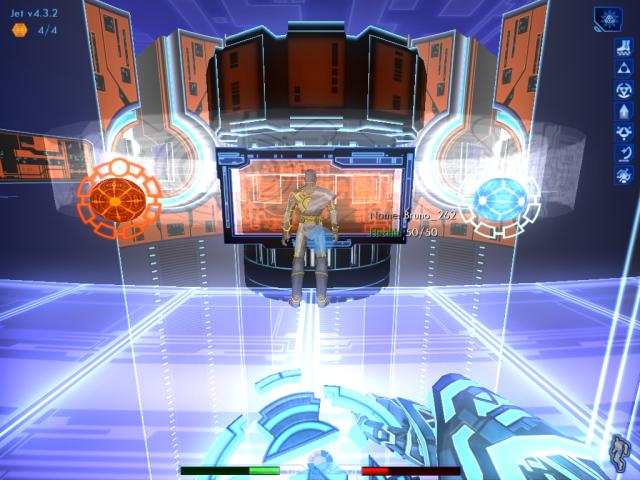
Approach the yellow civilian program, and wait until he walks up to the control panel on the right. (That is, if he hasn't already used it. Check to see if there's a new pathway in the passage up ahead and to the right.)
|

|
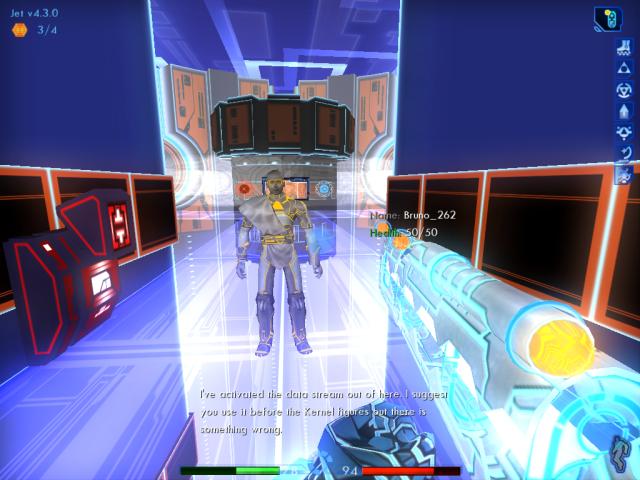
Bruno (his name could be different) will use the panel, which activates a new floor pathway in the opening to your left.
|
|
Bruno will tell you that he's activated a data stream portal out of here as well, and suggests you use it before the Kernel finally catches on.
|
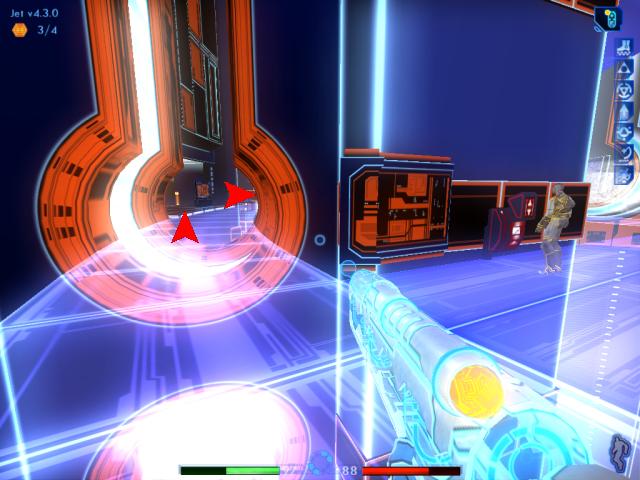
Turn left, and look down the passage. If you were quick enough earlier, and have been able to watch Bruno activate the new pathway, then you won't have encountered all those ICPs yet. Move ahead a few steps into the opening, and look for two ICPs.
Either one of them will be off to the left, in the room, and the other off to the right . . . or both of them will be to the right, down the passage where you may not see them.
|
|
Zoom in on the first one, and go for the kill.
|
|
Then look for the other ICP.
|

|
Finish him off as well, of course.
|
|
Grab what core dumps you can, but then high-tail it down into the next room where the arrow shows.
|

|
Turn around, and look at the opening you just came through. Those (up to) three other ICPs will be arriving shortly.
|
|
Nail the first one when he shows up.
|
The other (up to) two should arrive quickly. If you're lucky, the Shield ICP won't be present.
Keep an eye out for Bruno, just in case he wanders into your sights. Be sure not to hit him.
|
|
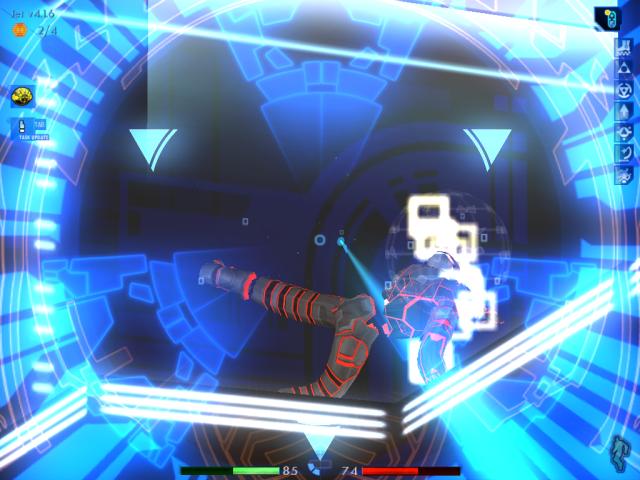
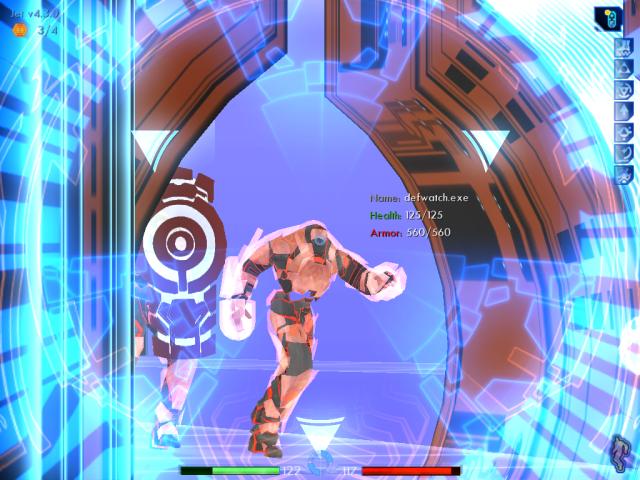
Take out the Sequencer ICP first. Then we will try something different now, with the Shield ICP!
|
|
Back up, into the room and move snugly against the right wall. Switch your weapon to the Rod Primitive.
|

|
When the ICP appears, rush him. The rod will zap right through the shield. He should now be paralyzed and harmless . . . and then in but a short moment, he'll be gone.
|

|
Grab the core dump, and relax now. All the ICPs have finally been dealt with.
|

Switch back to the Cluster Disc. You will be using it in the next level.
Turn around. Behind you, in the room you just came from, it's possible that a build note could be there.
|

If so, grab it.
4/4 4.3.2
|
|
Turn around again, and move to the blocks with the archive bin, that can be seen on the right.
|
|
When you get there, just download the e-mail. The subroutines in the other bin can be ignored, because you already have them.
|
|
Turn left, and head to the next room. When you get there, turn right and look inside.
|

|
A build note could be hiding here, in the corner.
|
|
Turn to face the opening on the left. Then head through it.
|
|
Once you've passed through, go left.
|
|
Recharge your health (if possible) and energy, one last time.
|
|
Turn around, and head back to the passage you just came from.
|
|
Walk all the way to the end, until you reach the next opening.
|
|
After you go through this opening, turn left.
|
|
Before you awaits Ma3a, and the exit portal.
|
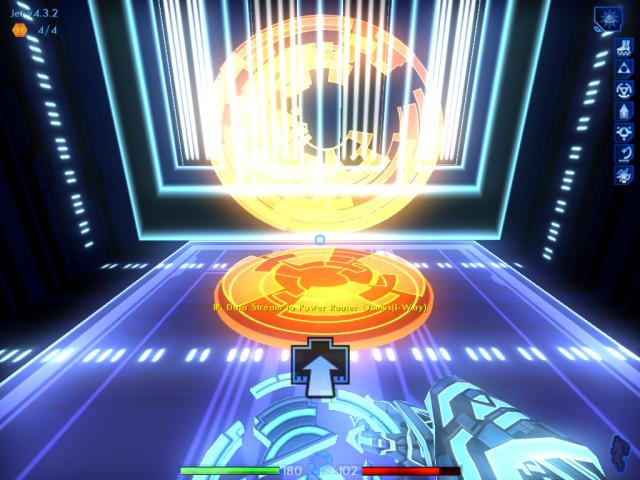
|
Step through the portal, to finish the level.
|
Final build version for this level: 4.3.2