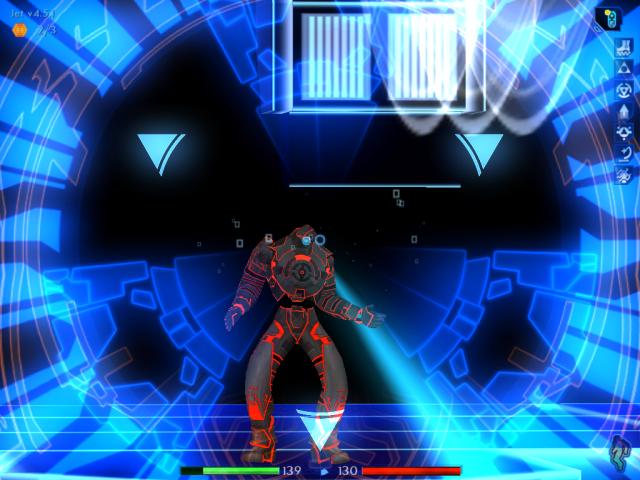
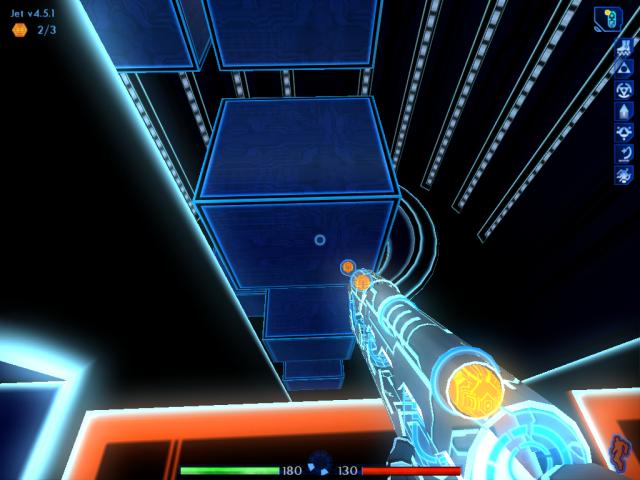
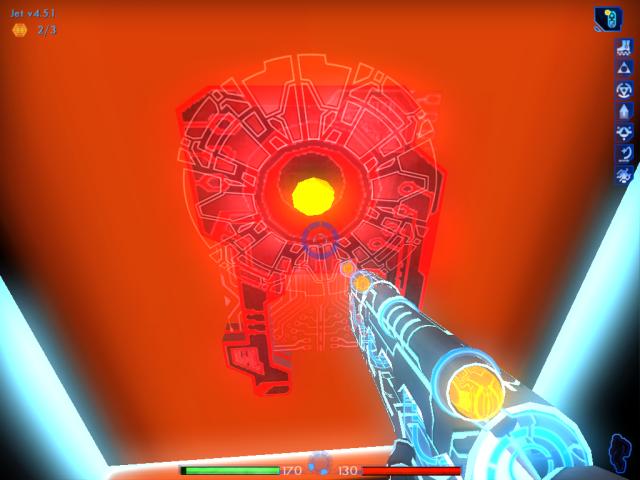
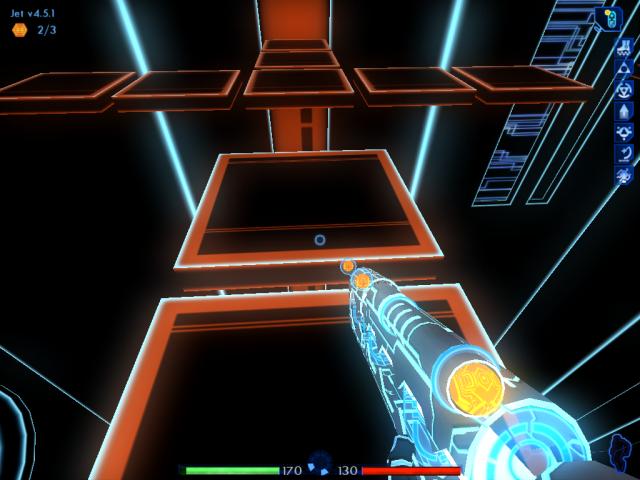
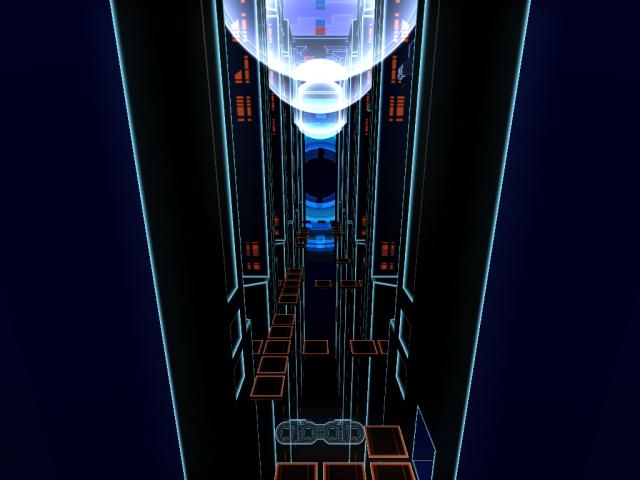
8.2.11 Power Oculus
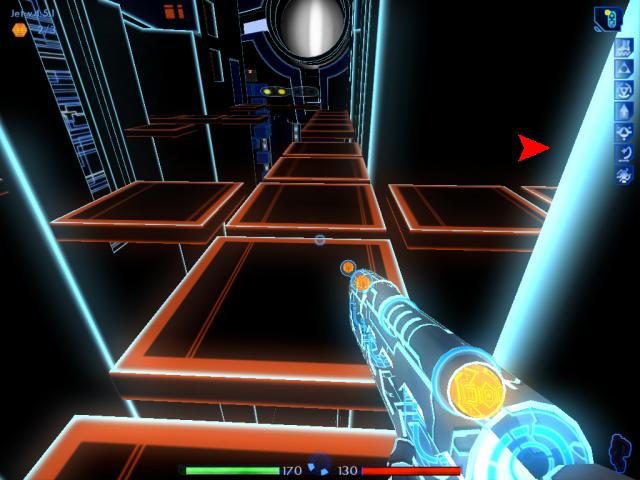
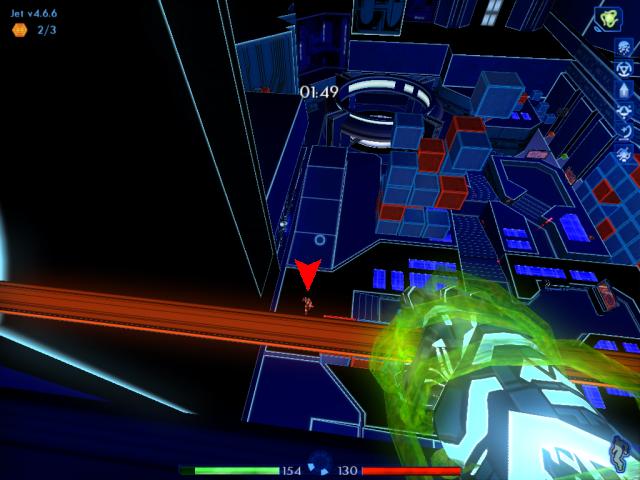
After disabling the communication bits to prevent the ICPs from interfering, Jet and Ma3a have now entered an area where they can actually redirect the flow of power: to an old Encom mainframe, where the TRON Legacy Code is stored.
For making it through the Power Regulator level, you gain ten more build points.
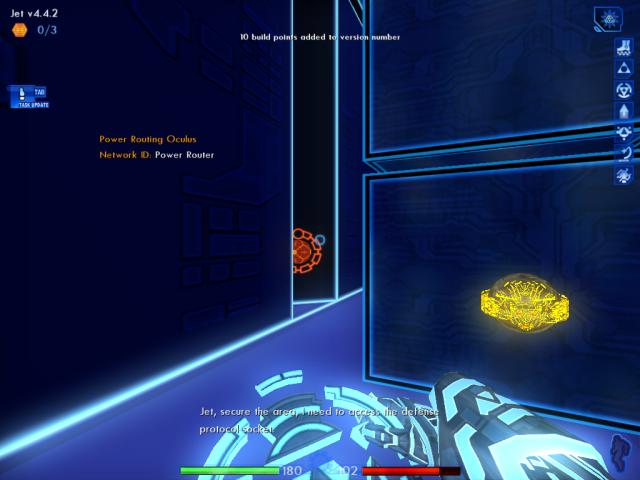
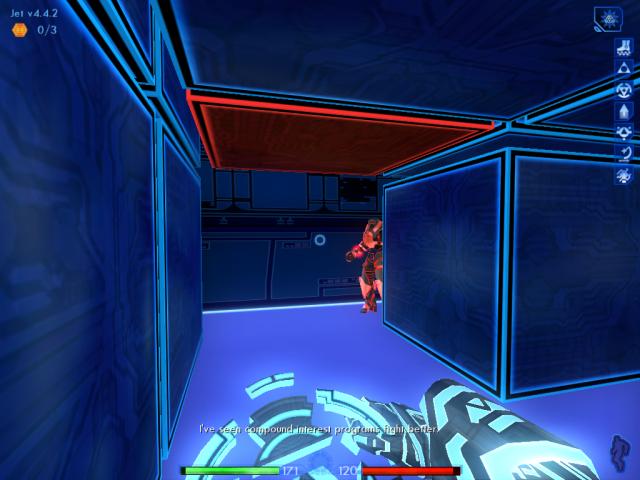
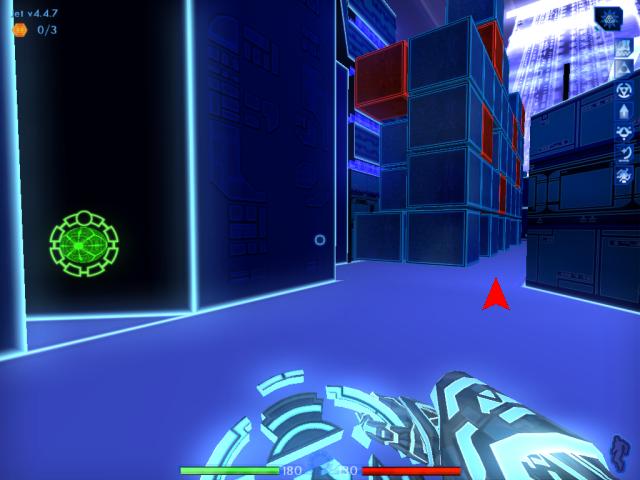
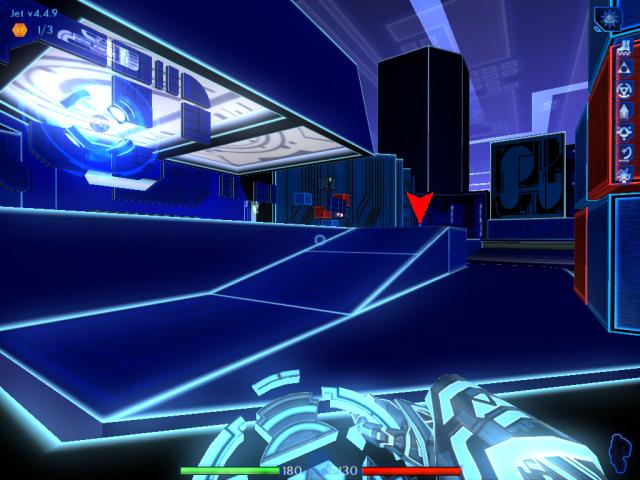
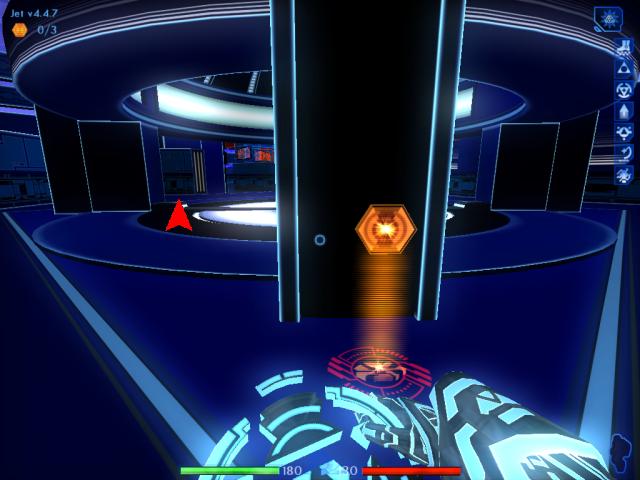
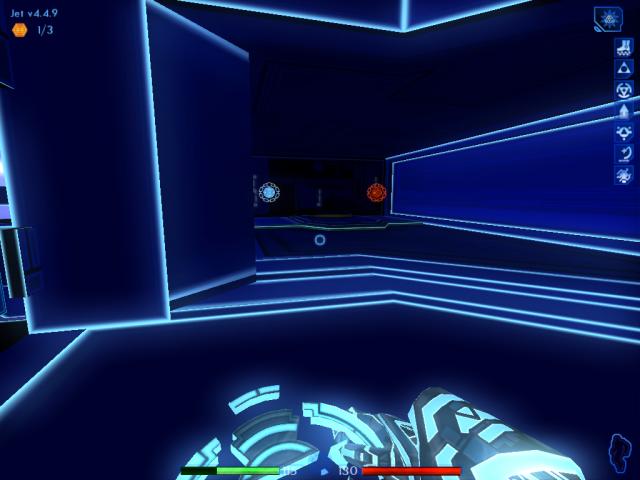
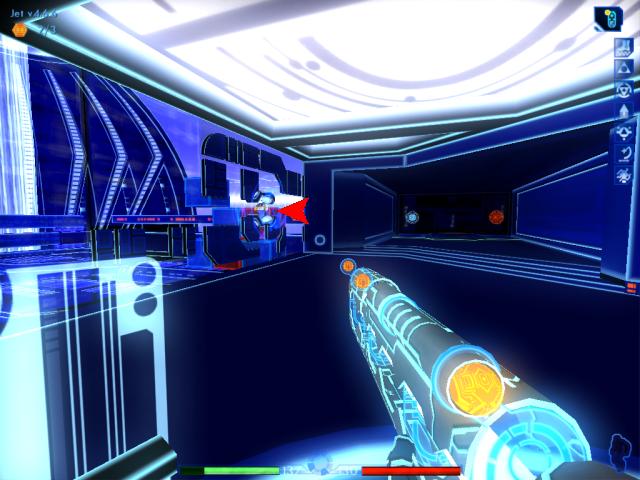
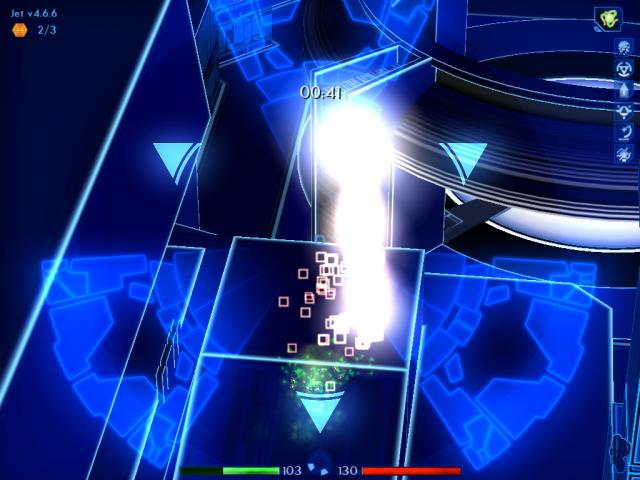
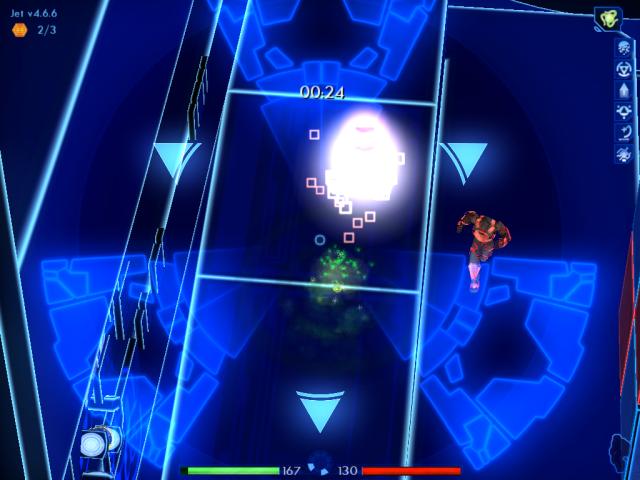
Ma3a informs you that you'll need to clear the area of ICPs, before she can begin helping you. Quick save your game here (F5 key). Wait a few seconds before moving, and then use the health patch ahead to restore yourself.
4.4.2
|

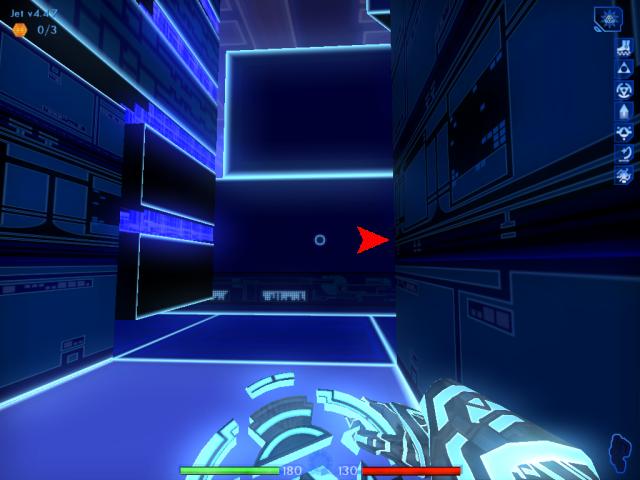
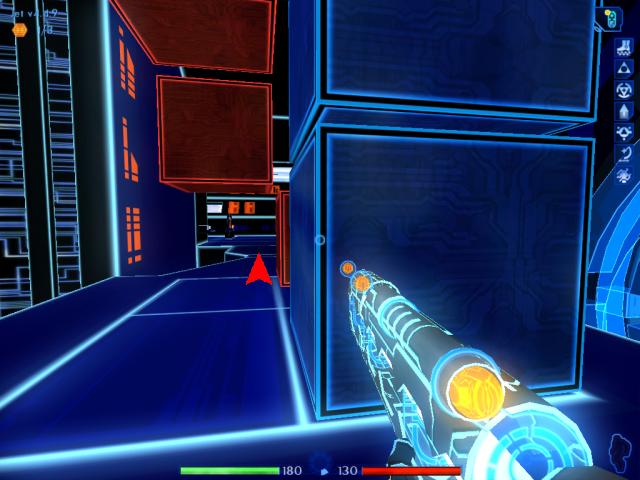
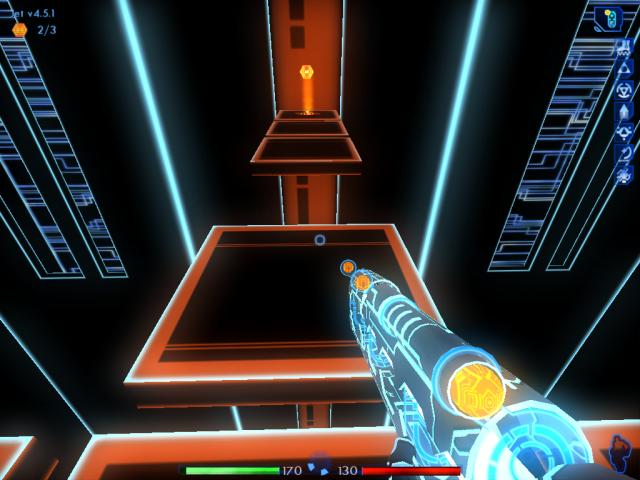
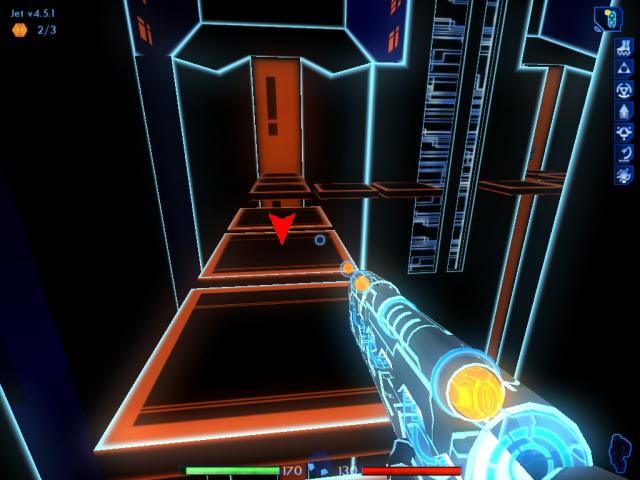
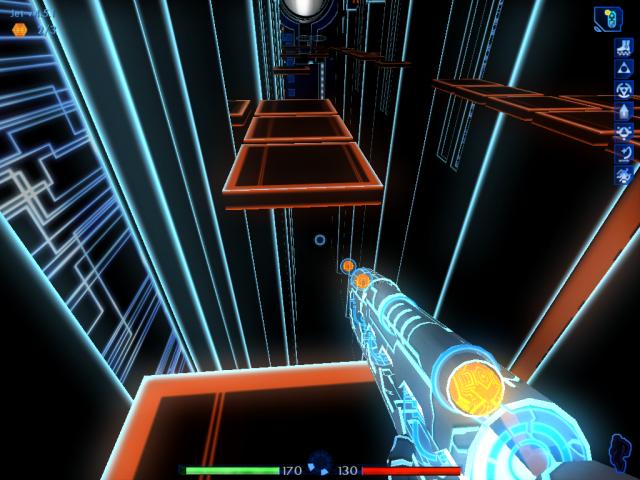
After using the patch, turn right and study your surroundings.
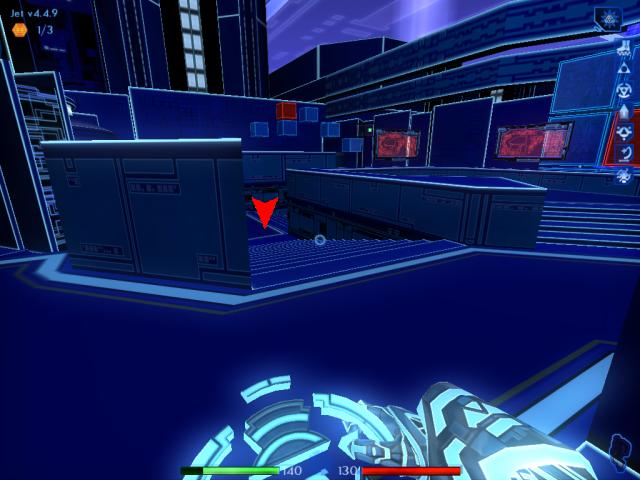
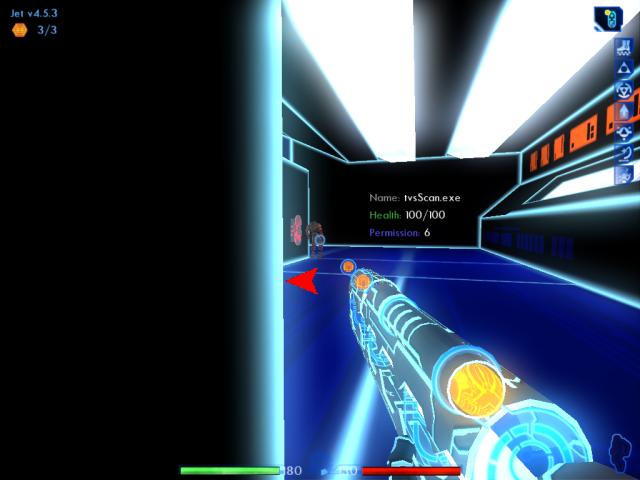
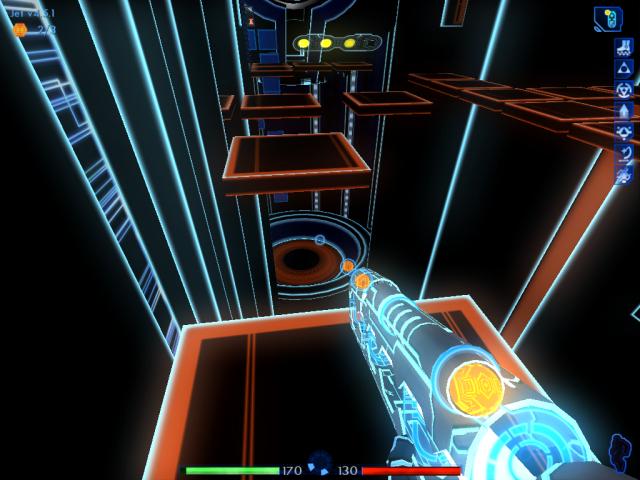
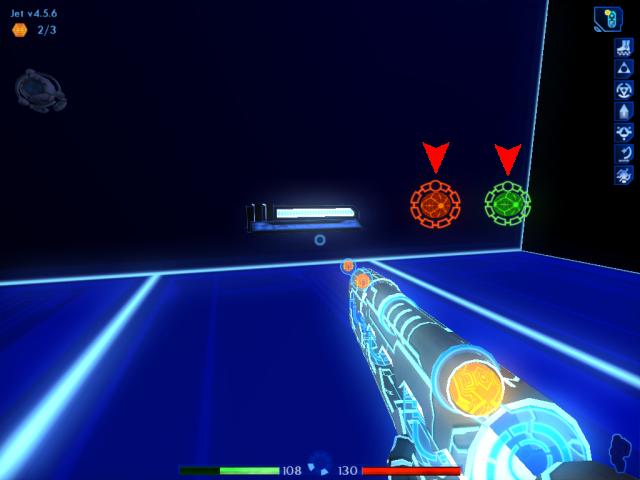
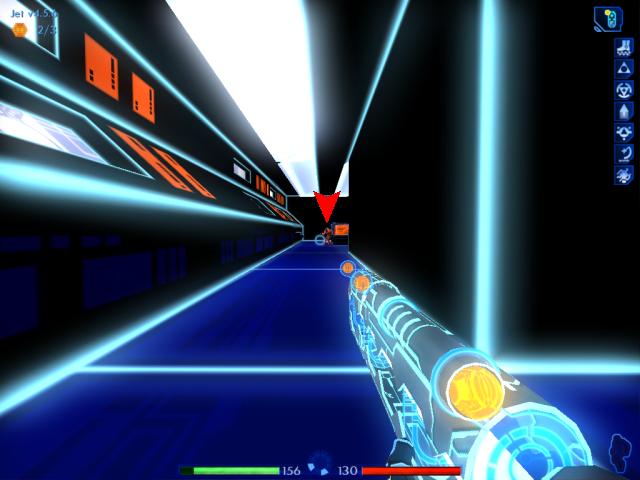
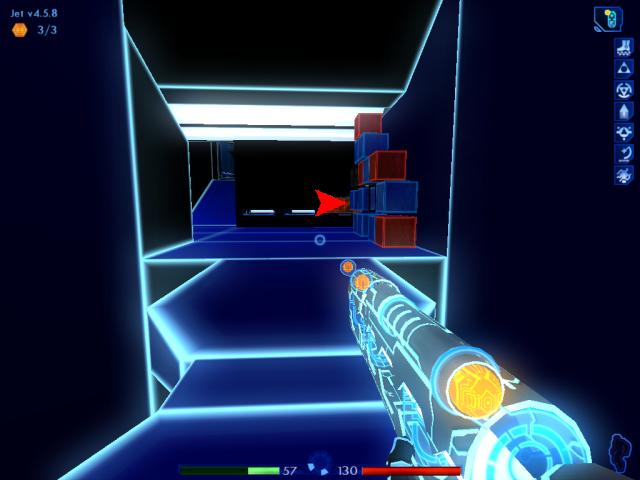
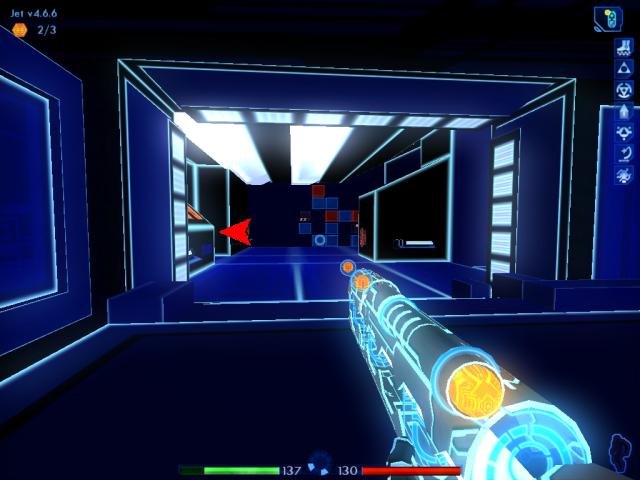
Above and to the right, an ICP could be standing in front of either console display. Move quickly to the corner of the blocks, straight ahead. Try not to let that ICP see you. There's a good chance he won't, unless you linger here too long.
|
|
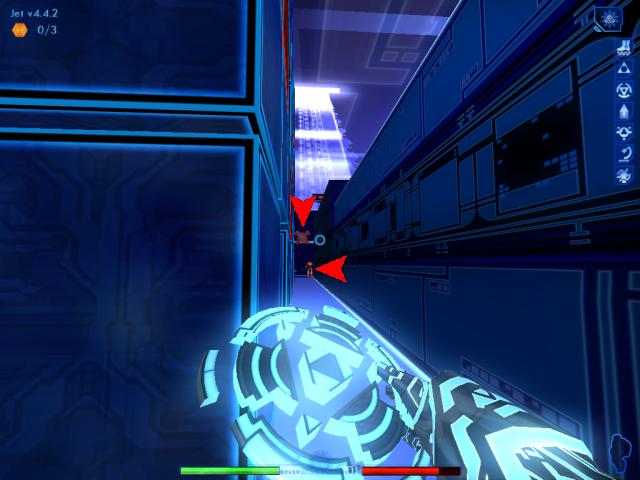
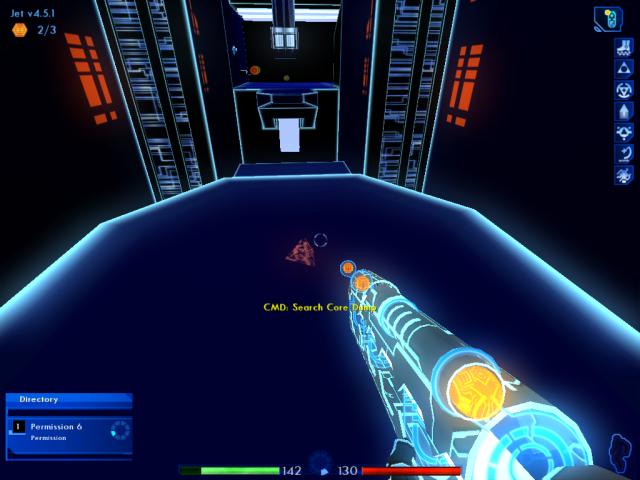
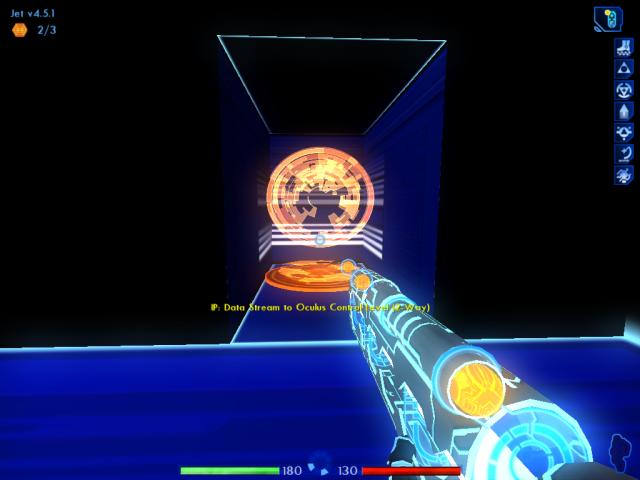
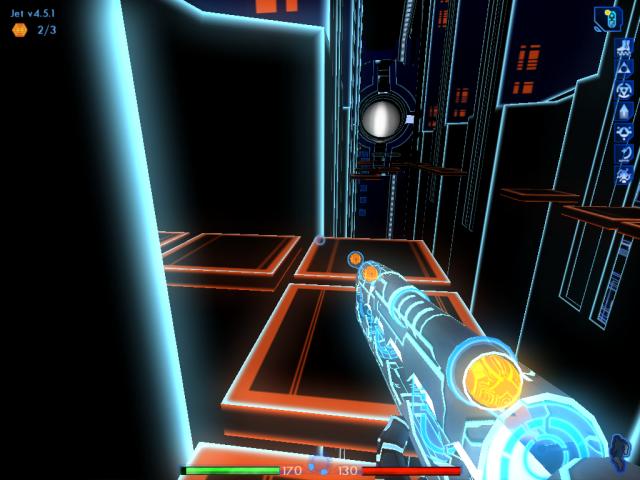
Look down this corridor, past the edge of the blocks. You'll spot a finder and an ICP.
|

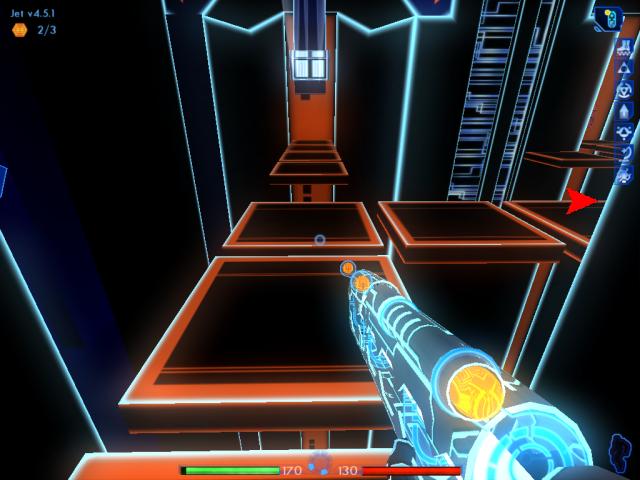
Did you know you can zoom with any weapon if you have the Triangulate subroutine, and not just with the LOL? Now you do. 
We'll be using this important ability again later, as well. You could use the LOL instead right now, if you want . . . and there would be nothing wrong with that. But it's nice to try new things now and then.
As always, quickly take out the finder before it's too late.
|
|
Now focus on the ICP, and eliminate him as well.
|
|
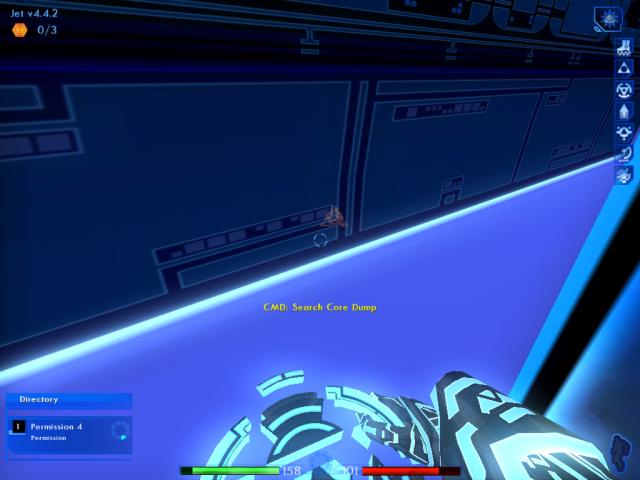
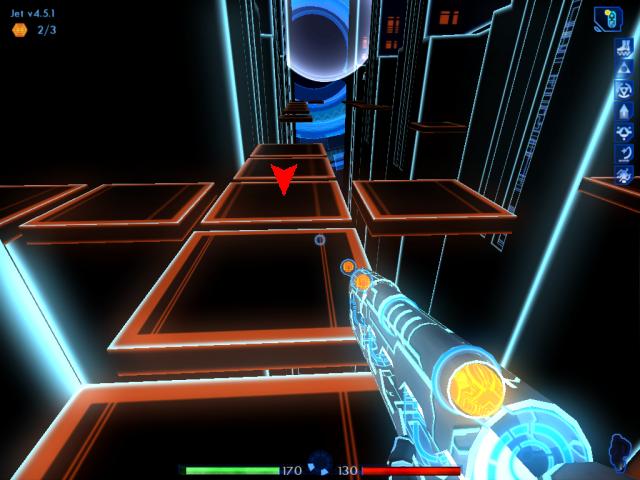
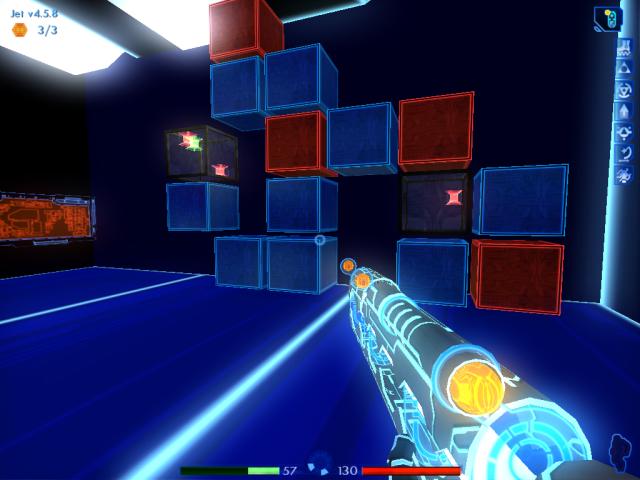
After they're gone, search until you find an opening with a red block directly above. Go inside this opening. Quick save your game once inside.
|
|
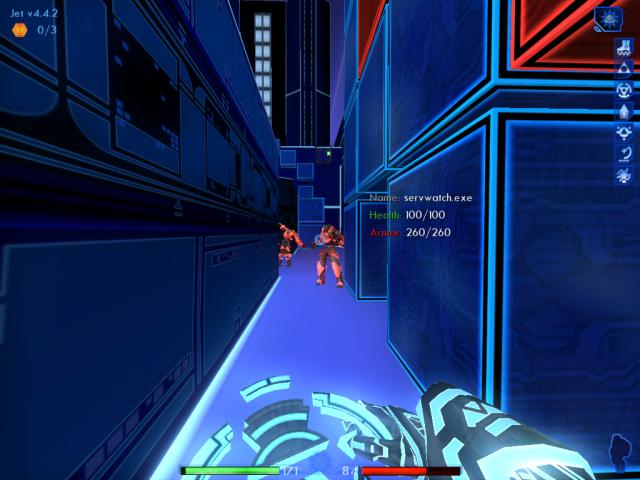
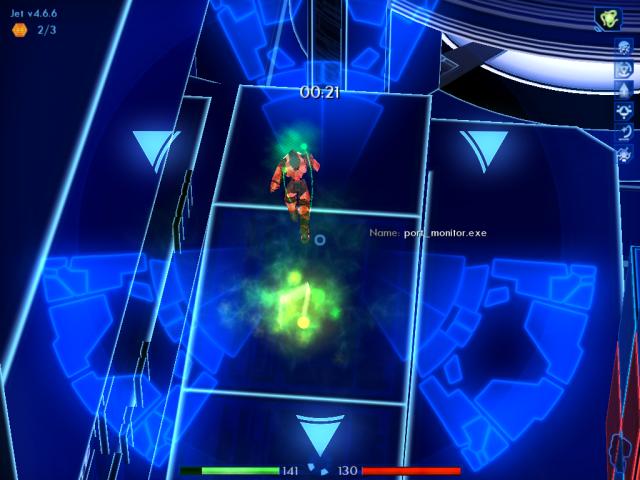
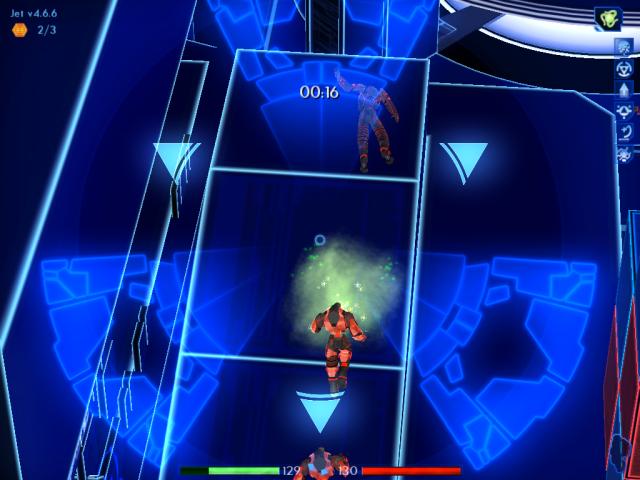
Wait here for the remaining ICPs in the area to come to you. You should encounter another four. Use your disc to smash them as they move into your view, and deflect their shots as necessary.
|
|
Sometimes, they won't all show up at your doorstep. You'll be forced to step out into the open, in order to goad them on. Return inside the opening if the survivors are close by. If not, you'll have to wander around the entire area searching for the remaining ICPs.
|
|
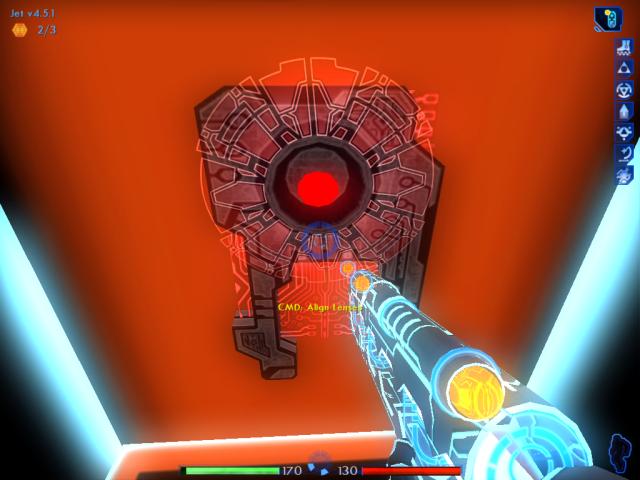
One of them will drop a permission. You may as well pick it up, even though it can be obtained later.
|

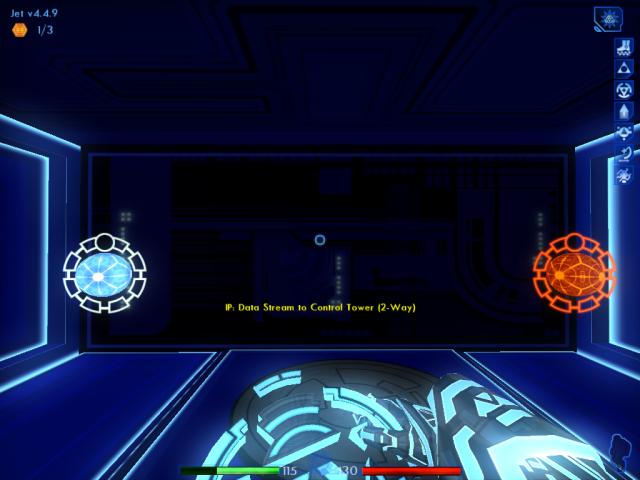
After defeating all the ICPs, Ma3a will dock with a protocol socket. At that time, you're awarded another five build points.
Return to where you started the level, and use both the patch routines to restore your lost health and energy.
4.4.7
|
|
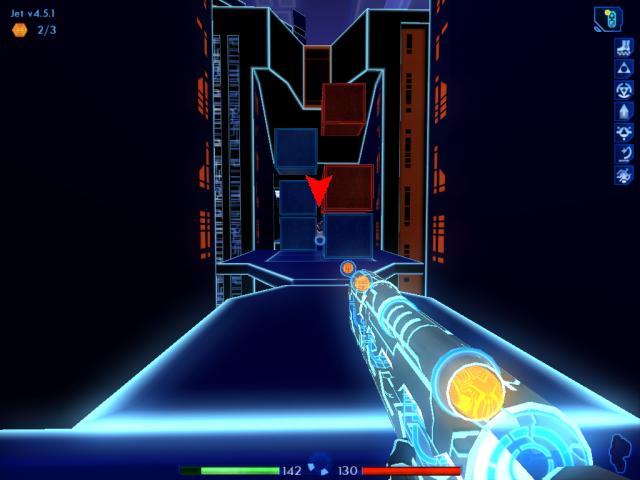
Once you've recharged, turn to face the blocks again.
|
|
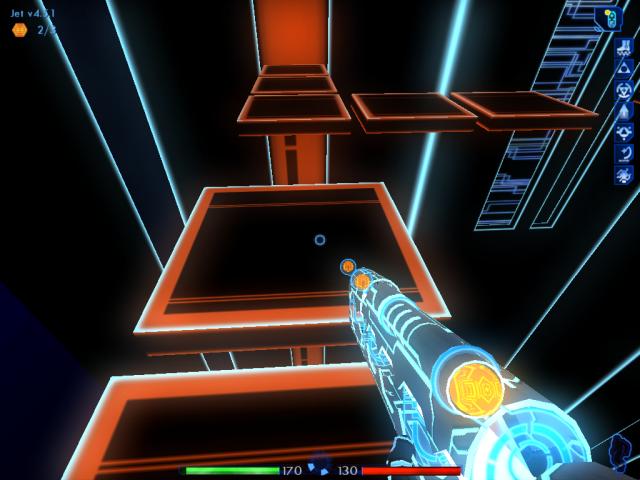
Travel all the way down the passage, until you reach the end of the blocks.
|
|
When you get there, turn left.
|
|
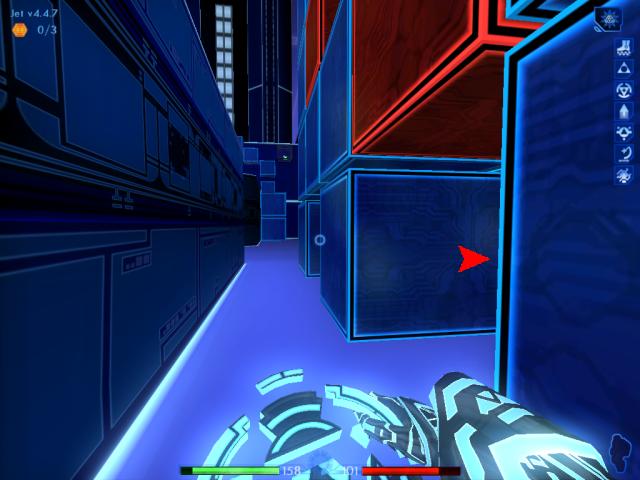
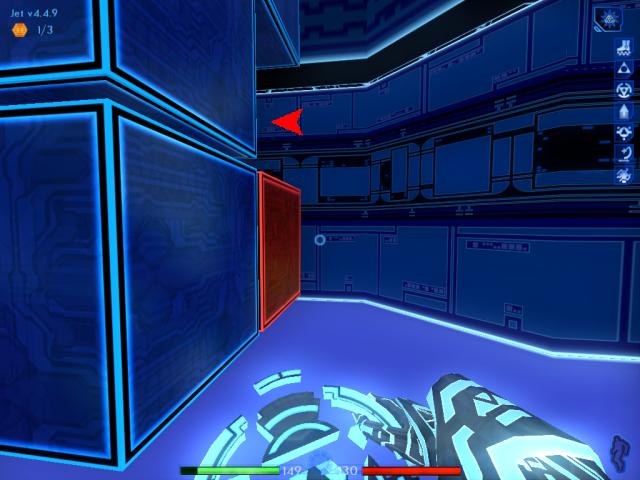
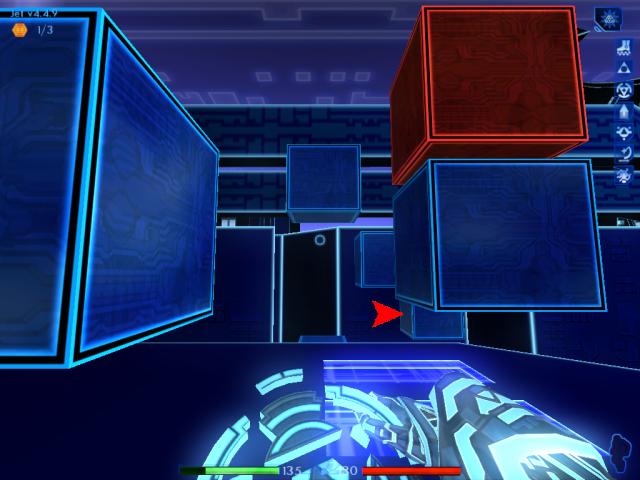
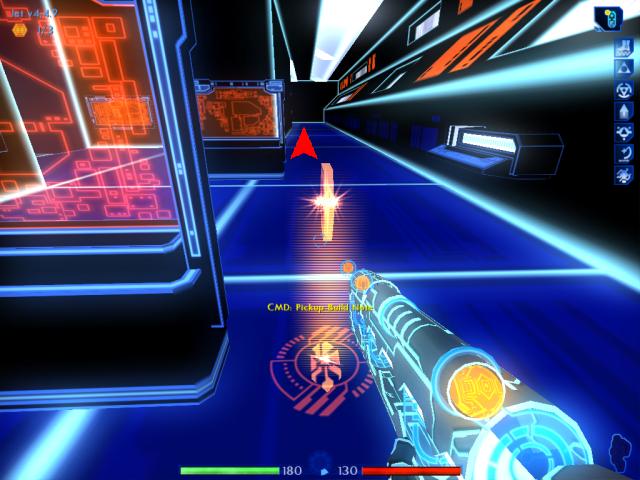
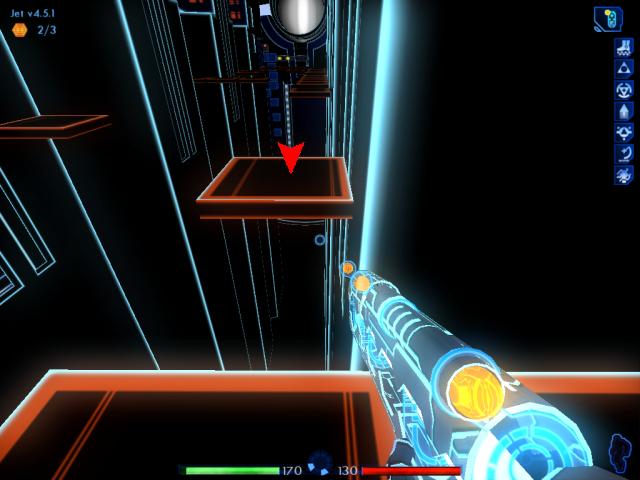
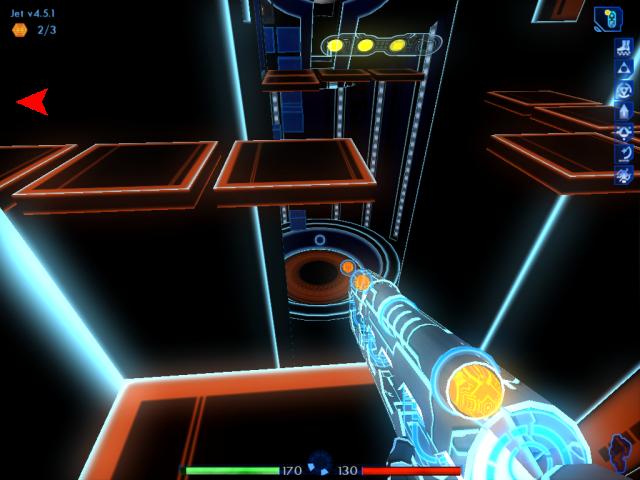
Look in the gap between the two blocks, where the arrow shows.
|
Sometimes, you'll find a build note here.
1/3 4.4.9 4.4.9
|
|
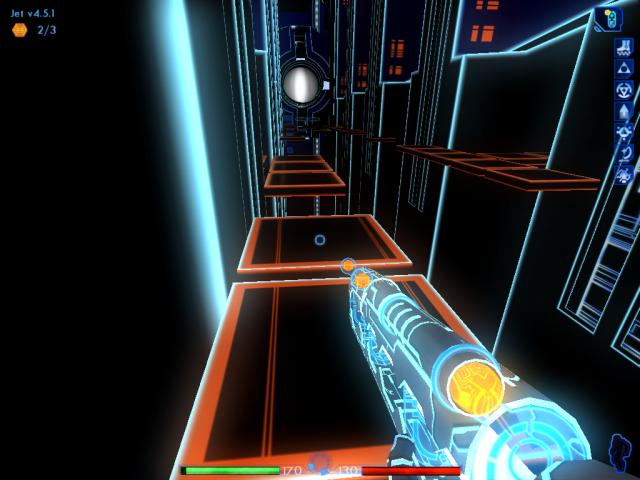
Turn around, and move to the opening on the right.
|

|
Travel all the way up the ramp, and turn right.
|
|
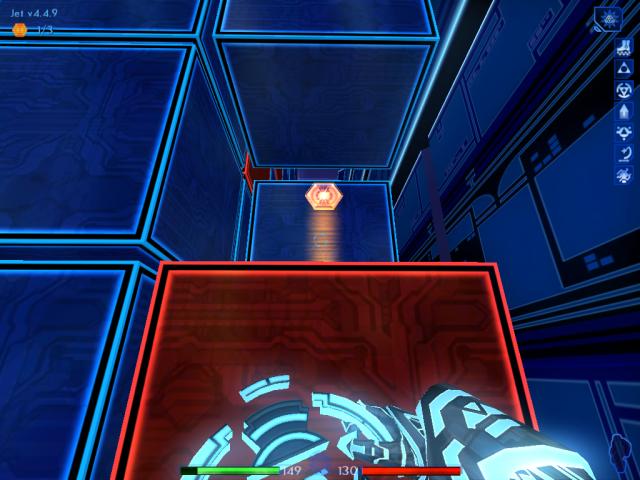
Check the stack of blocks in front of you. Sometimes there's a build note in the gap between the blocks.
|
|
After grabbing the note (if it's there), move past this stack and face in the direction the arrow points.
|
|
You'll find another stack of blocks, where a build note could again be hiding.
|
|
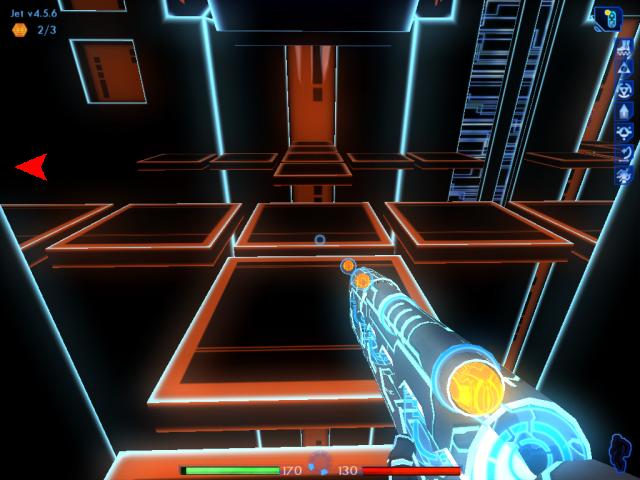
Look to the left. There's a ramp that leads to a raised area. Head to the top of the ramp.
|

|
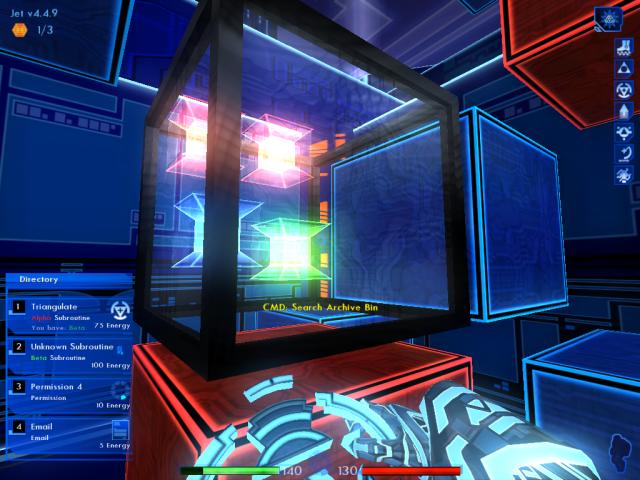
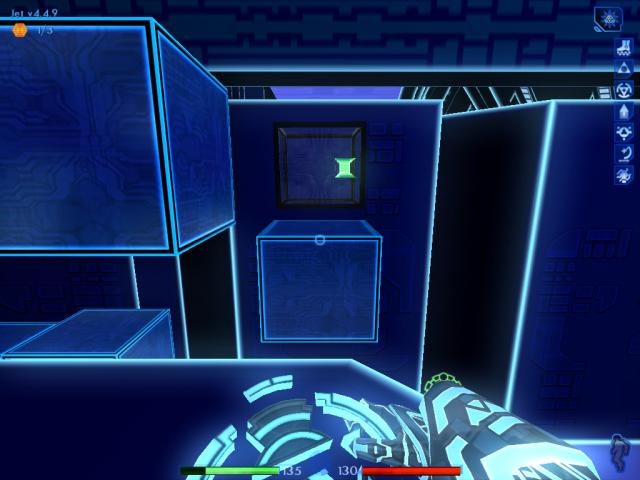
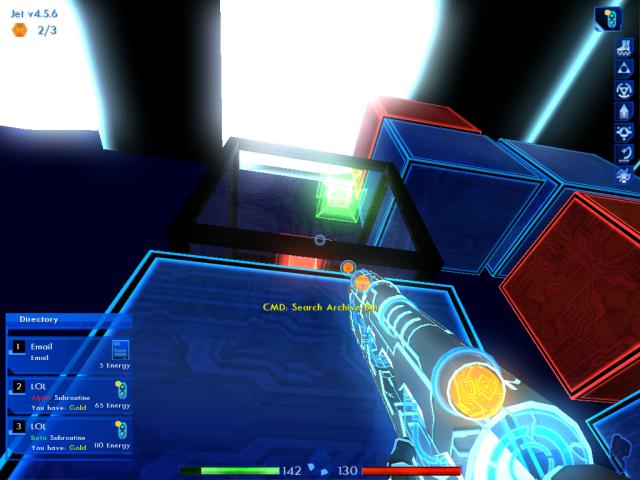
Further ahead, you'll see a couple of archive bins. Walk over to them.
|

|
The lower bin contains four subroutines. Only two of them are useful. Download the Beta Support Safeguard to upgrade yours, and add the Truncate to your inventory.
|

|
Quick save your game. Move behind the blocks, and jump up to the other bin in order to grab the e-mail.
|
|
After coming back down the blocks, move to the left. Travel down this ramp, and turn right.
|

|
Head past the blocks, and turn left.
|

|
Turn left. Move to the next set of stairs.
|
|
Walk down these stairs, until you reach another set.
|
|
Go down these stairs as well.
|
|
At the bottom, turn left.
|

|
By one of the exit port's pillars, you'll sometimes find a build note.
|
|
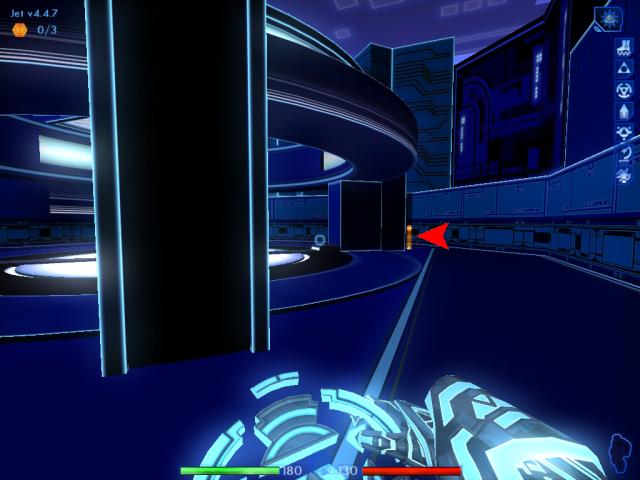
If you turn right and move to the next pillar, this is the second place near the exit where a build note could be.
|
|
Turn right, and look at the pillar in the distance. This is the final location where a build note will appear, near the exit port.
|
Pick up the note if it's there.
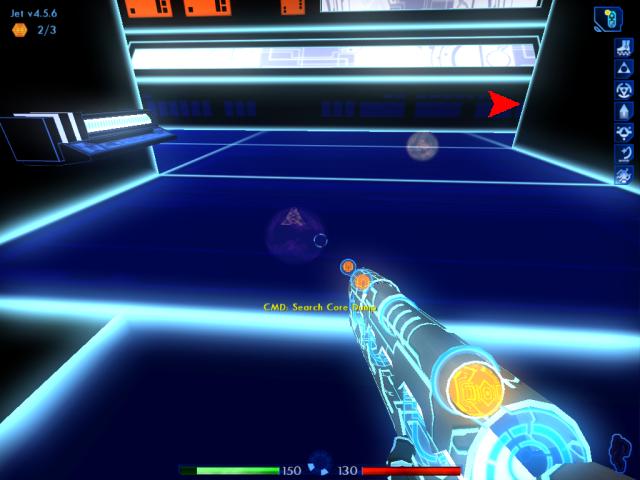
Now head through the port area until you reach the other side, where another stack of blocks is located.
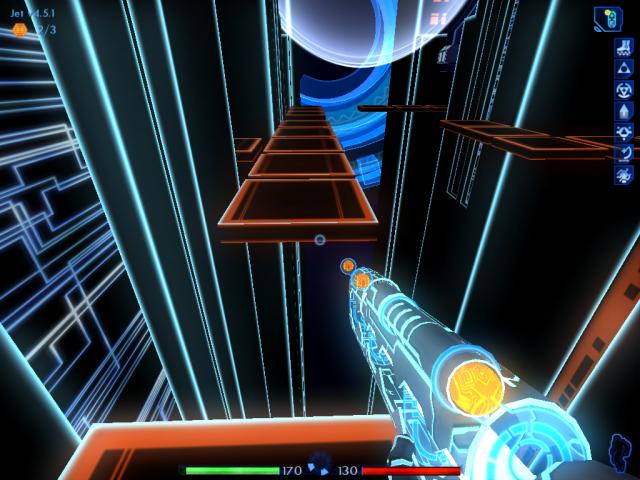
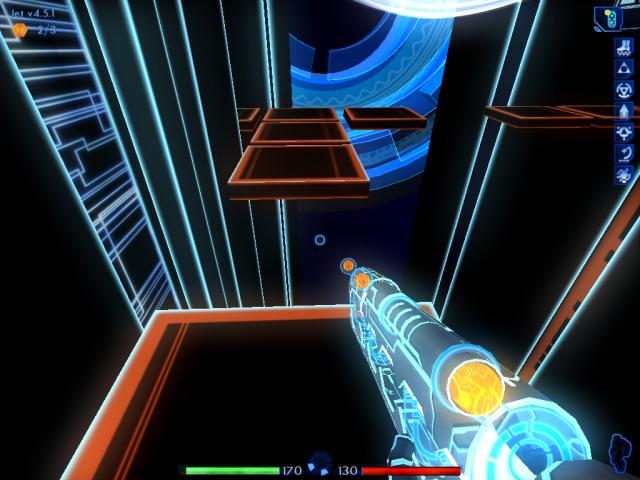
2/3 4.5.1
|
|
Download Permission 4 if you missed it from the ICP's core dump earlier, along with the e-mail.
|
|
Go behind the bin on the left side, and jump up the three blocks.
|
|
Quick save your game here. Move to the block indicated by the arrow.
|
|
Above this block, is another archive bin.
|
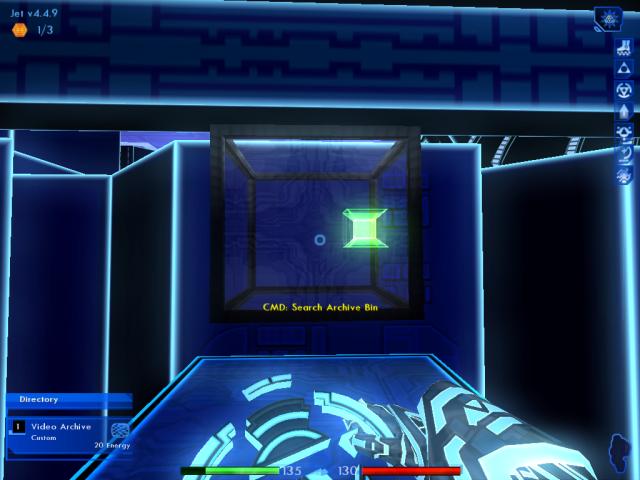
Download and watch the video.
Hmm. A Seeker program? Wonder what the hell that is, exactly.
|

|
Turn around, and head back to the last block you jumped on.
|
|
Drop back down the blocks, carefully.
|
|
Quick save again. Then walk in front of the bin, and turn left. Return to the stairs you came down moments ago.
|
|
Climb back up the stairs.
|

|
You want to get back to the top of the ramp you were on, earlier.
|
|
At the top, turn around. Ma3a can be seen in the socket, ahead and to the left.
|

|
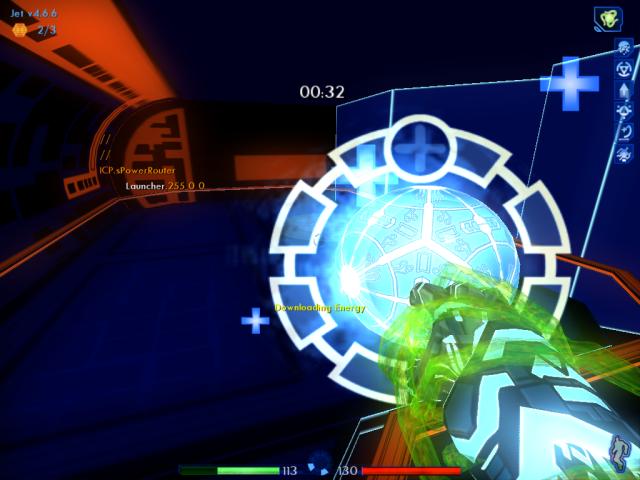
Talk to Ma3a. She'll say that it's going to take time to reverse defense protocols, to keep any more ICPs from entering the area. In the meantime, you should go ahead and actually reroute power to the Encom mainframe.
|
|
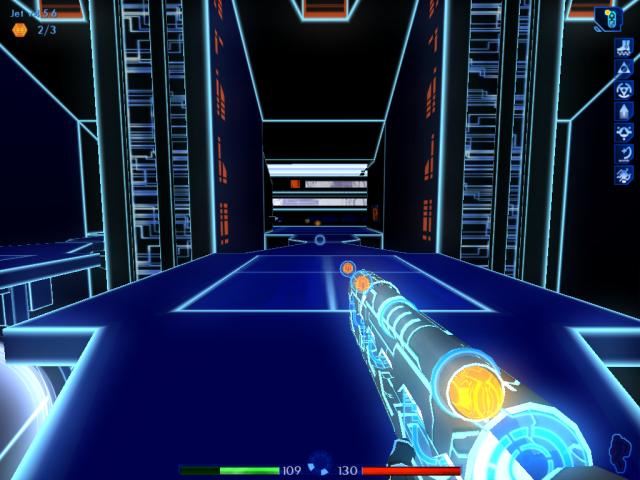
Turn right. You'll see a couple of patches in the distance.
|
|
Use the energy patch routine to restore your charge, after downloading all those items earlier.
|
|
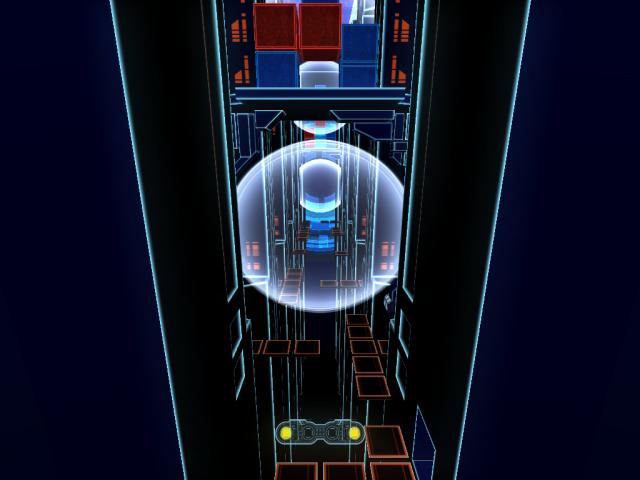
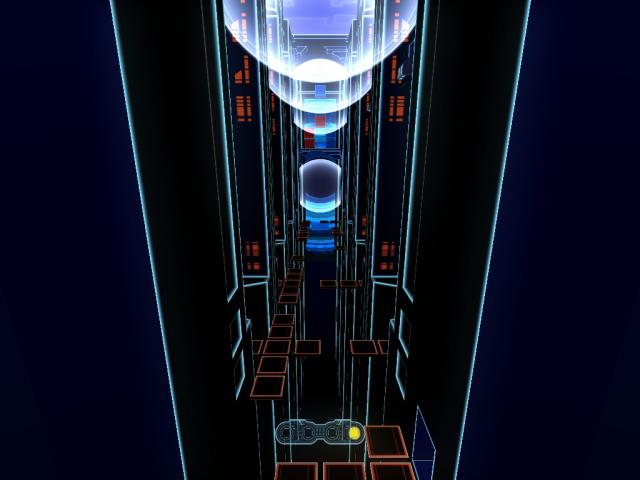
Face back the way you just came. Ahead, a platform will have appeared in an elevator shaft you couldn't use earlier.
|
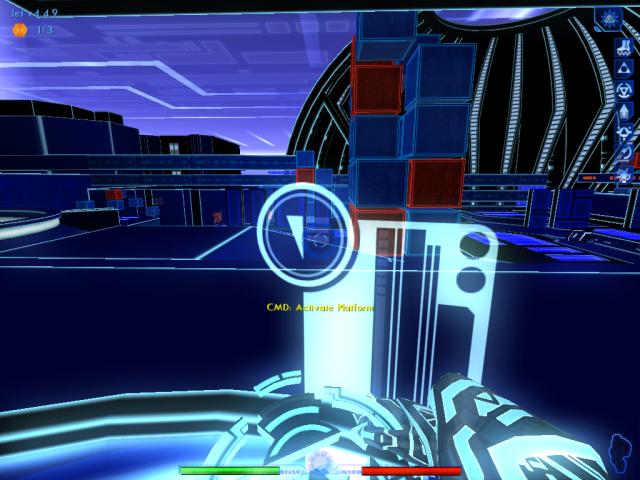
|
Now turn right, and use the control to go down.
|

|
When you reach the bottom, switch to the LOL. It will prove more useful than the disc, for this part of the level.
|
|
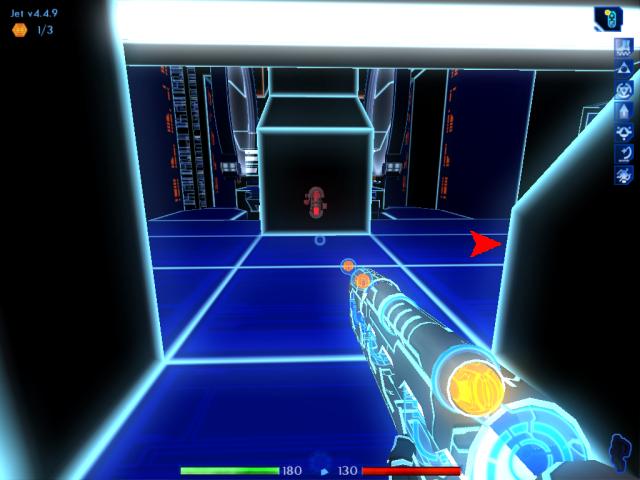
Travel down this passage, and turn right at the end.
|

|
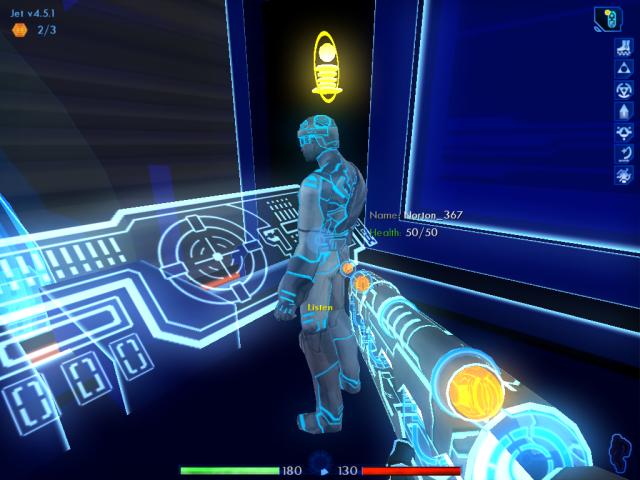
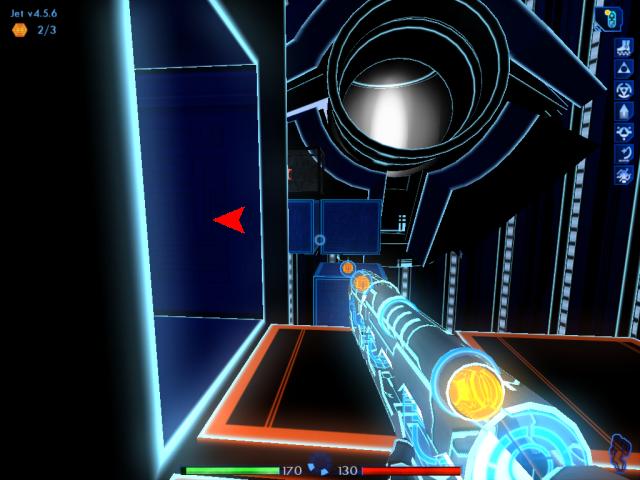
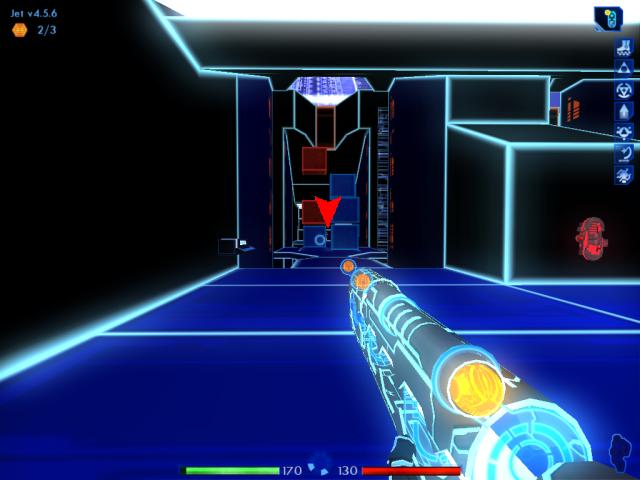
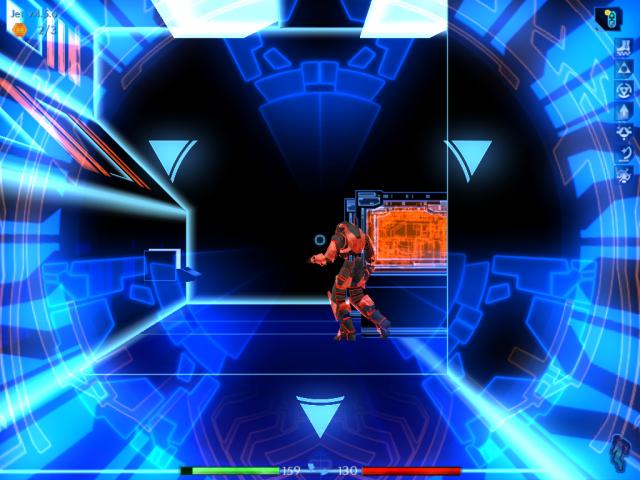
Up ahead, a civilian program will be wandering around. He could be to the left, the right, or inside the next room.
|
|
When you find him, approach his location.
|
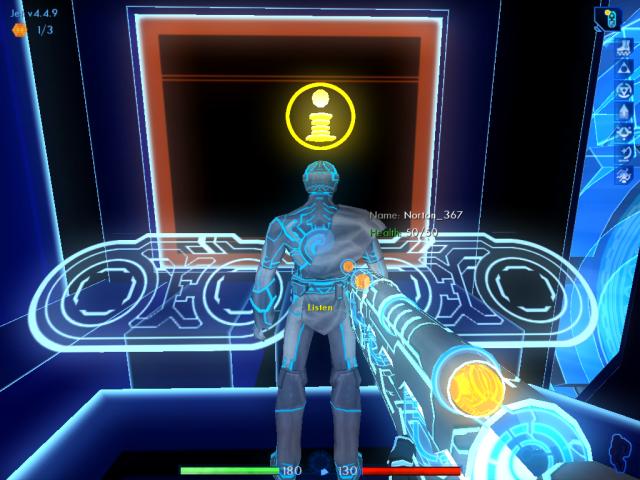
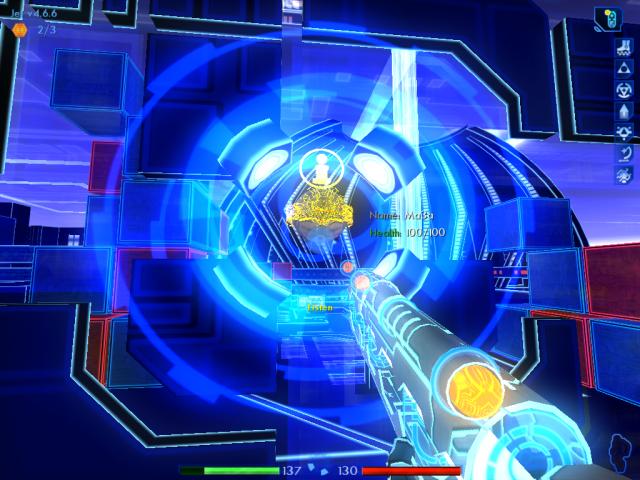
Talk to Norton (his name could be different).
You'll discover that Norton thinks you're his replacement! He was supposed to finish his shift 352 microcycles ago. Hmm, okay, why not play along?
|
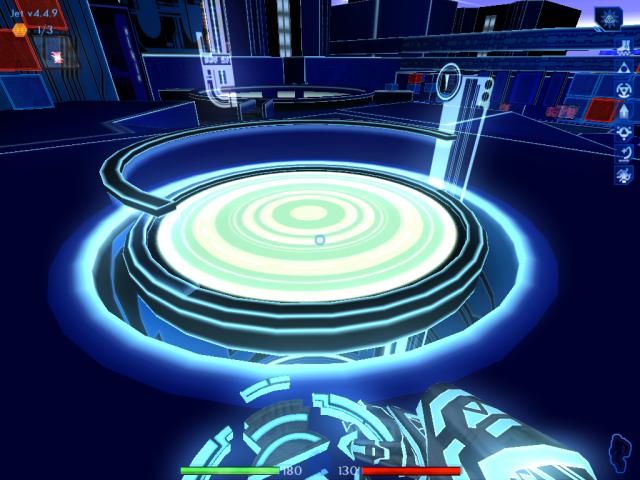
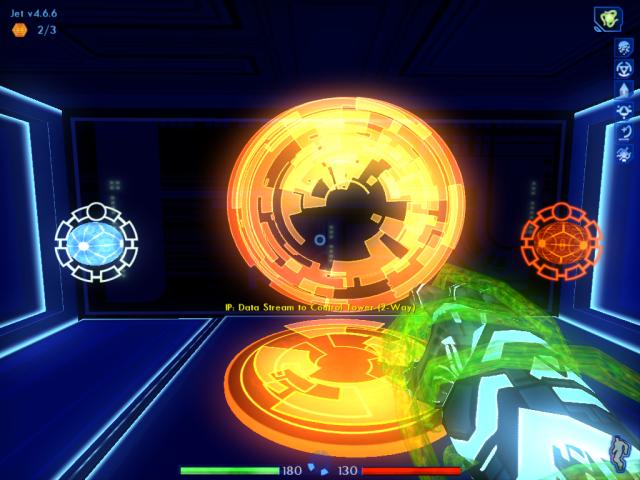
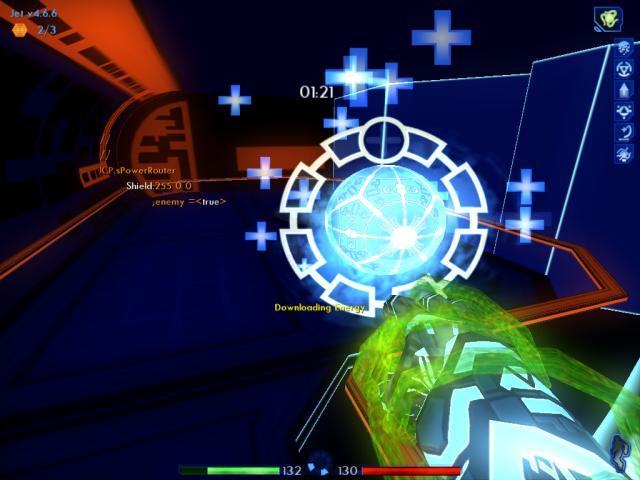
Norton will tell you what to do, in order to operate the Oculus. The panel he walks over to, will rotate the Oculus to a new position that will send power to the EN12-82 Encom mainframe. Norton points out that this hasn't been done in a very long time.
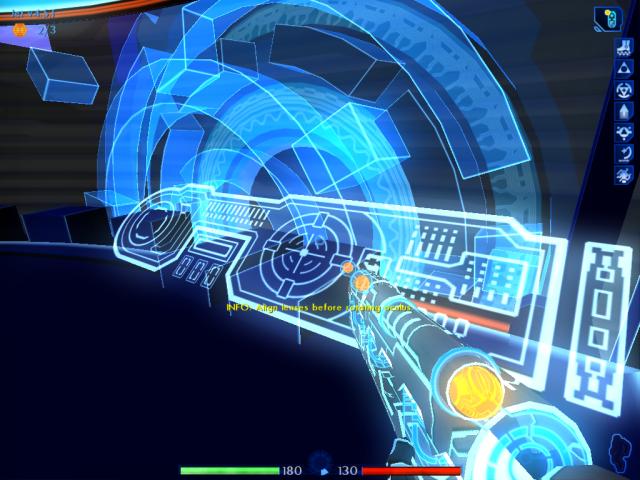
Then you'll return to the previous panel. He explains that the panel controls the alignment of lenses, which focus and align the power beam. If the panel isn't working or you don't have the proper permissions, the lenses can be manually adjusted using bits located directly where the lenses are.
|
|
Return to the panel by the window. You'll have to use the bits to manually align the lenses, so the other panel is useless. This one will rotate the Oculus . . . but it's not time to do that yet. The lenses have to be adjusted first.
|
|
Turn around, and head right.
|
|
Quick save the game here. Then cross the new bridge that has lowered into place.
|
|
Stay to the left of the blocks. Be careful not to fall off by accident.
|
|
You might want to pause here for a second, and look to the left. You'll see that Norton lowered a couple of the lenses, which created bridges for you to cross.
|

|
Once on the other side, look at the display straight ahead. Sometimes you'll discover a build note there.
|
Walk behind the display, and take the note if it's present.
Quick save your game again. Now move past the opening on the left, heading for the next one.
|
|
Slowly creep up to the corner of the next opening.
|
|
An ICP will either be off to the left where you can't see him yet, or ahead by the sec rezzer leaning on the wall.
|
Zoom in with the LOL. Make sure to take him down without being spotted, so he doesn't activate the rezzer. You can lean sideways, to help conceal yourself as much as possible. If he manages to activate the rezzer, you'll be in for a big fight that's best avoided.
Hmm, it seems even in the electronic world guards scratch their rear ends.
|
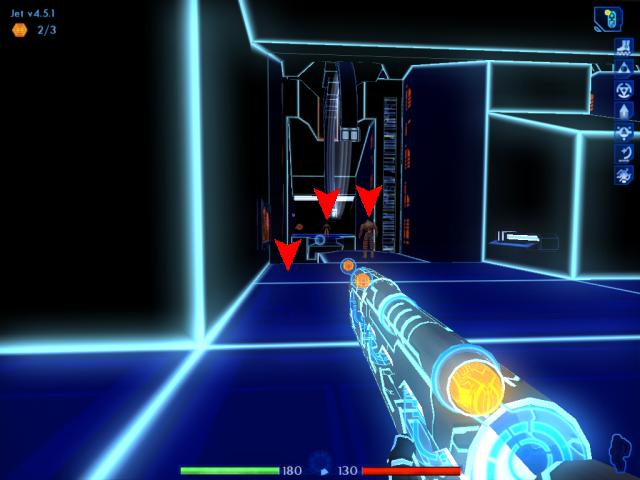
If the ICP wasn't by the rezzer, then he'll be to the left . . . either in front of a display on the wall, or standing ahead of you and facing the opposite direction.
Another ICP could be standing across the chasm, on the other side. If you notice a finder over there too, ignore it for now. It's a bit hard to hit from this position.
|
|
Drop the ICP in front of you, before he notices your presence and tries for the rezzer.
|
|
Wait for the ICP to show up on the other side if he isn't already there, and take him out as well. Once again, don't let him go for the rezzer on his side or else you'll be in for a fight you'd like to avoid.
|

|
After the ICPs are gone, you might discover a build note here at the edge, next to the chasm.
|
|
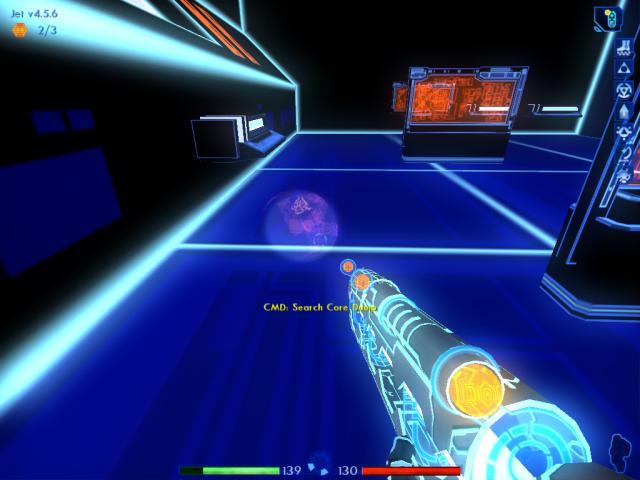
Now back up, and check for the nearby ICP's core dump. Use it to restore your health and energy a little, and grab the permission.
|

|
Turn right, and go into the next passage on the left.
|
|
Stop here, and zoom in with the LOL.
|
|
Wait until you can see the finder between the blocks. Then blow it away.
|
|
Quick save, and make your way between the blocks.
|

|
On the other side, head to the left.
|

|
Move to the end, where the patch routines can be seen.
|
|
Refill your health and energy meters as necessary, then search for an optimizer clinging to the wall.
|
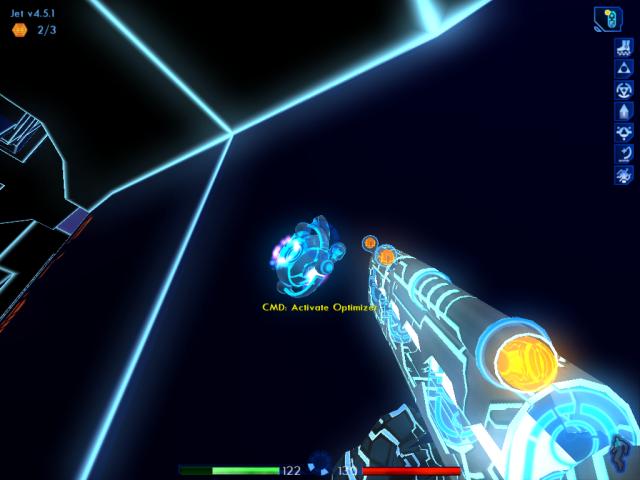
|
Activate it, once close enough.
|
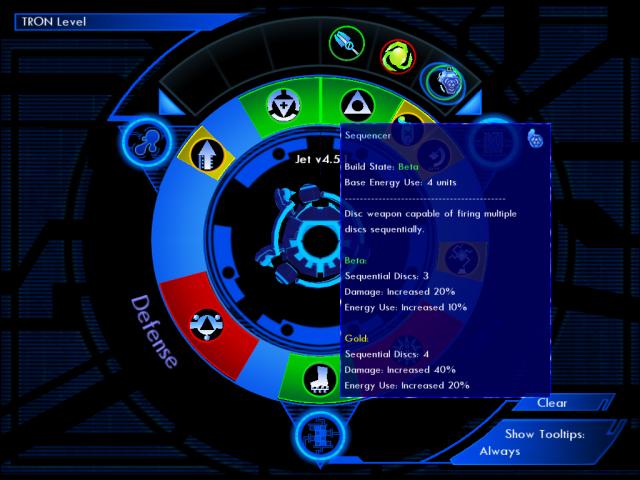
There are many subroutines you can choose from, at this point.
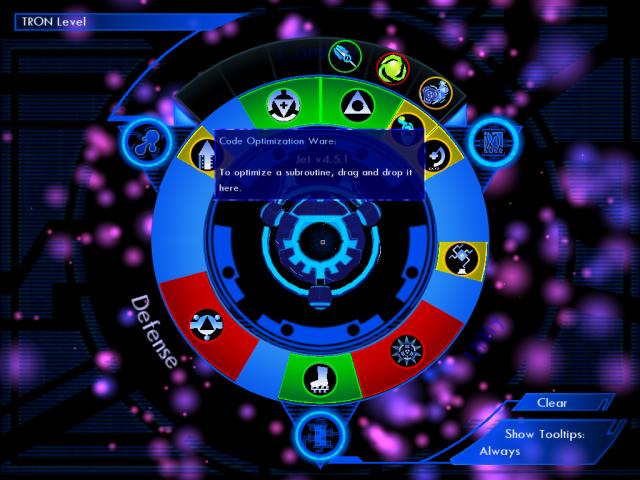
However, I suggest optimizing the Sequencer to Gold now. The reason being, that the other subroutines will have upgrades you can download later. The sequencer can no longer be upgraded, without optimizing.
|
|
Drag the Sequencer from its inventory slot, onto the optimizer.
|
|
Exit the system memory screen by hitting the F1 key, and head for the opening to the portal.
|
|
Now step through the portal.
|
|
Quick save, then take a few steps ahead and turn to the left.
|
|
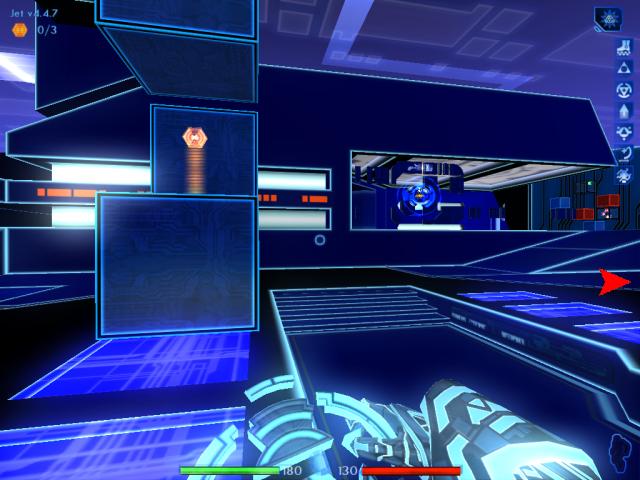
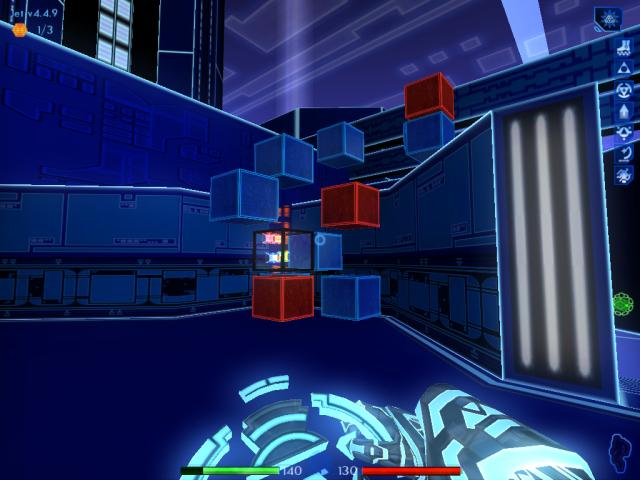
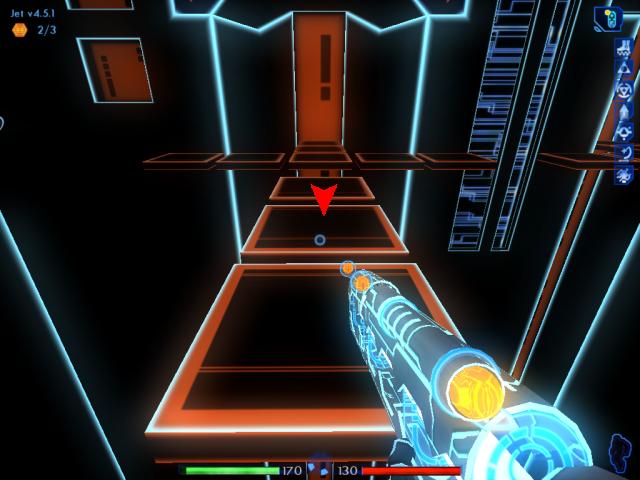
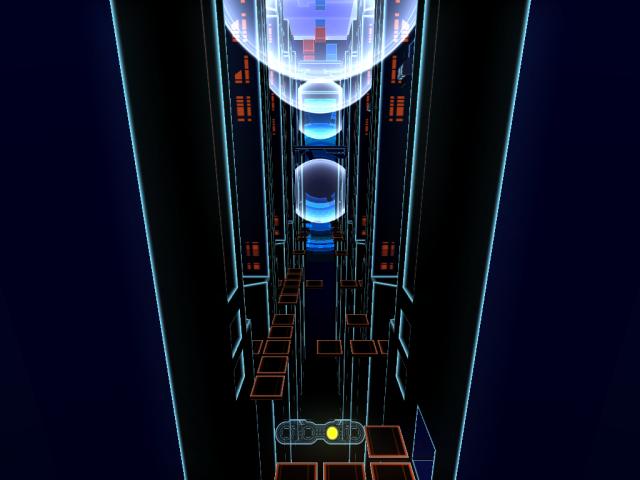
Some blocks are here, with an archive bin. Note the gap between the tile and the block. Be careful not to fall when you jump onto the block.
|

|
At the top, is a bin with two e-mails and a subroutine. The subroutine can be ignored, so just get the e-mails.
|
|
Turn around, and travel back down the blocks. Again, be careful not to fall through the gap. Head to the tile indicated by the arrow.
|
|
On the right, you'll see a bit in its socket.
|
|
Move up to the bit, and use it.
|
|
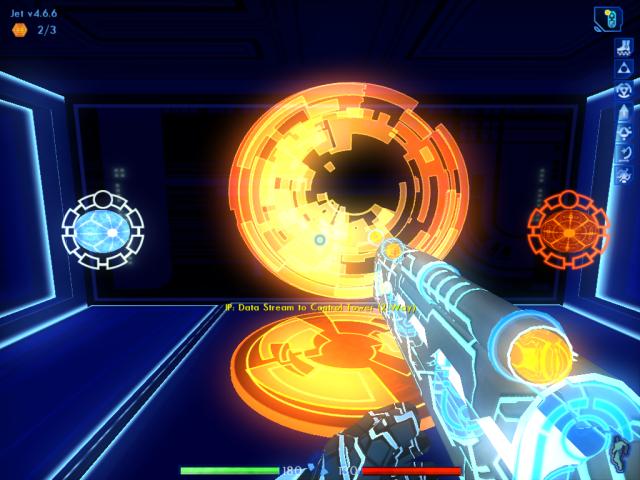
A short cutscene will ensue, showing the first lens in its lowered position.
|
|
It will then rise back up.
|
|
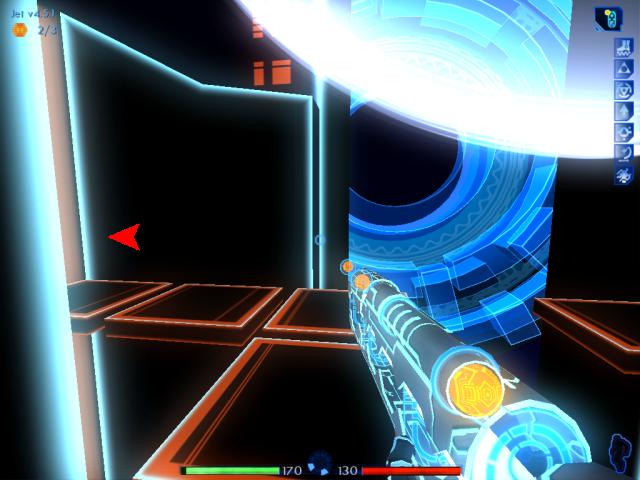
Face the tiles again. Move to the one pointed at by the arrow.
|
|
Wait here, for the moving tile to arrive next to the one you're standing on.
|
|
Step onto it, and ride to the other side. Get off quickly, then turn right.
|
|
Quick save your game now. Walk to the end of these tiles, and jump across the gap.
|
|
Go to the tile indicated by the arrow.
|
|
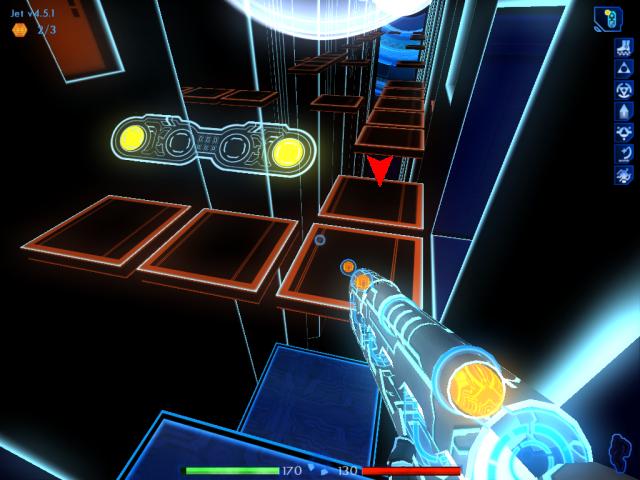
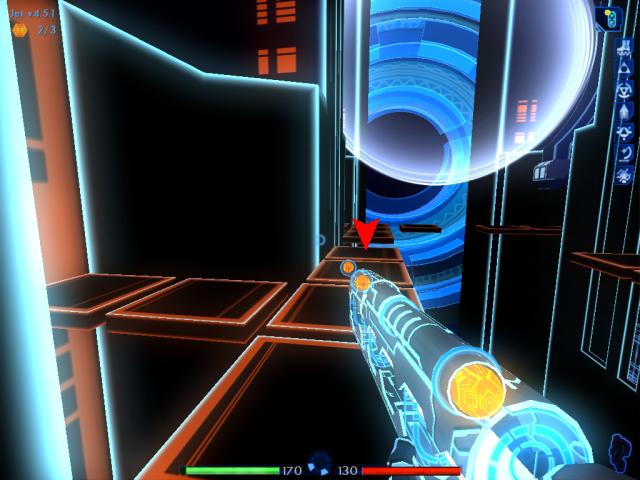
Turn right. On the opposite side, you'll sometimes spot a build note. If it's there, step onto the moving tile.
|

Grab the note, if it's there.
3/3 4.5.3
|

|
Turn around, and return to the other side.
|
|
Turn right when you get there.
|
|
Walk to the tile where the arrow shows, and quick save again.
|
|
Watch the motion of the moving tile. Observe its closest point, when it comes to a stop. Jump onto it, when you know where this point is.
|
|
Ride the tile to the other side, and jump off when it stops moving.
|
|
Head for the tile indicated by the arrow. Quick save once more.
|
|
Jump across this next gap.
|
|
Travel to the left, where you'll find another bit socket.
|
|
Another cutscene will show the fourth lens, rising to its upper position.
|
|
Turn around, and move to the tile indicated.
|
|
Wait for the moving tile, and step onto it when it's in the right position.
|
|
On the other side, turn right. Quick save again.
|
|
Walk to the tile before the gap, then jump over it.
|
|
You again want to head for a bit socket, on the left.
|
|
The third lens will lower, and become aligned.
|

|
Turn around, and move to the indicated tile.
|
Turn right. You're heading back to the fourth bit socket. Quick save first, though.
Then jump the two gaps that are now present, since the tiles have reconfigured their positions.
|
|
Turn left, and ride the moving tile to the other side.
|
|
Step off the tile, and approach the socket.
|
|
Use this bit a second time.
|
|
The fourth lens will move into place.
|
|
Turn around, then head right.
|
|
Move to the tile before the gap.
|
|
Quick save yet again, before you jump across the gap.
|
|
Now you need to jump another gap.
|
|
Quick save again. Watch the moving tile, and find out what its closest point is.
|
|
Jump onto it, and ride all the way to the next tile.
|
|
Jump when you reach the end.
|
|
Quick save your game. On the right, is the second bit socket.
|
|
The second lens will lower into position.
|

|
Face the opposite direction, and move to the tile shown.
|
|
Step onto the moving tile, and ride to the other side.
|
|
Turn right when you're there.
|

|
Walk to the tile just before the gap.
|
|
Again, quick save your game, before jumping across.
|
|
Jump this gap as well, then head left to the first bit socket.
|
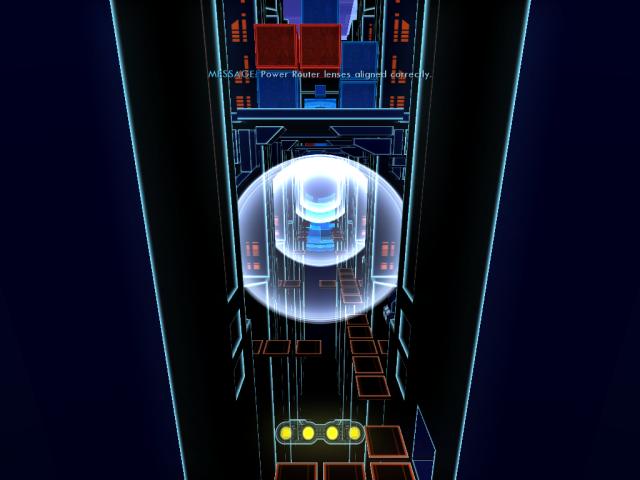
The first lens will align with the rest. You're rewarded with five build points for aligning all the lenses.
4.5.8
|
|
Turn around, and move left.
|

|
Head for the tile before the final gap.
|
|
Quick save your game. Jump one last time, to the other side.
|
|
Turn left to face the opening.
|
|
Now walk through the portal.
|
|
Stop here, and zoom in with the LOL.
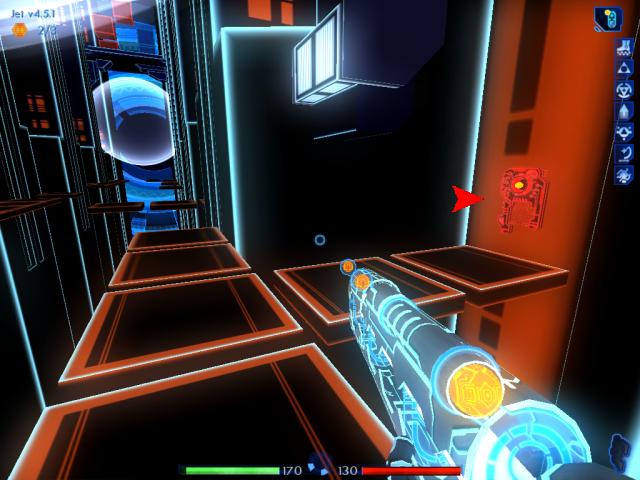
|
|
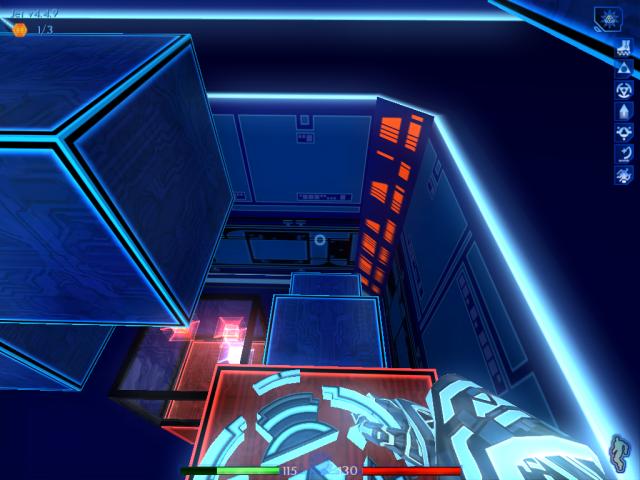
An ICP can be seen between the blocks, if you look carefully. Be sure to de-rezz him, or else he'll call for help.
|
|
After eliminating the ICP, turn right and head into the next opening.
|
|
A second ICP will appear on the other side.
|
|
Quickly zoom in and blast him as well, before he can get help.
|
|
Zoom out, and turn right. Use the energy patch to restore your charge, if it's still there. Quick save the game, too.
|
|
By now, a third ICP will show up.
|
|
Again, you want to keep this ICP from summoning reinforcements.
|
|
Cross the new bridge, created by lowering the lenses.
|
|
Grab any core dumps on the other side, then move right.
|
|
Wait here for yet another ICP to show himself.
|
|
Zoom in, and nail this final ICP.
|
|
Grab his core dump, to replenish yourself a little.
|
|
Face the right, and cross this bridge, heading for the blocks on the other side.
|
|
Move in front of the blocks.
|
|
There are two bins here. We're only interested in the one on the left.
|
|
Just download the e-mail, and ignore the subroutines . . . which you already have.
|

|
Turn around. Head back to the Oculus control room, with the panels.
|

|
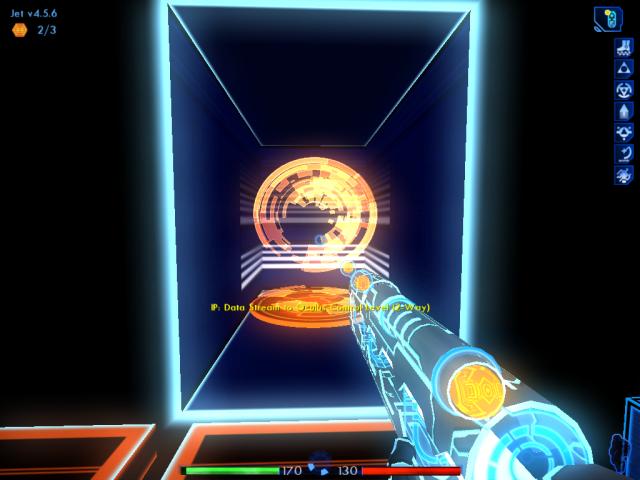
You can now activate the panel.
|
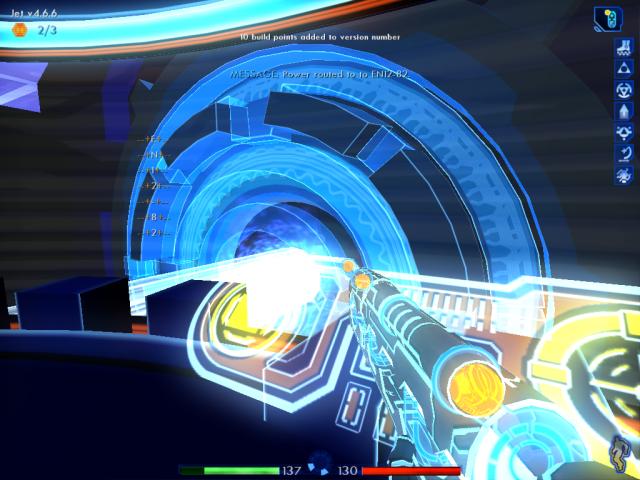
Once that's done, the Oculus will rotate and begin sending power to the Encom mainframe.
You've done it! Even better, you earn ten build points for accomplishing this goal.
4.6.8
|
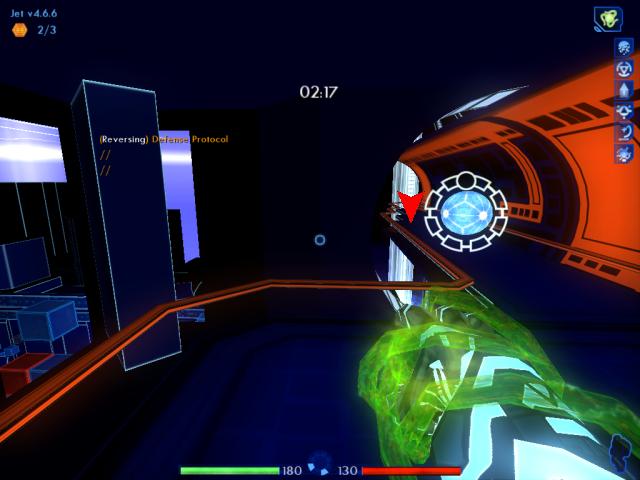
Ma3a will broadcast a message to you now, saying that she's in trouble. Activating the Oculus has drawn the attention of more ICPs . . . and Ma3a isn't finished her task yet, which would keep them out.
You'll need to defend her from the ICPs until she's done. So turn around, and head back to the opening that leads to the elevator.
|
|
Turn left, and move up the ramp.
|
|
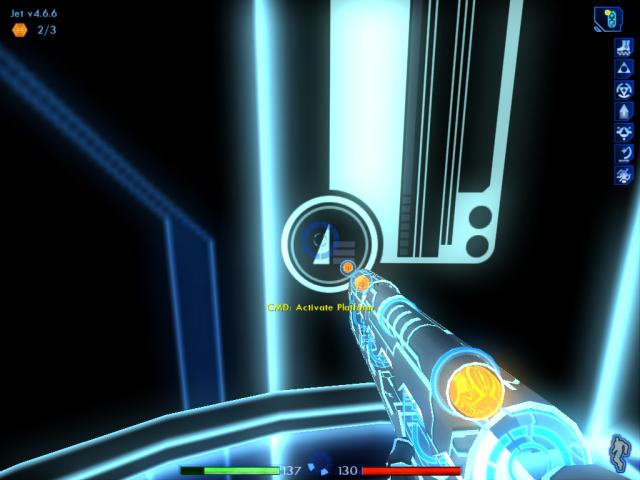
Use the control, to activate the elevator a second time.
|
|
When you reach the top, walk over to Ma3a on the left.
|
Talk to her. She'll explain that you will have to defend her from the oncoming ICPs, until she can complete the protocol reversal that will shut them out of the area completely.
There's no need to worry yet, so don't rush. The ICPs won't start coming until you enter the portal that has just appeared, to your right.
|
|
Face the right, and approach the portal. But do not step through yet.
|
|
Use the patches to restore yourself, as necessary. Then go to Jet's system memory screen.
|
|
Remove the Cluster, Fuzzy Signature, and Power Block subroutines.
|
Move the LOL and Profiler down to where the Fuzzy Signature used to be.
Search your inventory slots for the Ball Launcher, that you picked up a while back. Use the arrows beside the inventory slots, if you can't find it. They will scroll through more slots that aren't being shown. Once you find it, put it where the Cluster Disc was.
|
|
Find Corrode and place it in the remaining empty memory slots, along with the Sequencer.
|
Exit the screen, and select the Ball Launcher.
Now do both a Quick Save and a Regular Save. You want to do this, just in case you mess up during the next part, with all the ICPs swarming in. You'll probably want to quick save if you passed a few waves, and then there's a break in the action. But if you quick save at a bad moment, then you will be glad that you can come back to this point and start over.
With that done, you can safely step through the portal, to continue the level.
|
When you reach the other side, you'll be on a balcony overlooking the entire area. Move to where the arrow points. Notice the infinite energy patch here, that you will definitely be needing.
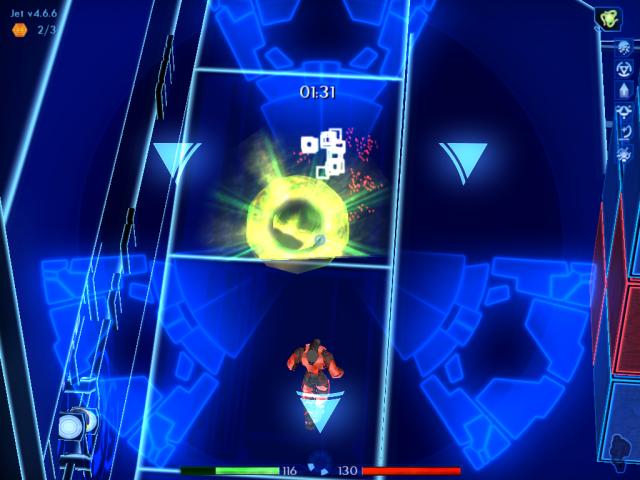
There is a clock ticking down . . . you have to defend Ma3a from ICPs for a full 2:20! That's two minutes, and twenty seconds!
|
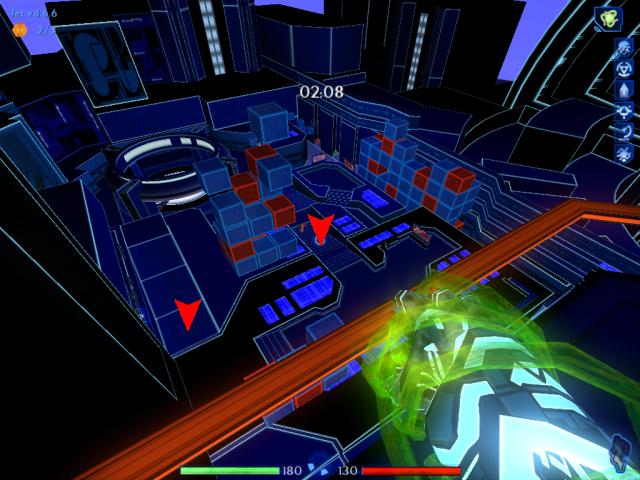
On the balcony, observe where the ICPs are coming from.
There are two main points where you can focus your attacks, which are indicated by the arrows. The stairs in the middle is one area where a lot the ICPs will come from. For the rest, you can usually catch them at the bottom of the ramp, on the left. Try not to let the ICPs get too far up the ramp! The top of the ramp is the last chance to nail them, before they reach Ma3a.
I've chosen to use the Ball Launcher here, because I believe it's the easiest weapon with which to finish this part of the level. But it's up to you, which weapon you prefer. The LOL, Sequencer, and even the Ball Primitive are all viable options. (Yes, it's possible to do this with the Ball Primitive, though not easy.) A lot of players go for the LOL, which is fine as long as you rarely miss. Otherwise, you'll run out of energy and probably can't finish some remaining ICPs at a critical moment.
|
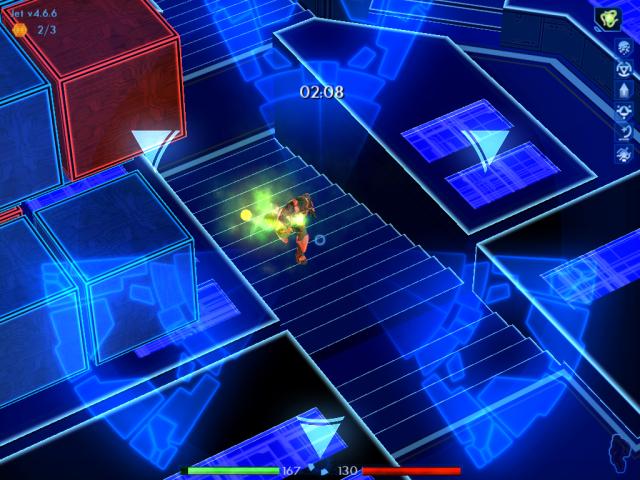
For the first wave, only one ICP will appear running up the stairs.
Use the Triangulate zoom feature, which — again — does not require the LOL. You will need to lead your target slightly, when you fire the launcher.
|
|
After destroying the first ICP, remain zoomed on the stairs. An ICP will show up for the second wave, which you will need to eliminate.
|
|
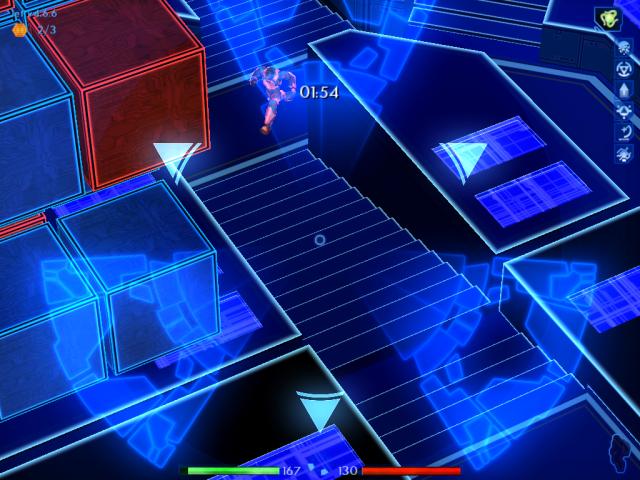
Now zoom out. Another ICP is heading for the ramp.
|
|
The third wave will begin. Zoom out, and notice another ICP on the left making his way to the ramp. There are also two ICPs coming up the stairs.
|
|
Zoom in on the ramp, and de-rezz this one quickly.
|
|
Remain zoomed in, to blast the other two.
|
Zoom out. Quick save your game, having made sure you also did a Regular Save earlier.
Run over to the energy patch on your left, and recharge.
|
|
Run back to the balcony, and prepare for the fourth wave. At first, another lone ICP will make for the ramp.
|

|
Zoom out. Two more ICPs are coming.
|
|
Blow them to pieces, as well.
|
|
Suddenly, a lot more ICPs will start pouring in. Three more are coming. Two from the stairs, and one from the other ramp below.
|
|
Zoom out, to discover two more ICPs coming up the ramp.
|
|
You know what to do!
|
|
Quick save again. Run over to the patch, for another recharge.
|
|
The fifth wave will commence. Yet another lone ICP will head up the ramp.
|
|
As soon as you nail him though, another ICP will quickly reach the ramp.
|
|
Nail him, too. As you may notice, the shot was a near miss in this case. Luckily, with the Corrode subroutine installed, damage continued to be caused even after the impact and the ICP de-rezzed.
|
|
Remain zoomed in. Another three ICPs will show up!
|


Geez, does this ever end? Well according to the clock, it will be over very soon.
Zoom in on the stairs, and destroy the two ICPs coming up.
|

|
Zoom out. Two more ICPs are heading for the ramp.
|

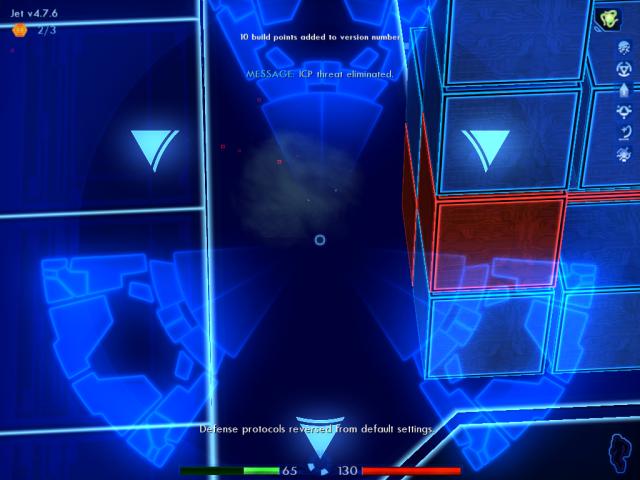
Finally! Ma3a reverses the protocols, and all the ICPs disappear.
For successfully defending Ma3a from the ICP onslaught, you receive ten more build points.
4.7.8
|
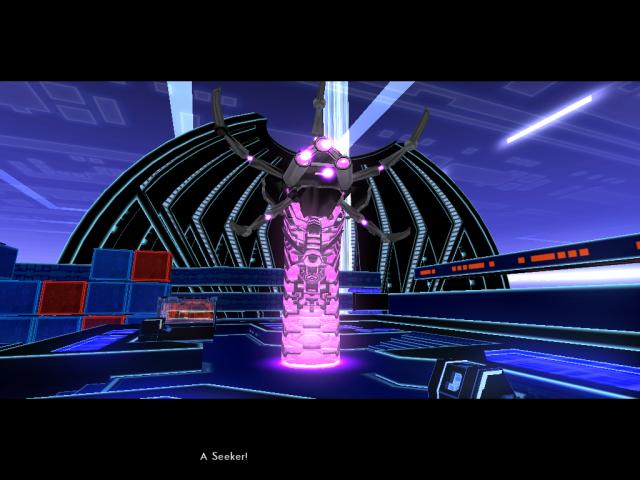
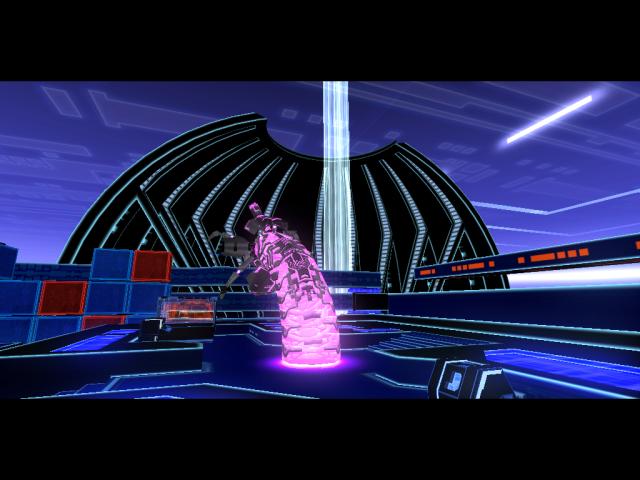
The game will shift to a cutscene.
That's the Seeker? A big purple worm? 
|
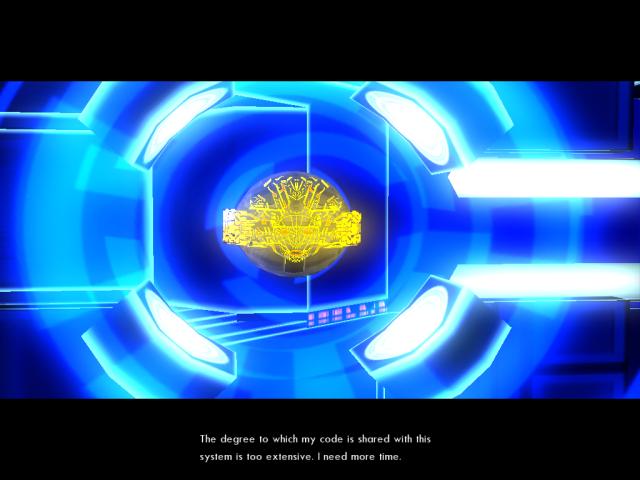
Ma3a will warn you that she can't undock from the protocol socket yet. Her code is integrated too deeply with the local system, at the moment.
Great . . .
|
|
Jet will whip his disc at the Seeker, to gain its attention.
|
|
Of course, the Seeker didn't like that at all . . .
|
|
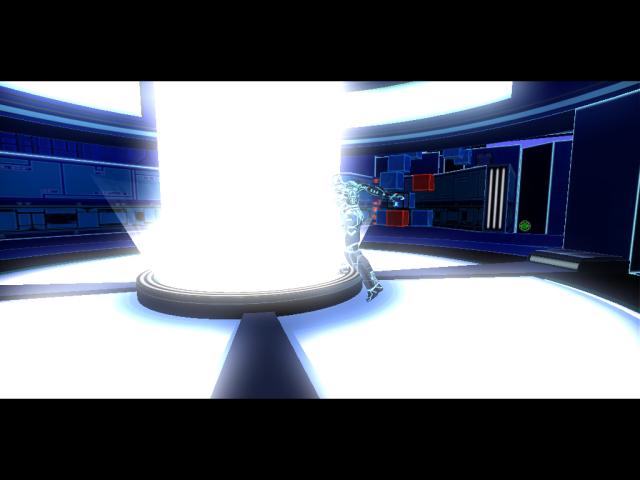
Jet leaps into the exit port, which has now opened. What will happen next, you wonder?
|
Final build version for this level: 4.7.8